Right fuel tank completion!

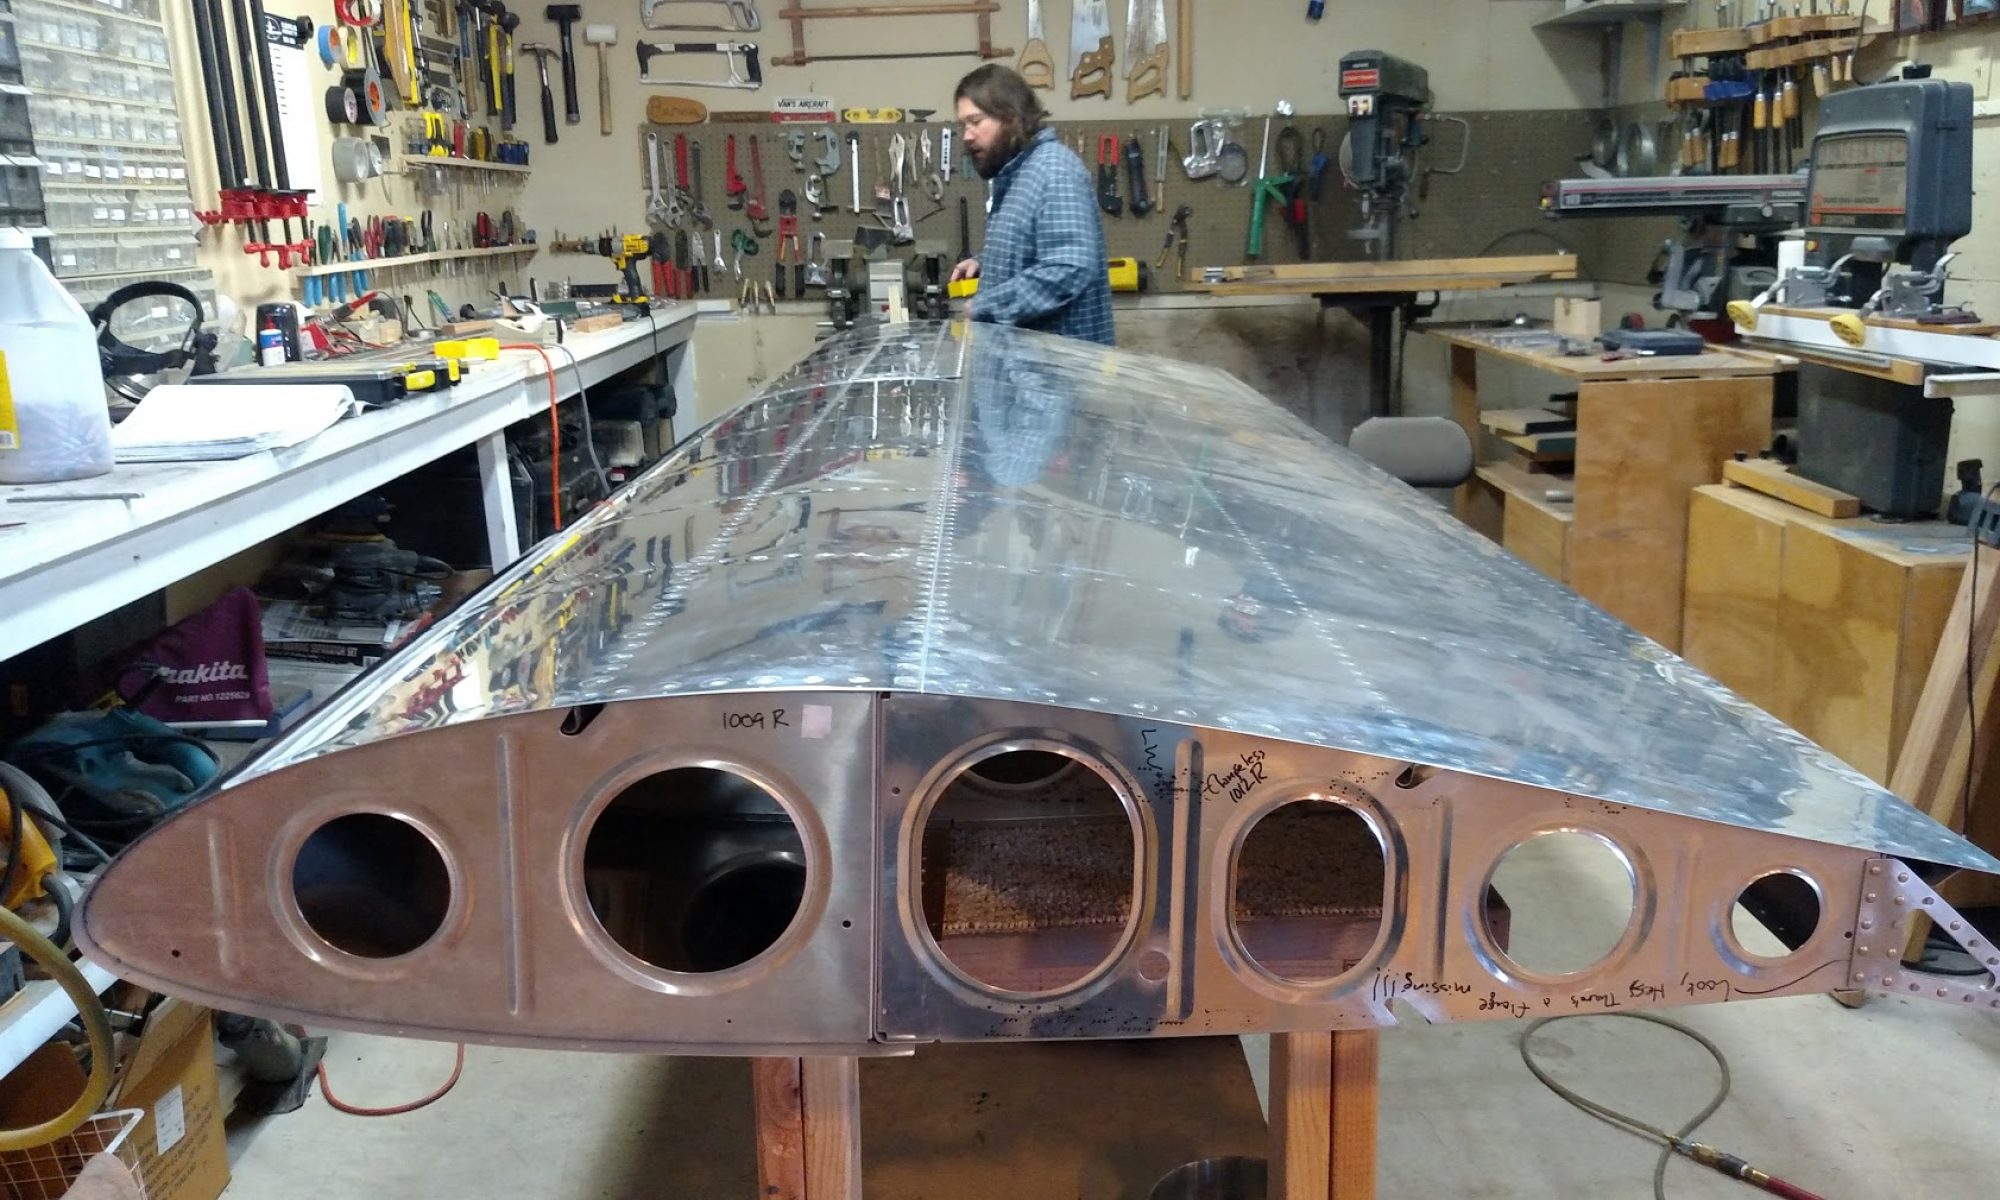
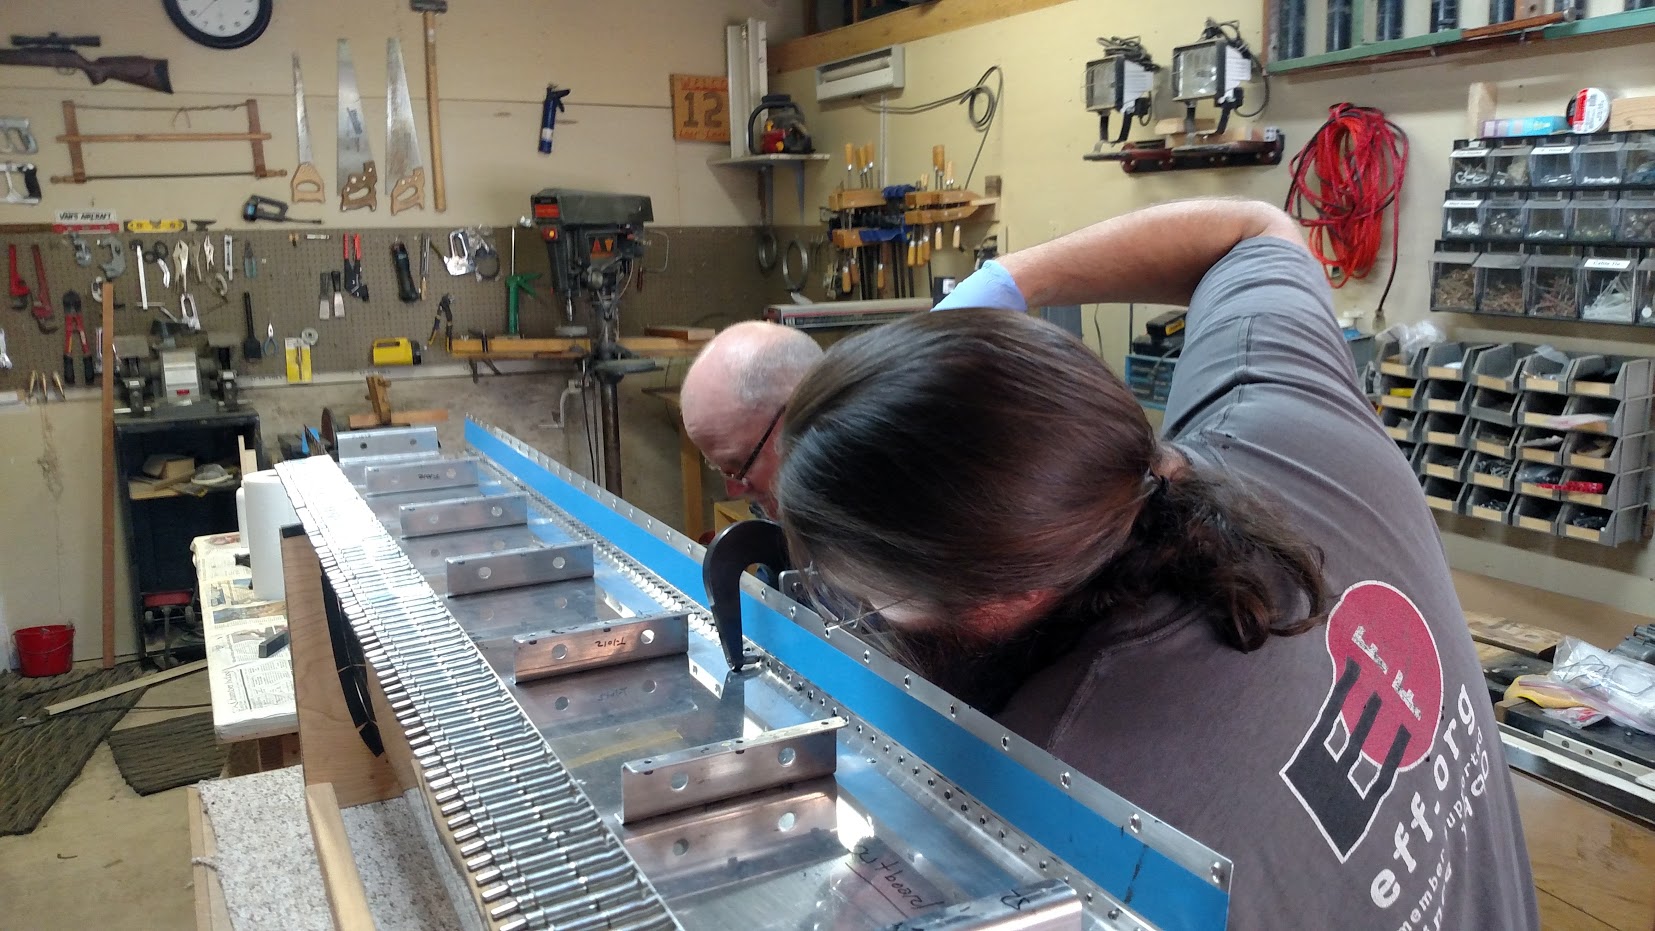
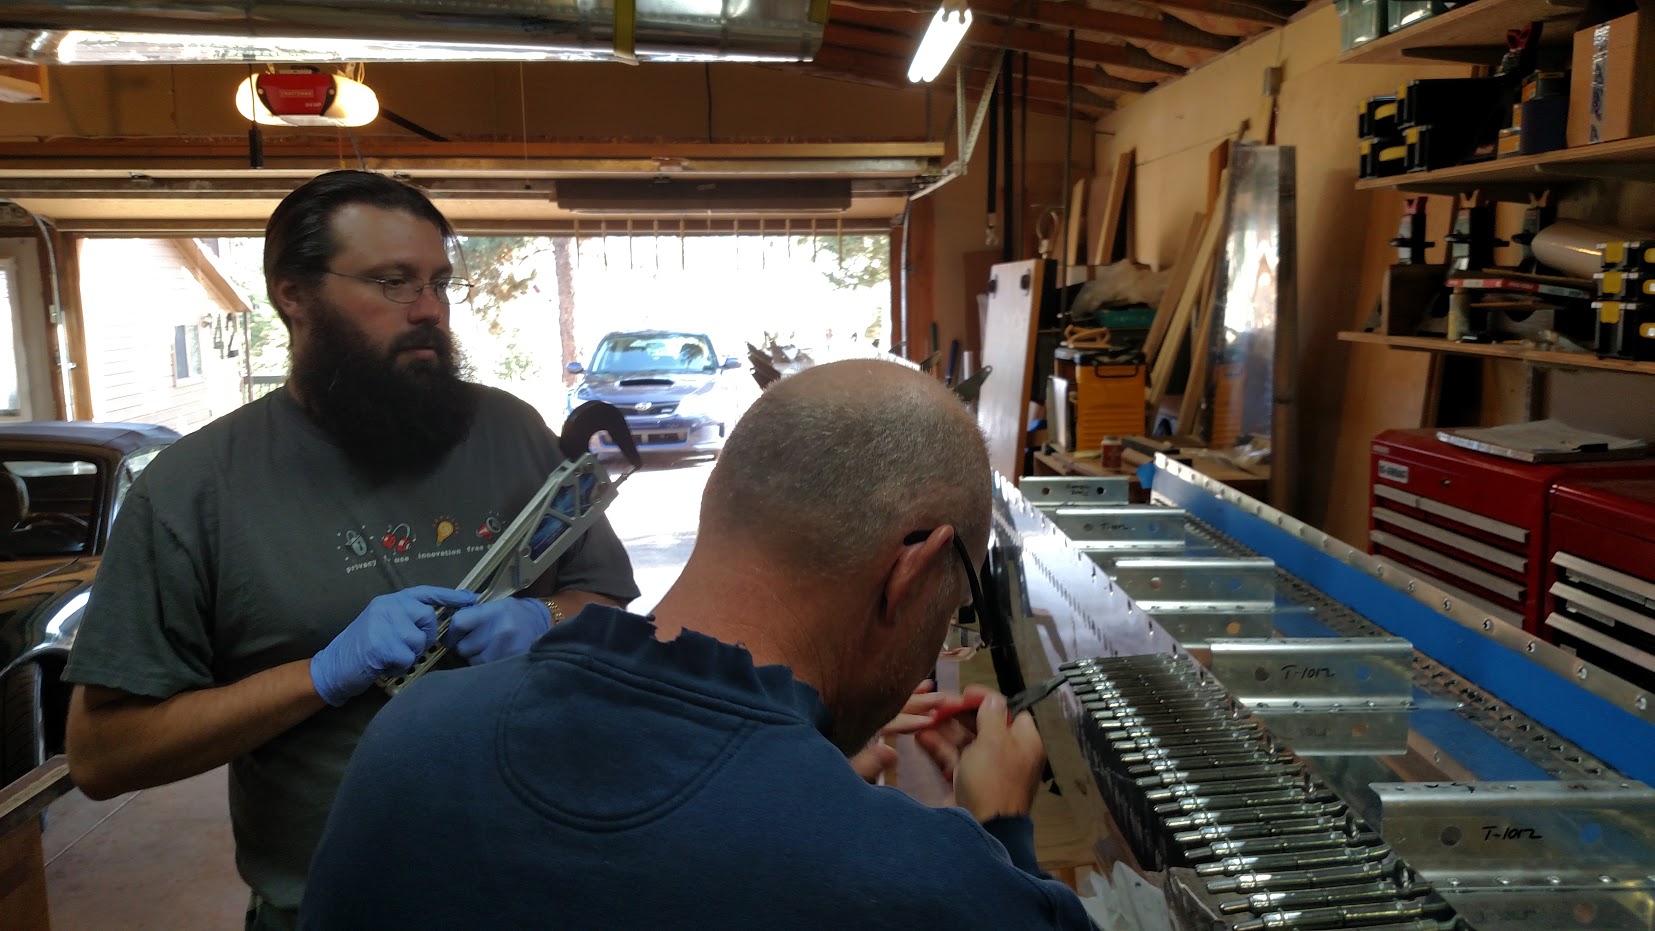
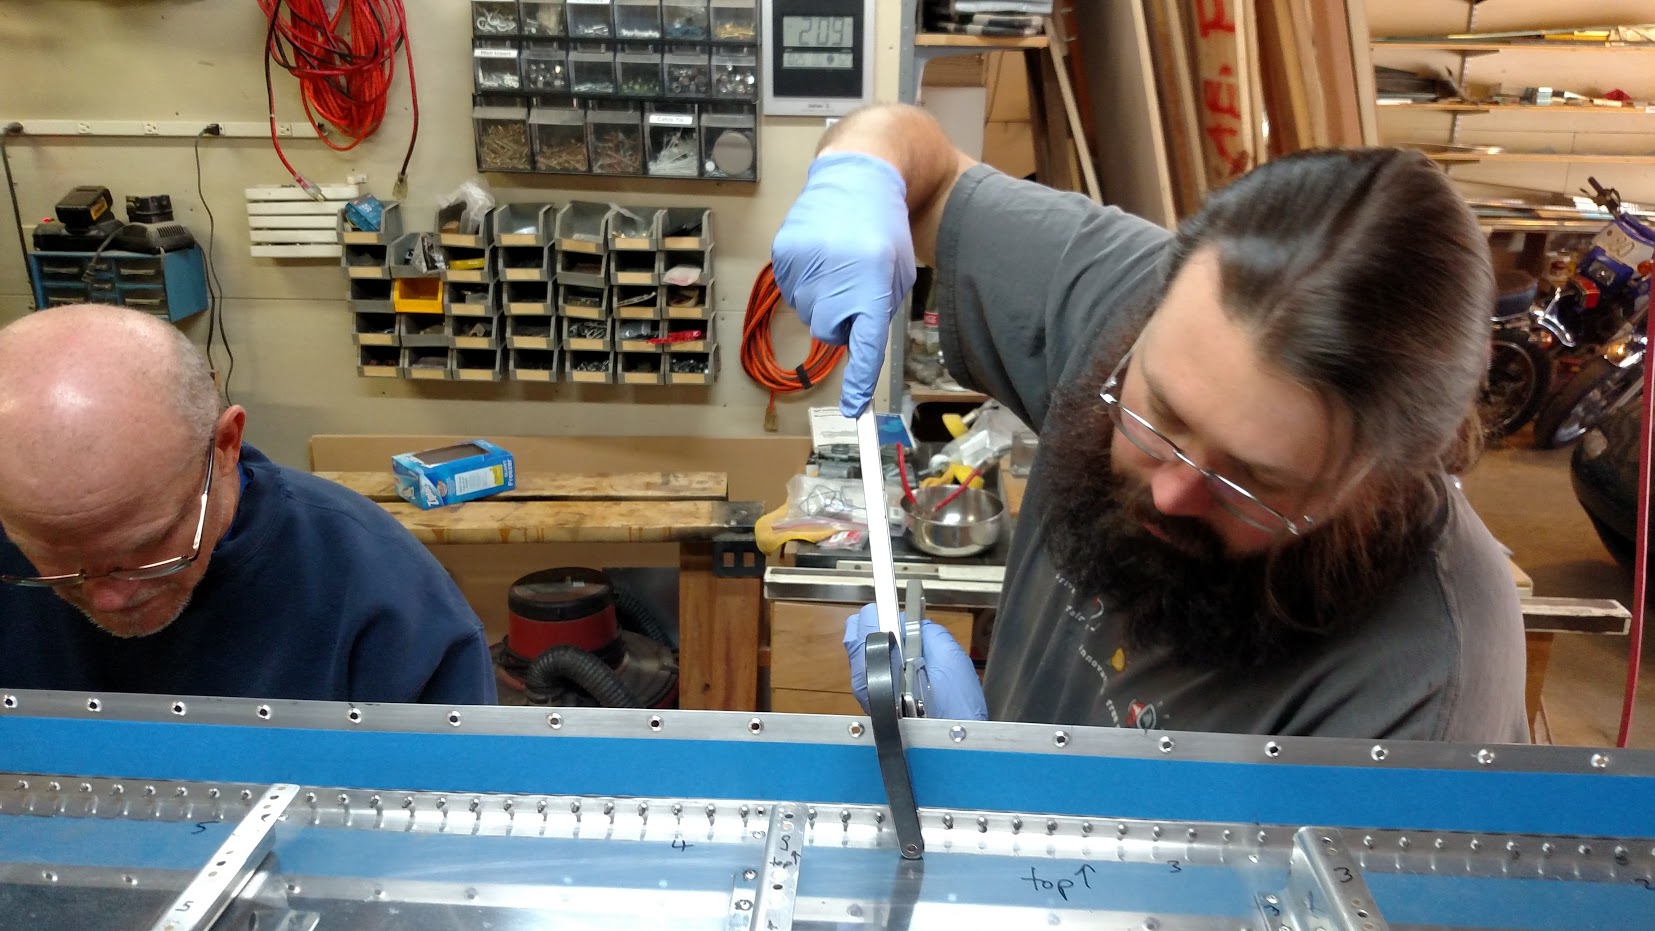
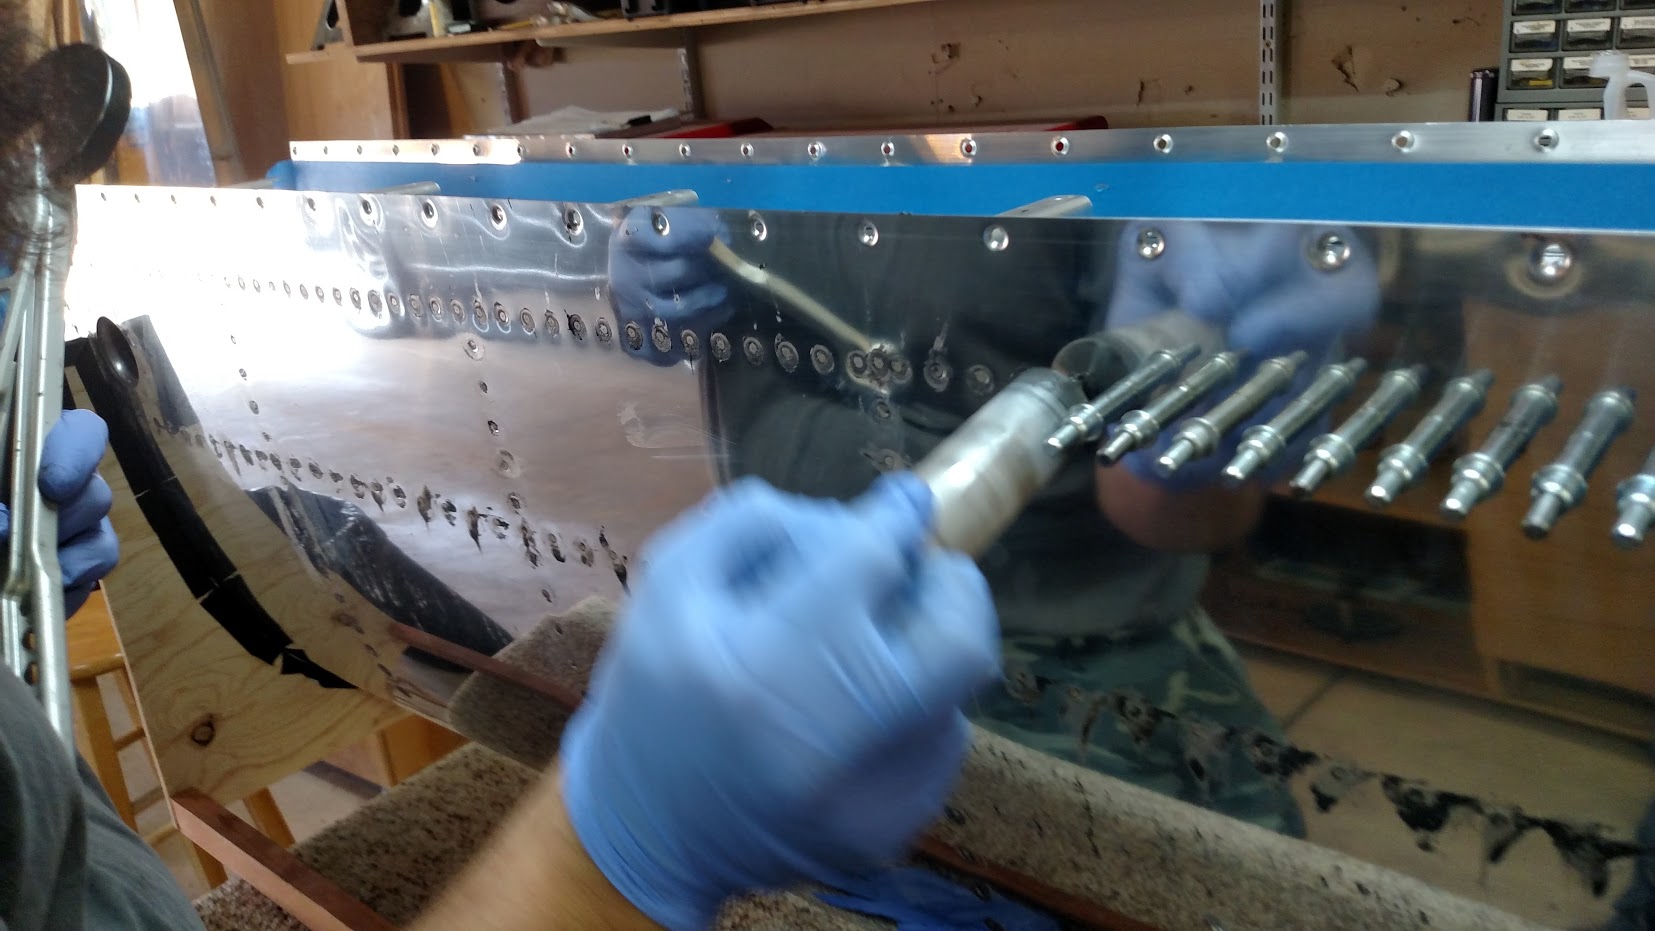
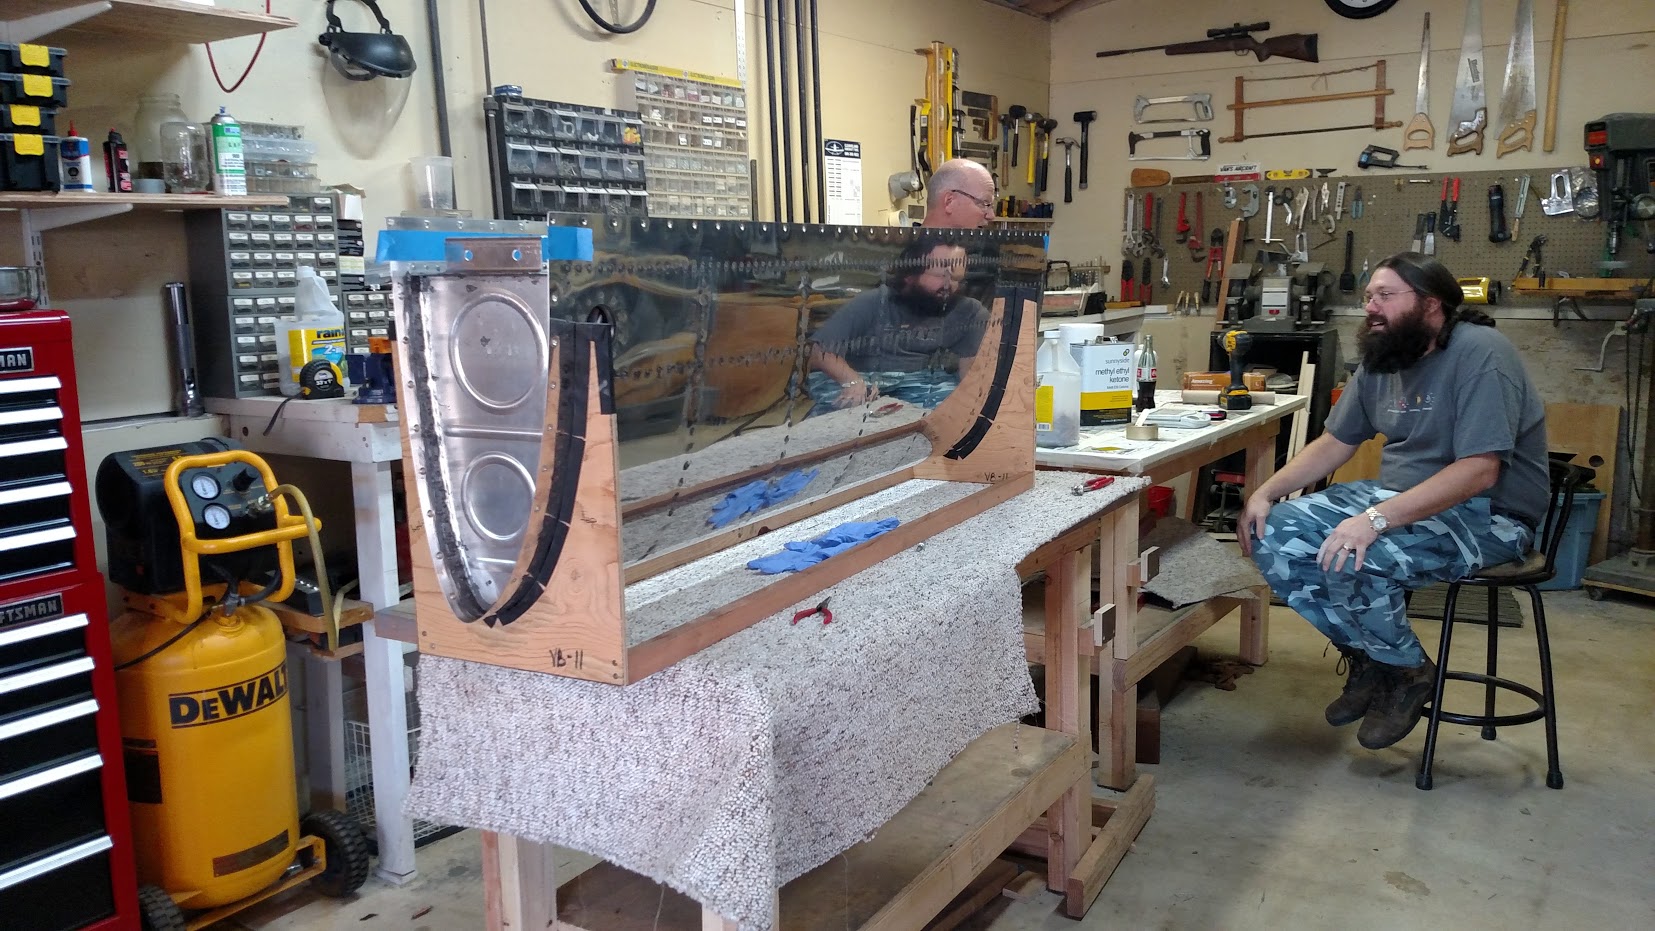
Here’s hoping that giant bead of sealant along the tank baffle is good.  It’s the only part you can’t see after you’re done.  We also installed the baffle rivets wet and sealed the back, even though this theoretically shouldn’t be necessary.

IMG_20151025_140236364 IMG_20151025_140443376 IMG_20151025_140530299 IMG_20151025_140536624 IMG_20151025_140950947 IMG_20151025_141009970 IMG_20151025_141226093 IMG_20151025_141341290 IMG_20151025_142552602 IMG_20151025_145032778 IMG_20151025_145114528 IMG_20151025_150459161 IMG_20151025_150510310

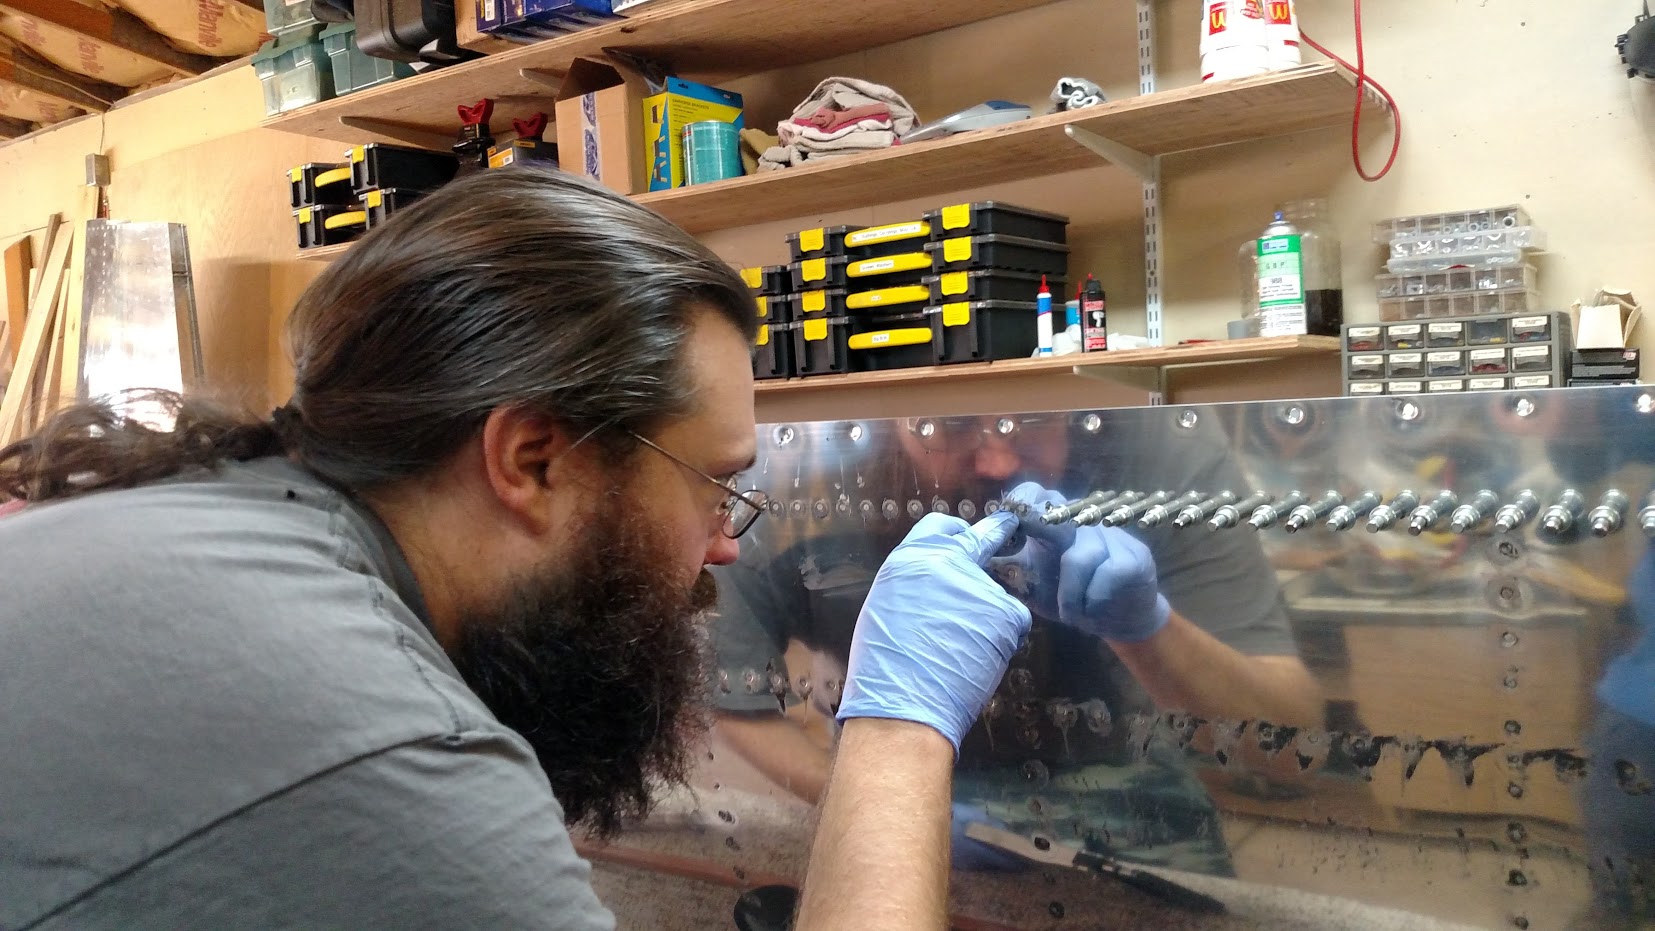
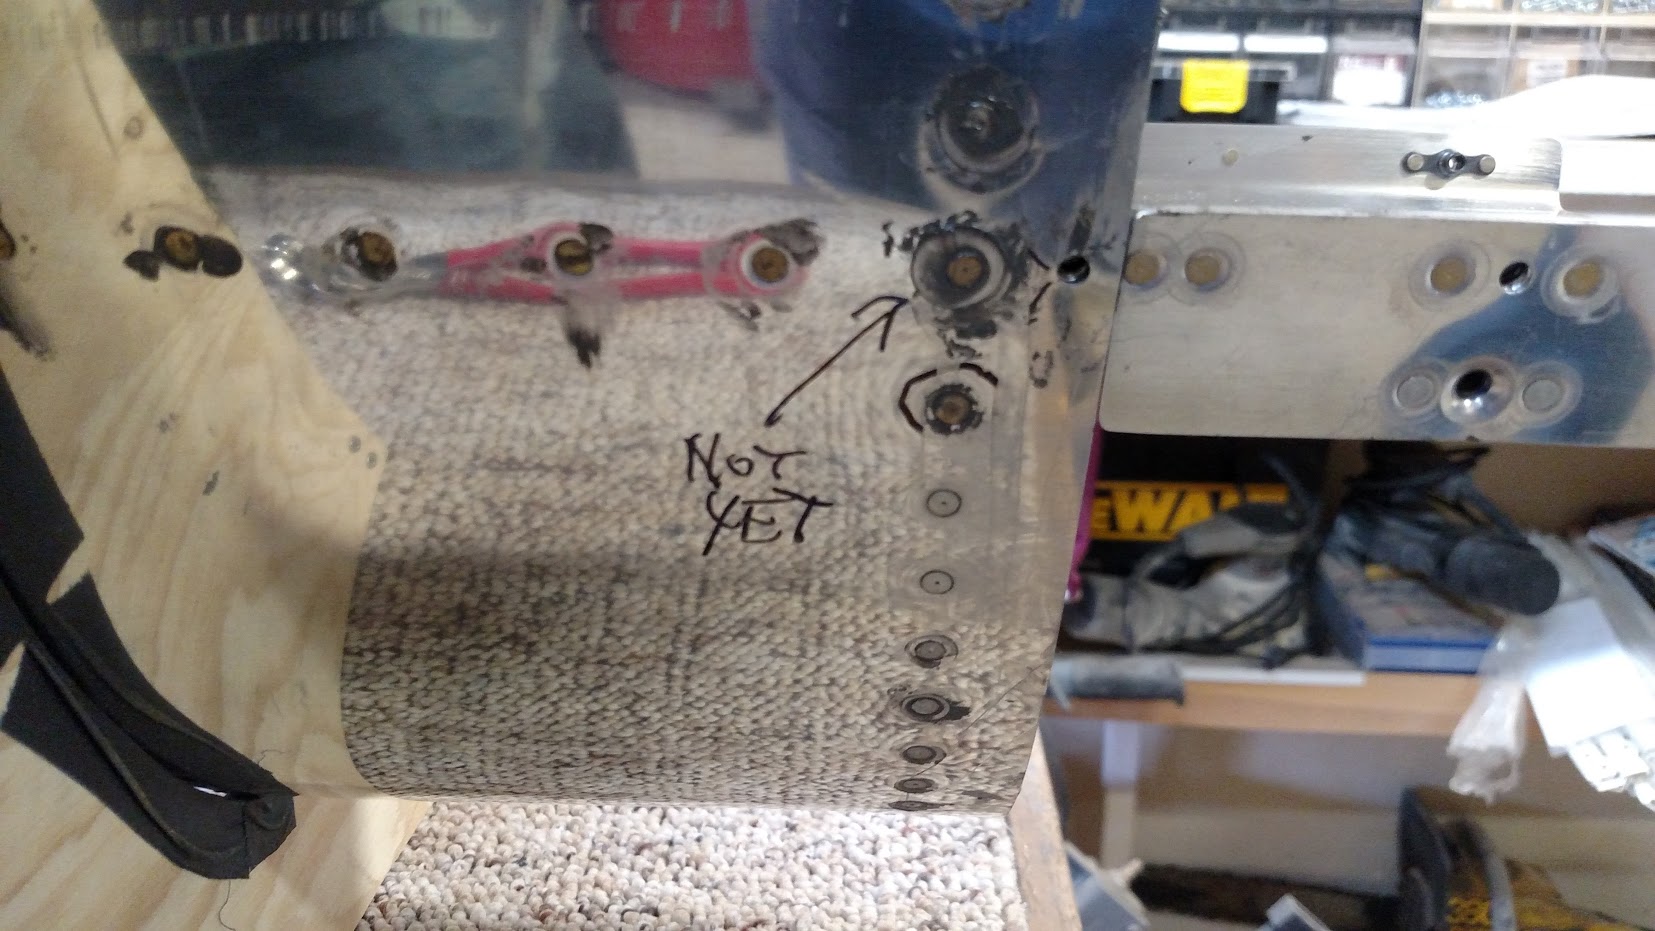
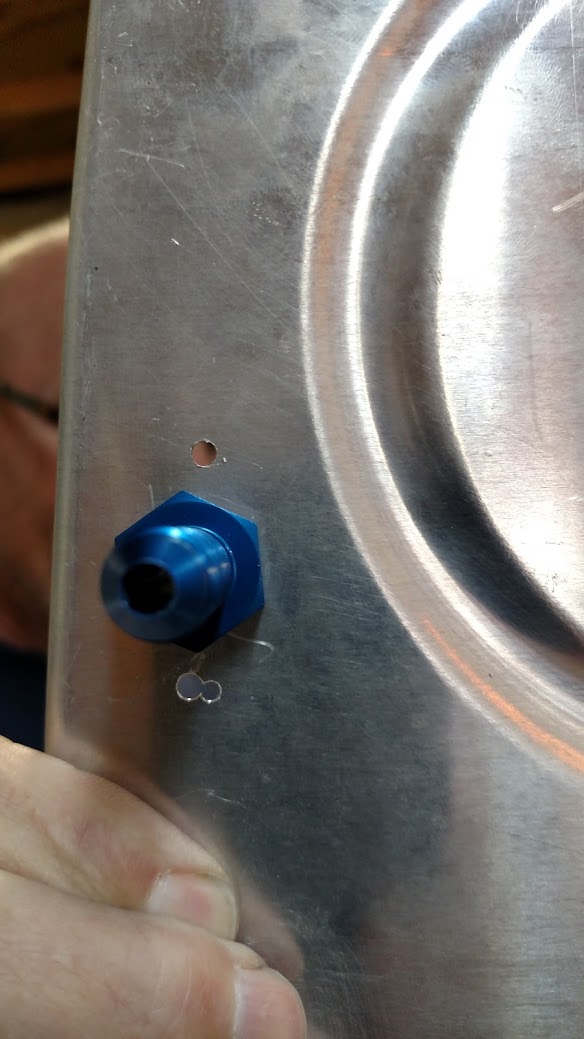
Here you can see the final (I hope?) location of the return line, as well as plugged and pro-sealed unused fitting: IMG_20151025_150651753 IMG_20151025_150751032 IMG_20151025_150823003

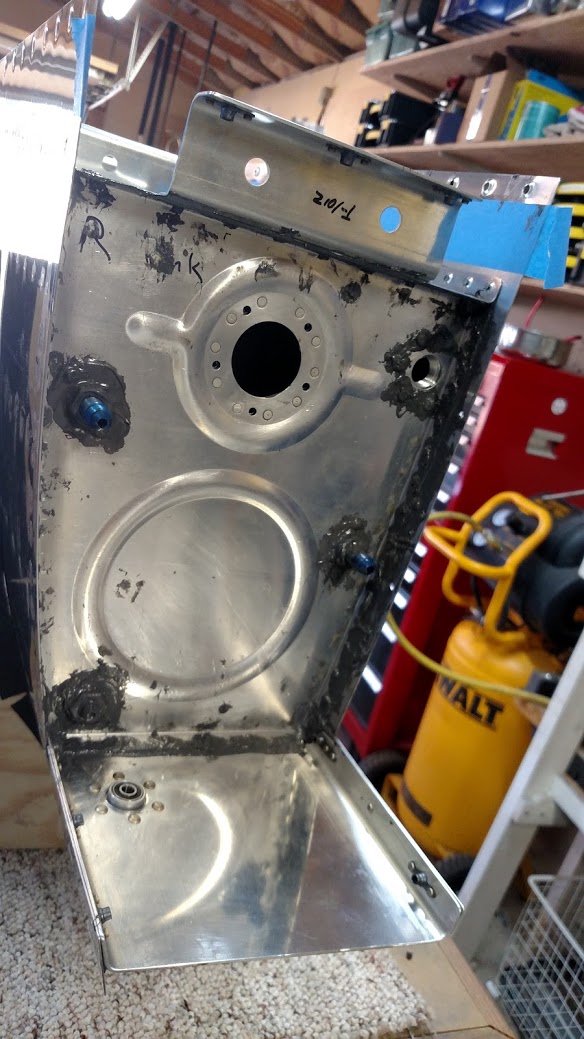
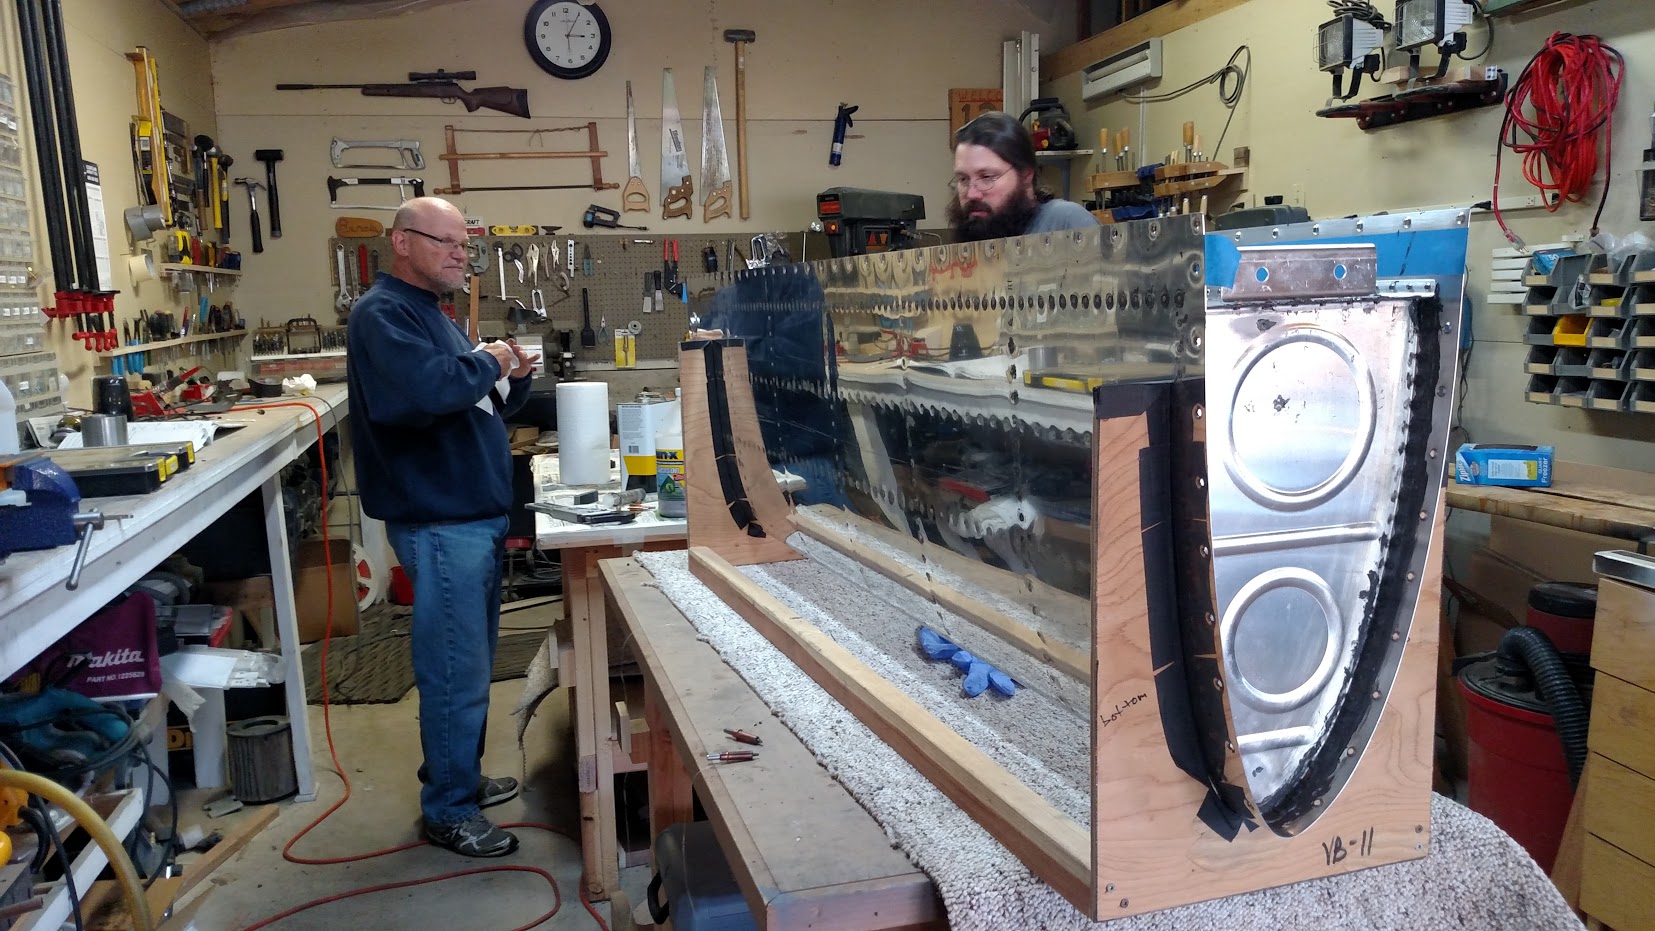
Berck: 6 hours, Randy: 6 hours, Jonah: 1 hour

Relocating return line fittings


In order to fix the improper fuel return location, we decided to just leave the old fittings in place, then cap and proseal over them.  So we needed to order new AN fittings, as well as the nut retention plate from Van’s.

I managed to get distracted while drilling the holes for the nut retention plate and while trying to match drill, managed to completely miss-drill.  Probably should have just drilled the hole in one go rather than drilling it smaller and match drilling.  Fortunately, there is nothing structural about the nut retention plate, so I’m not too worried about this mistake:


IMG_20151024_154516565

Berck: 6 hours, Randy: 6 hours