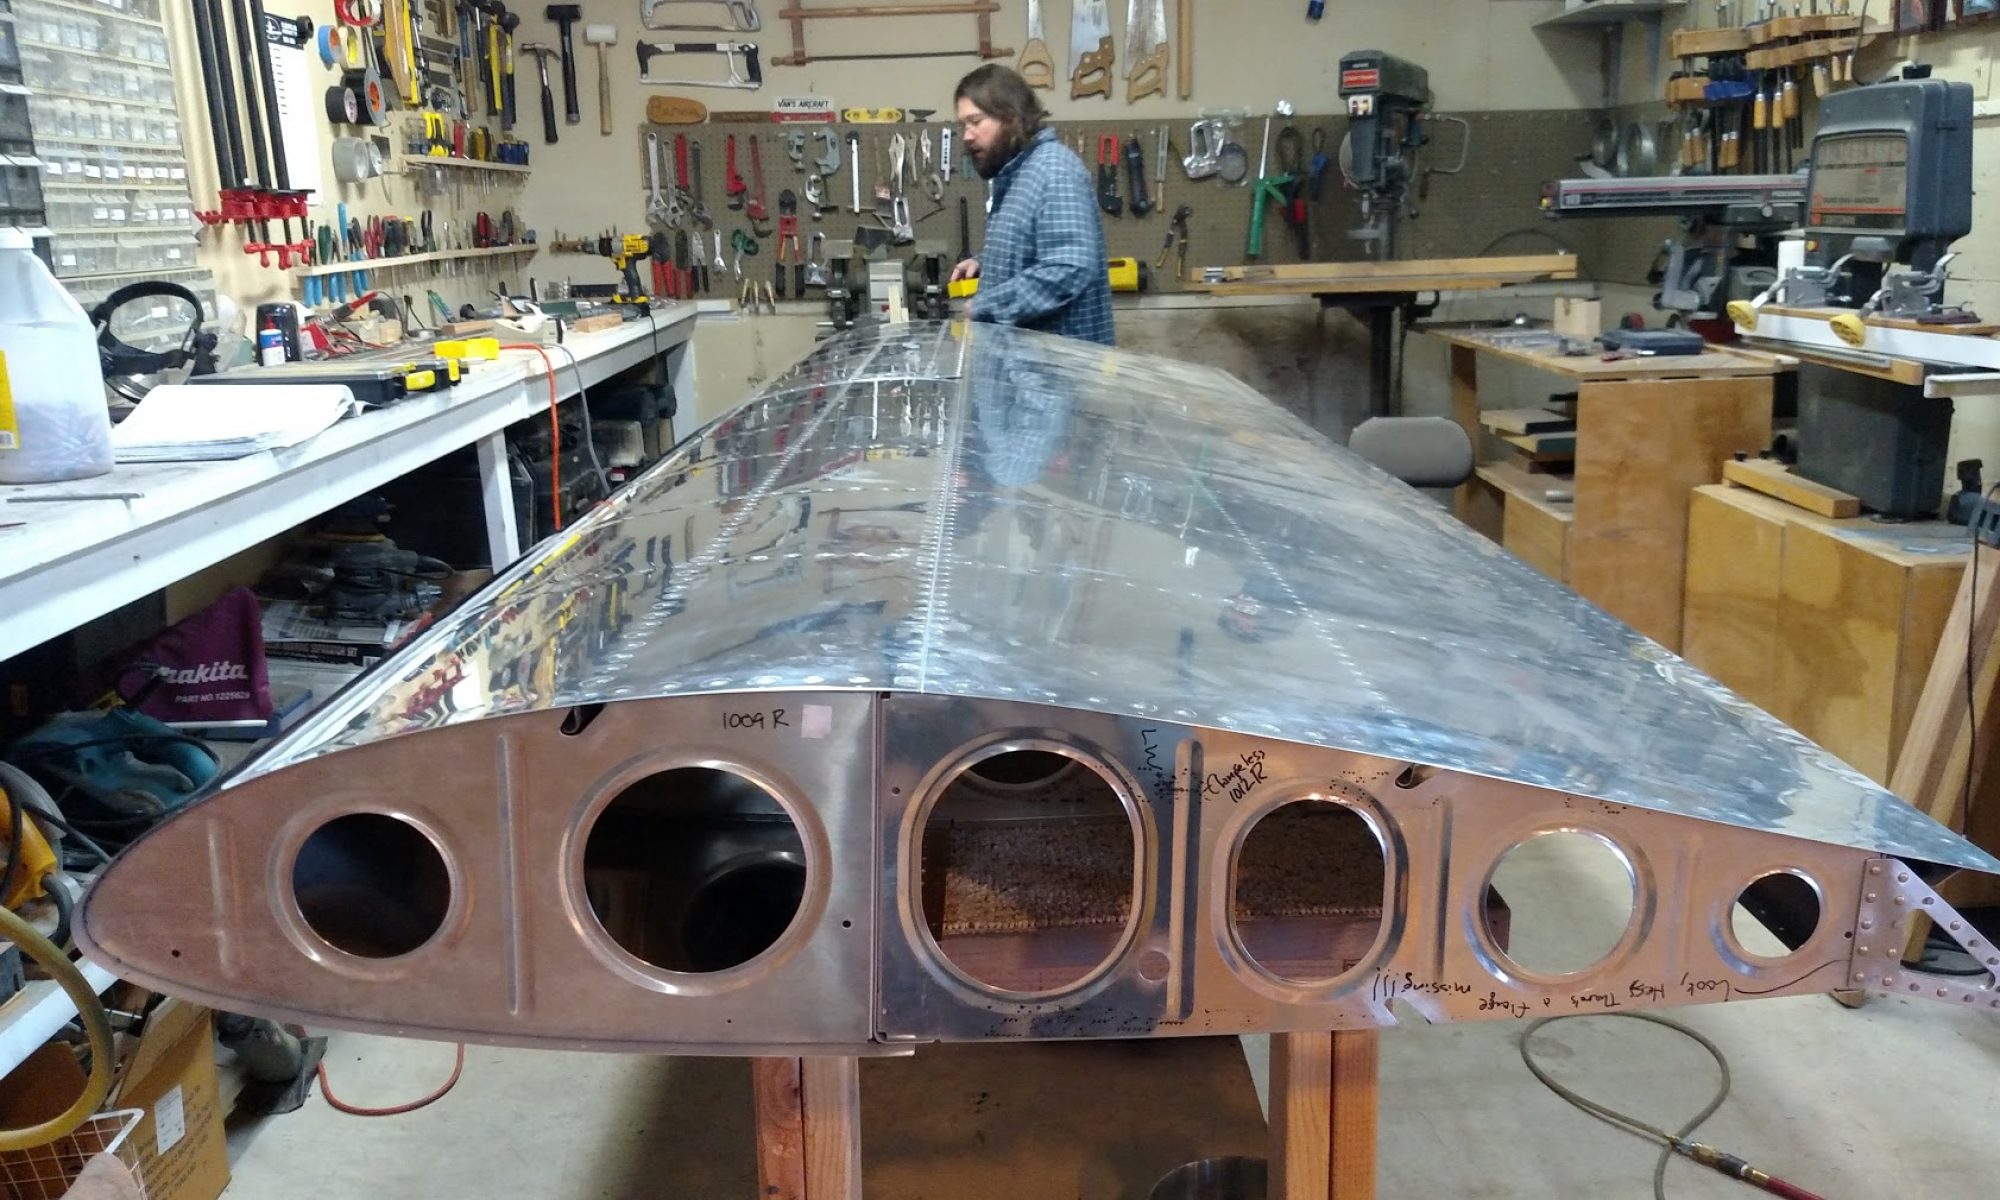


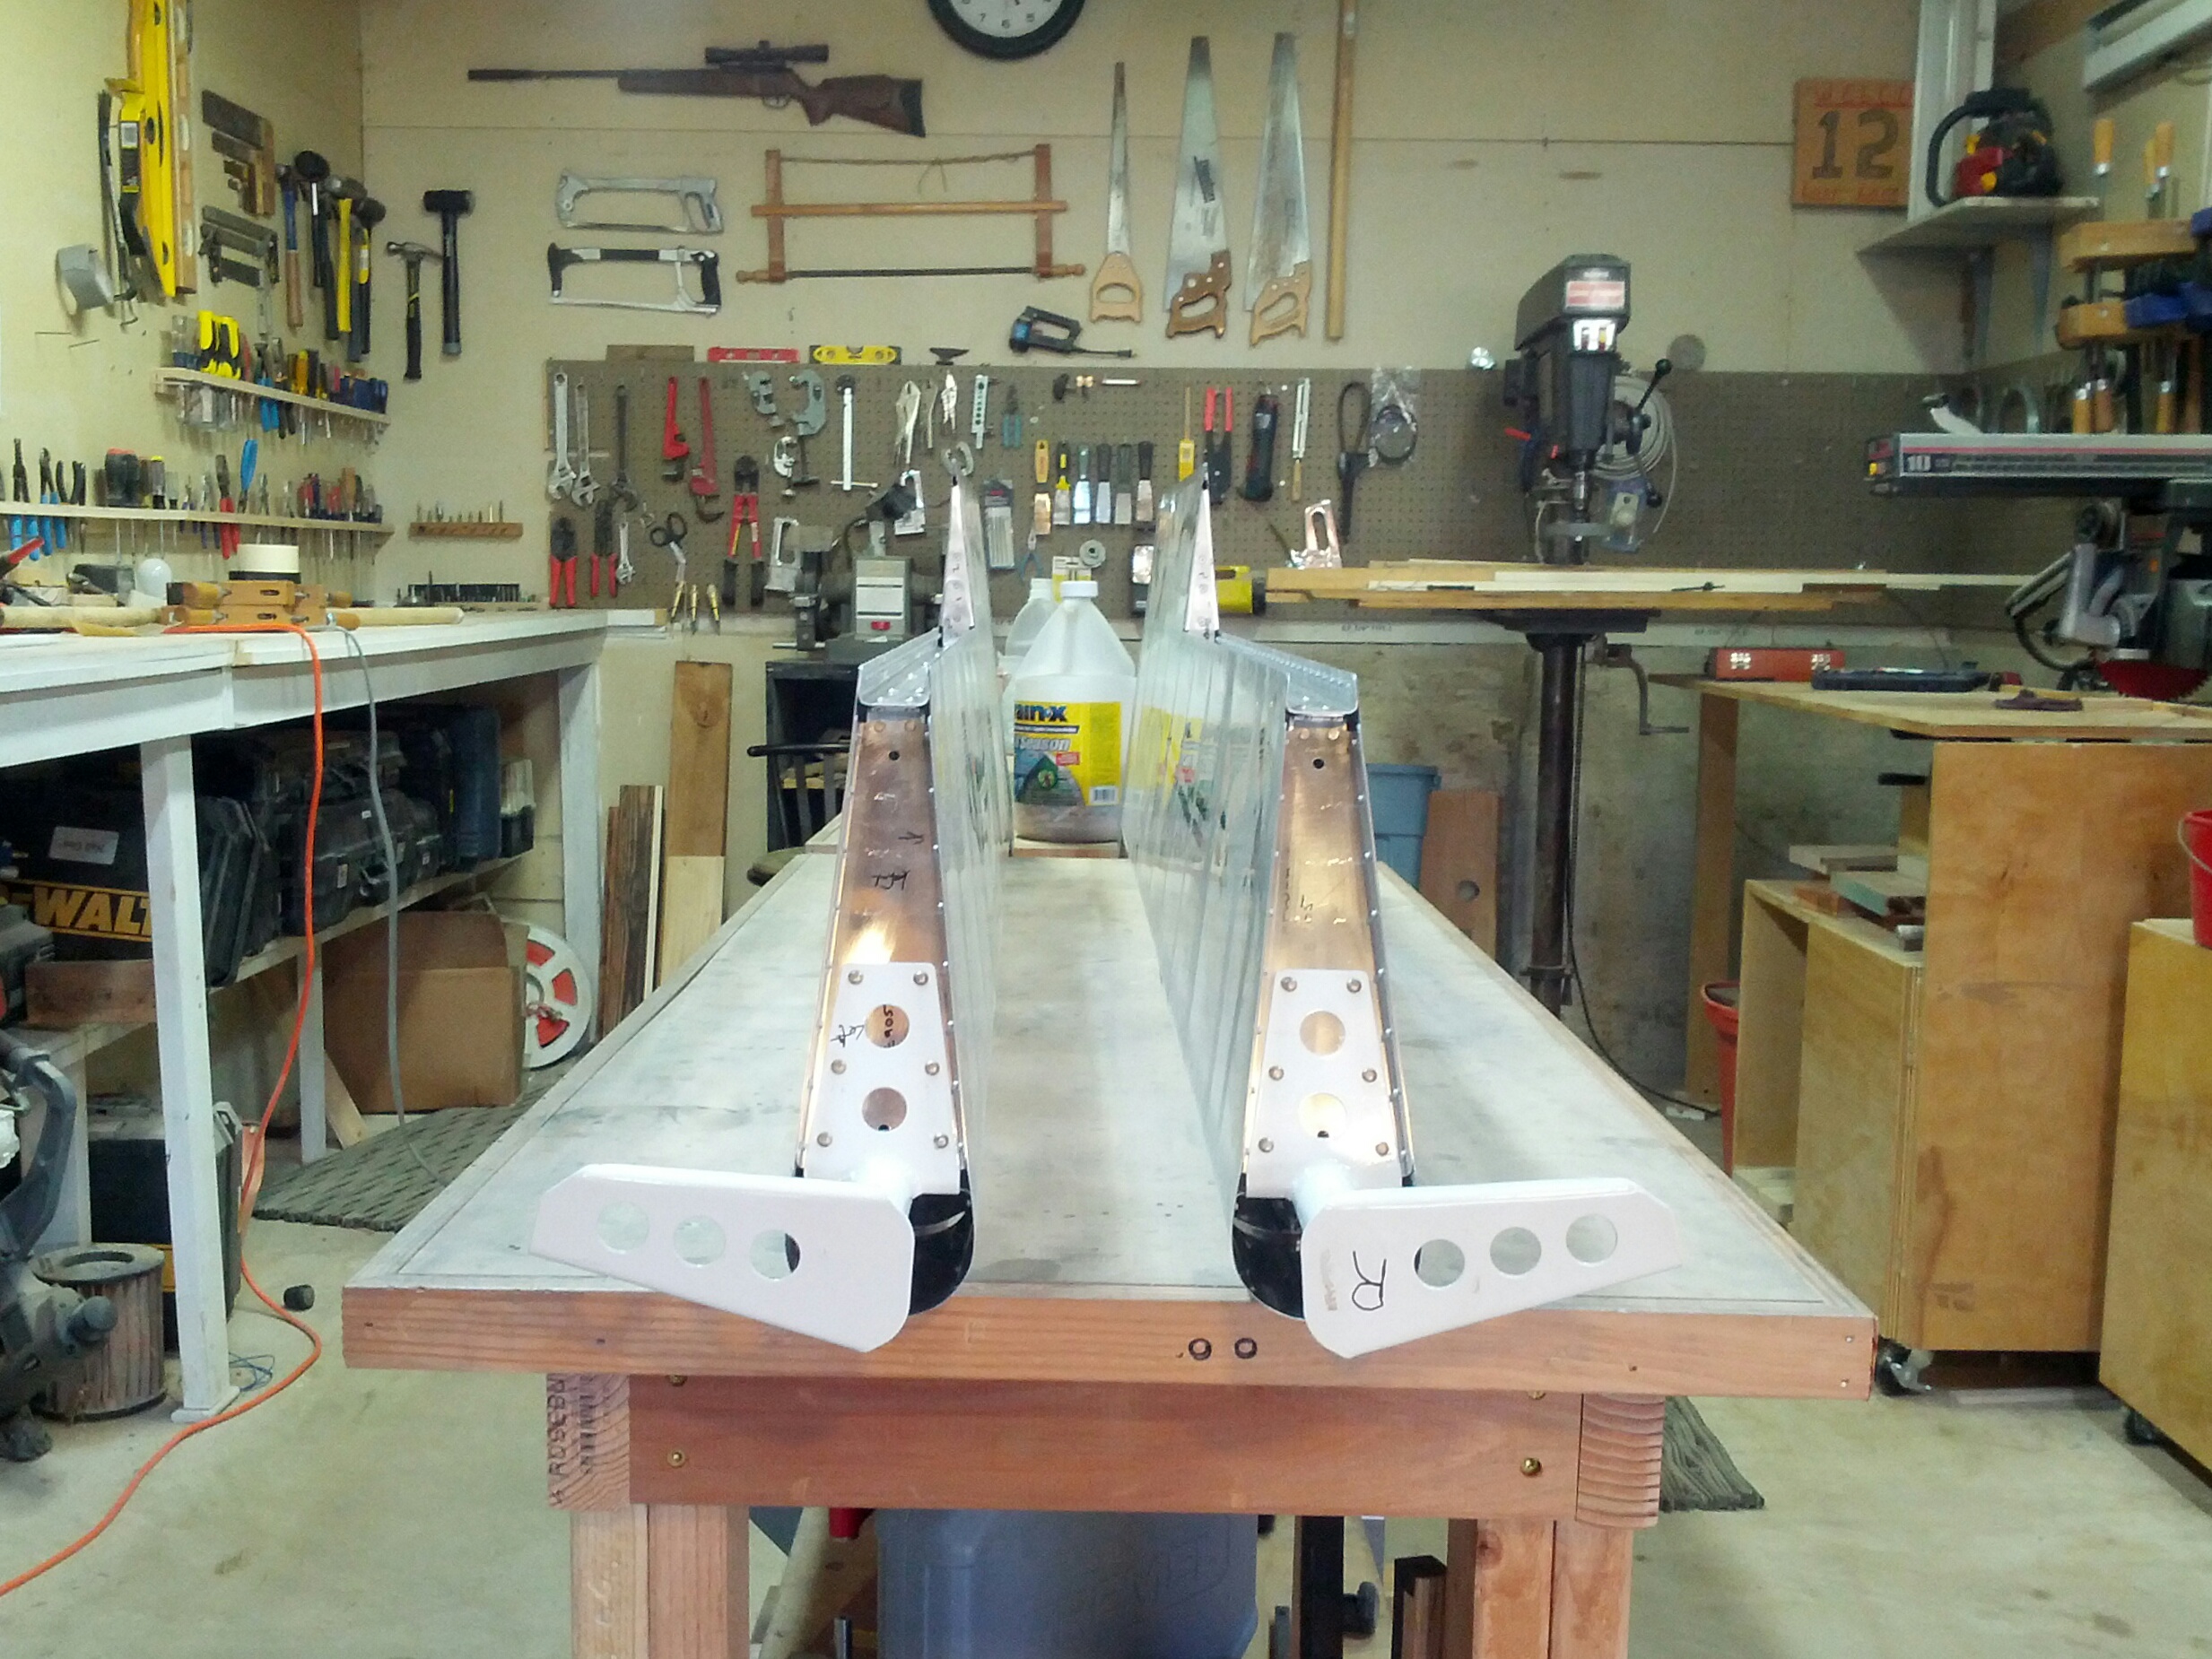
Finally getting somewhere on these trim tabs. There are now 7 trim tabs in my garage. Two of them are going to go on the plane.
We decided to close the close-out tabs before making the final bend along the long axis of the trim tab, contrary to what the directions suggest. This resulted in a minor dent in one corner from slightly over-bending with the brake. But the problematic close-out tabs came out just fine, and overall the trim tabs look pretty good.
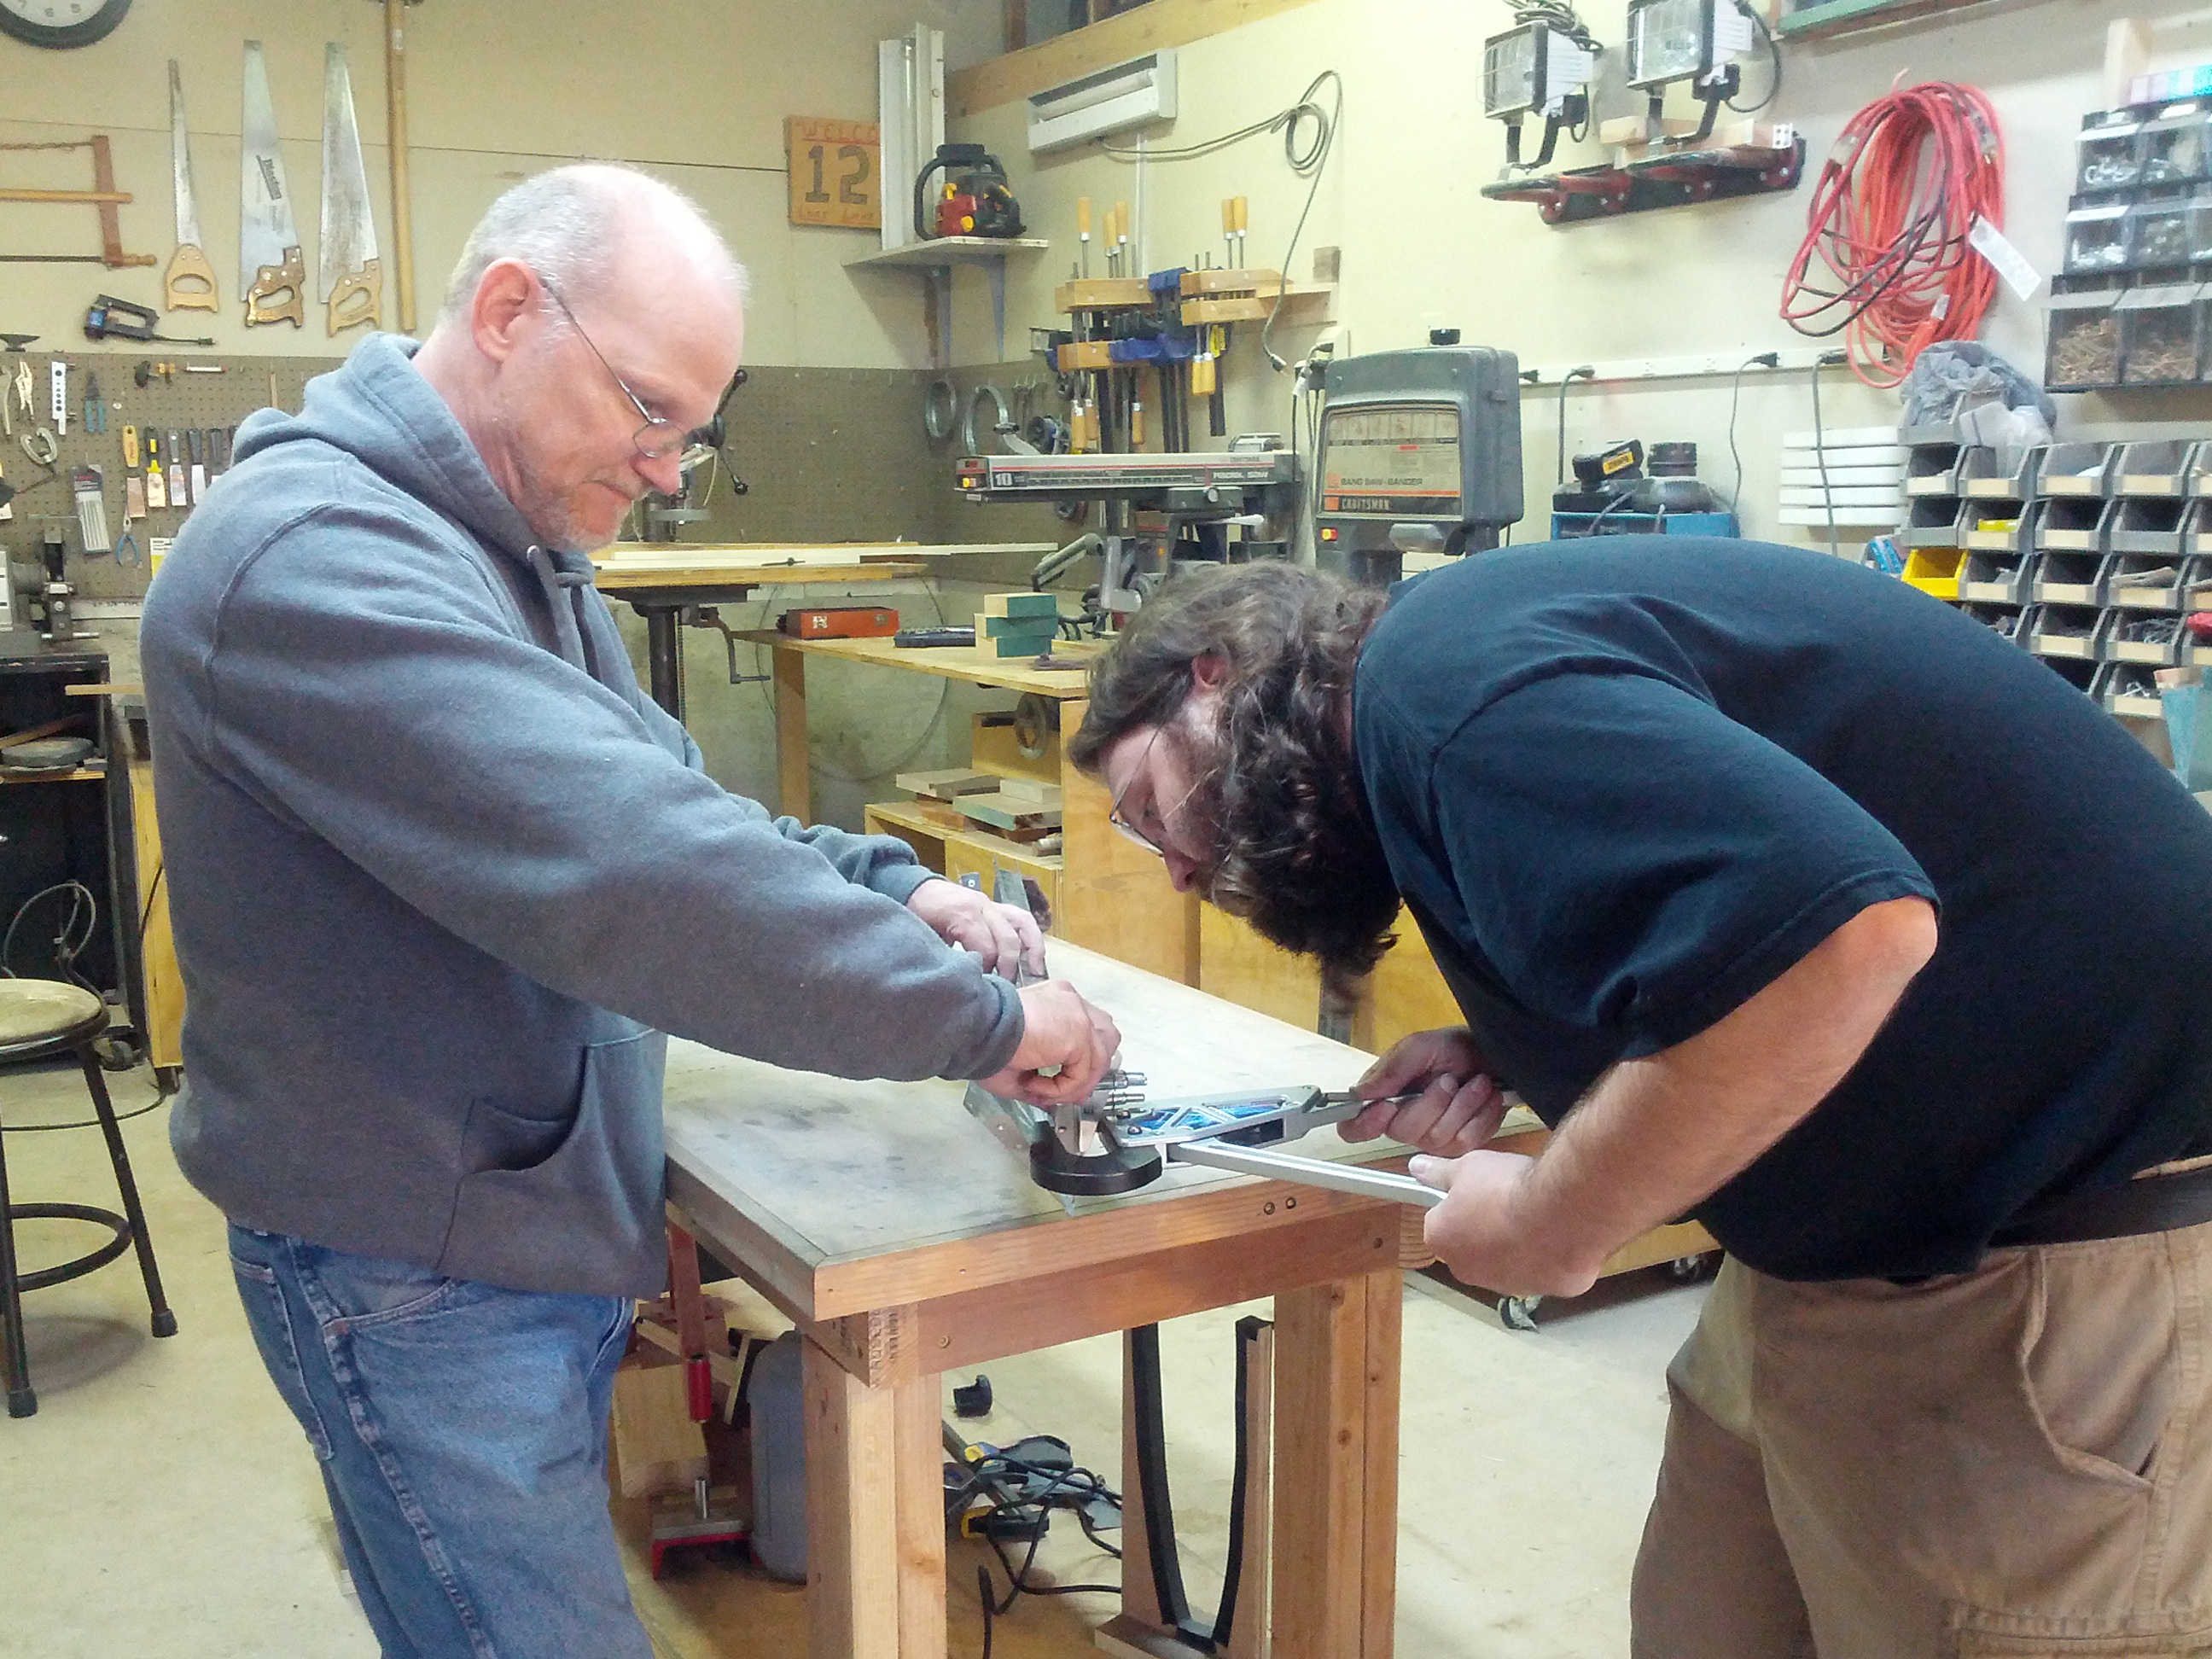
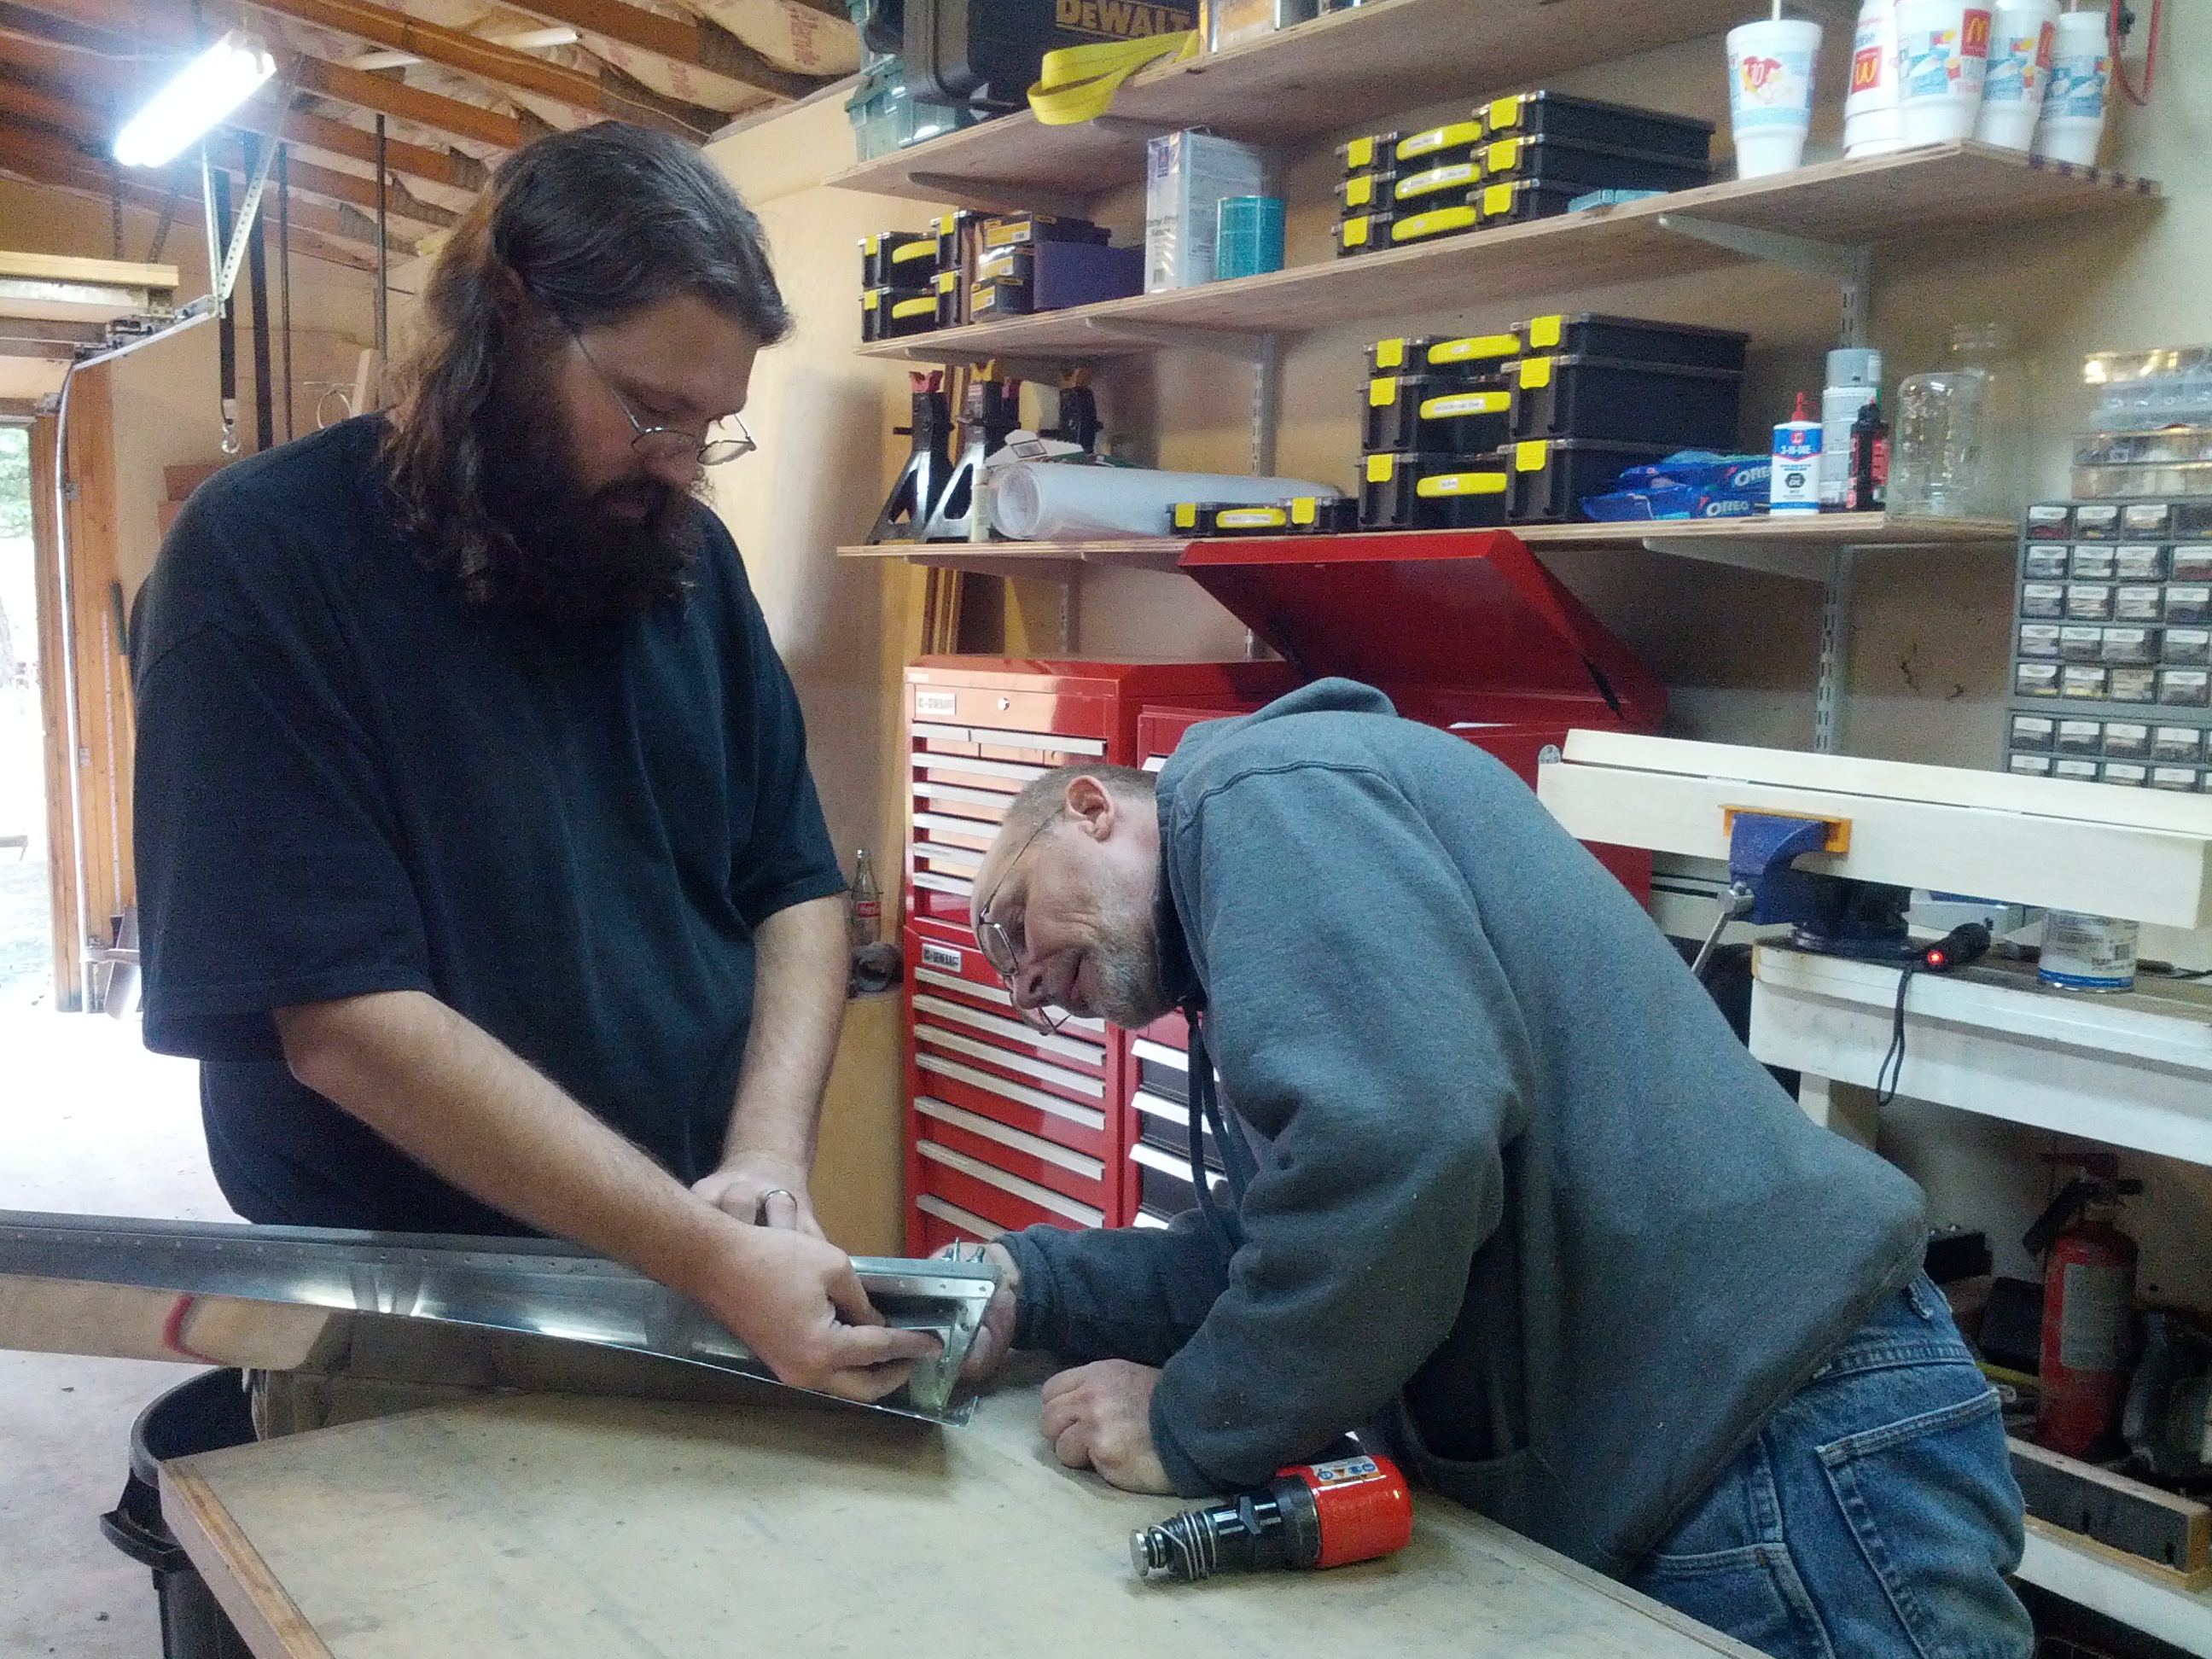
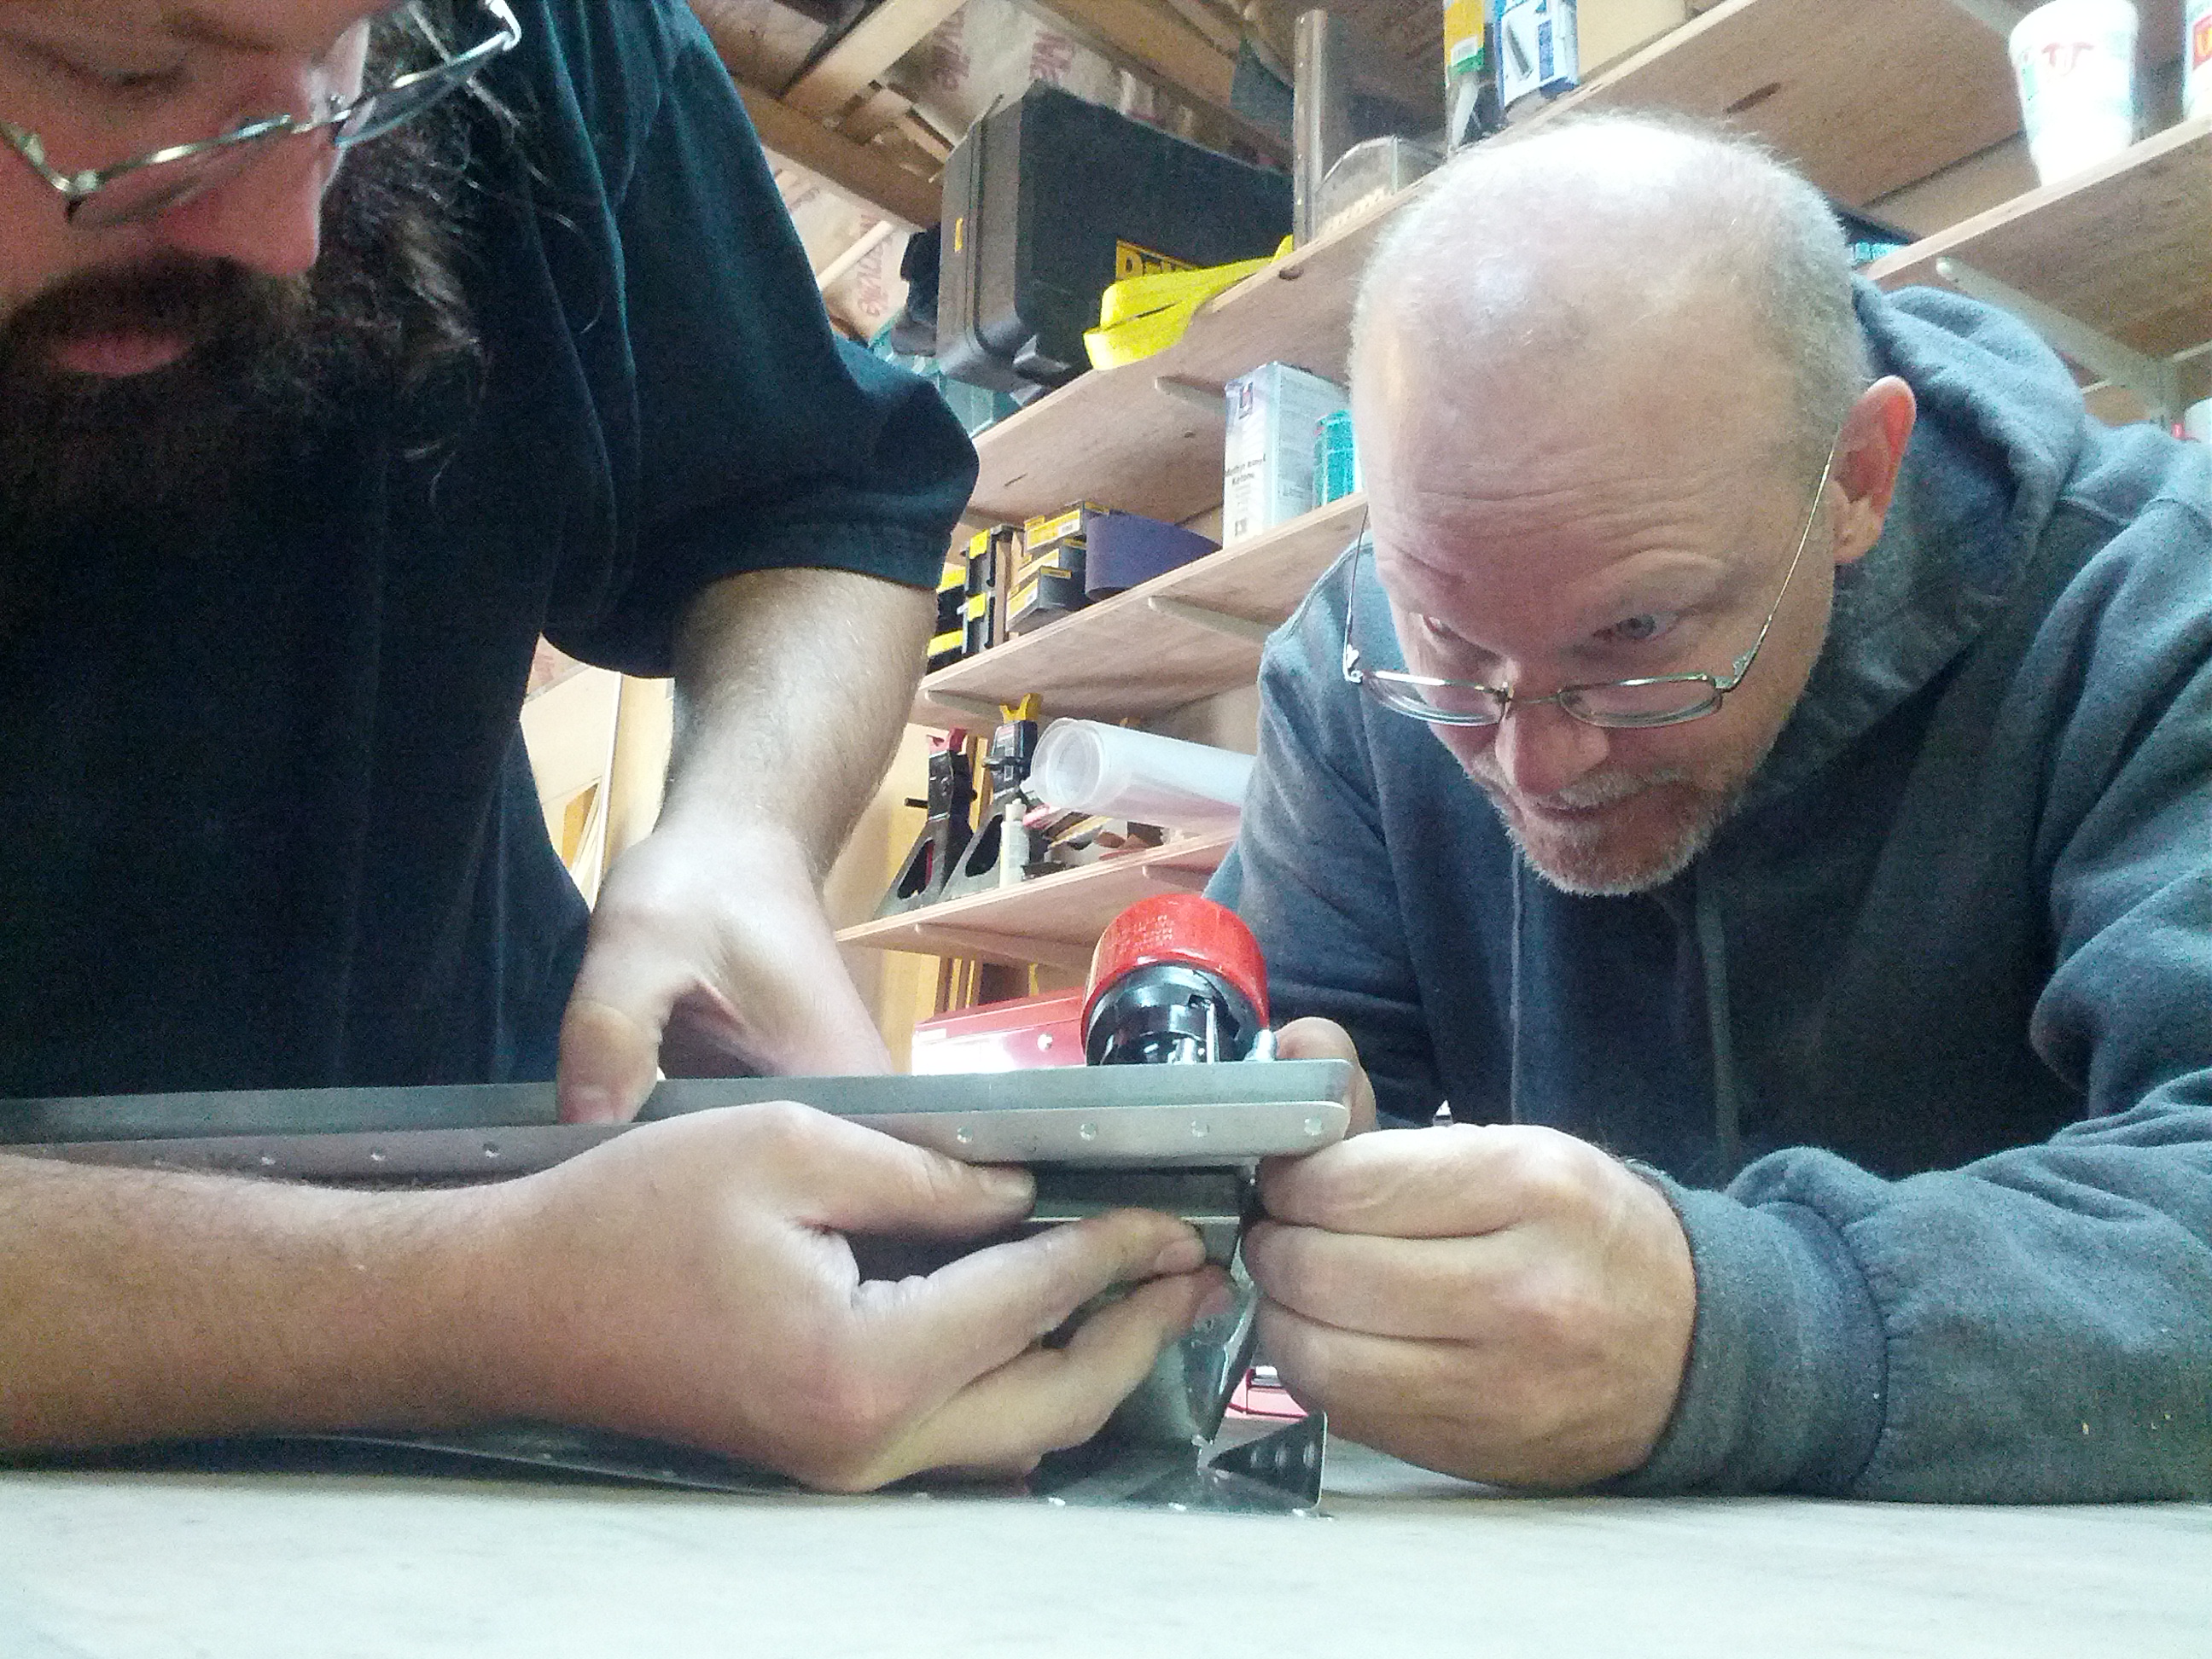
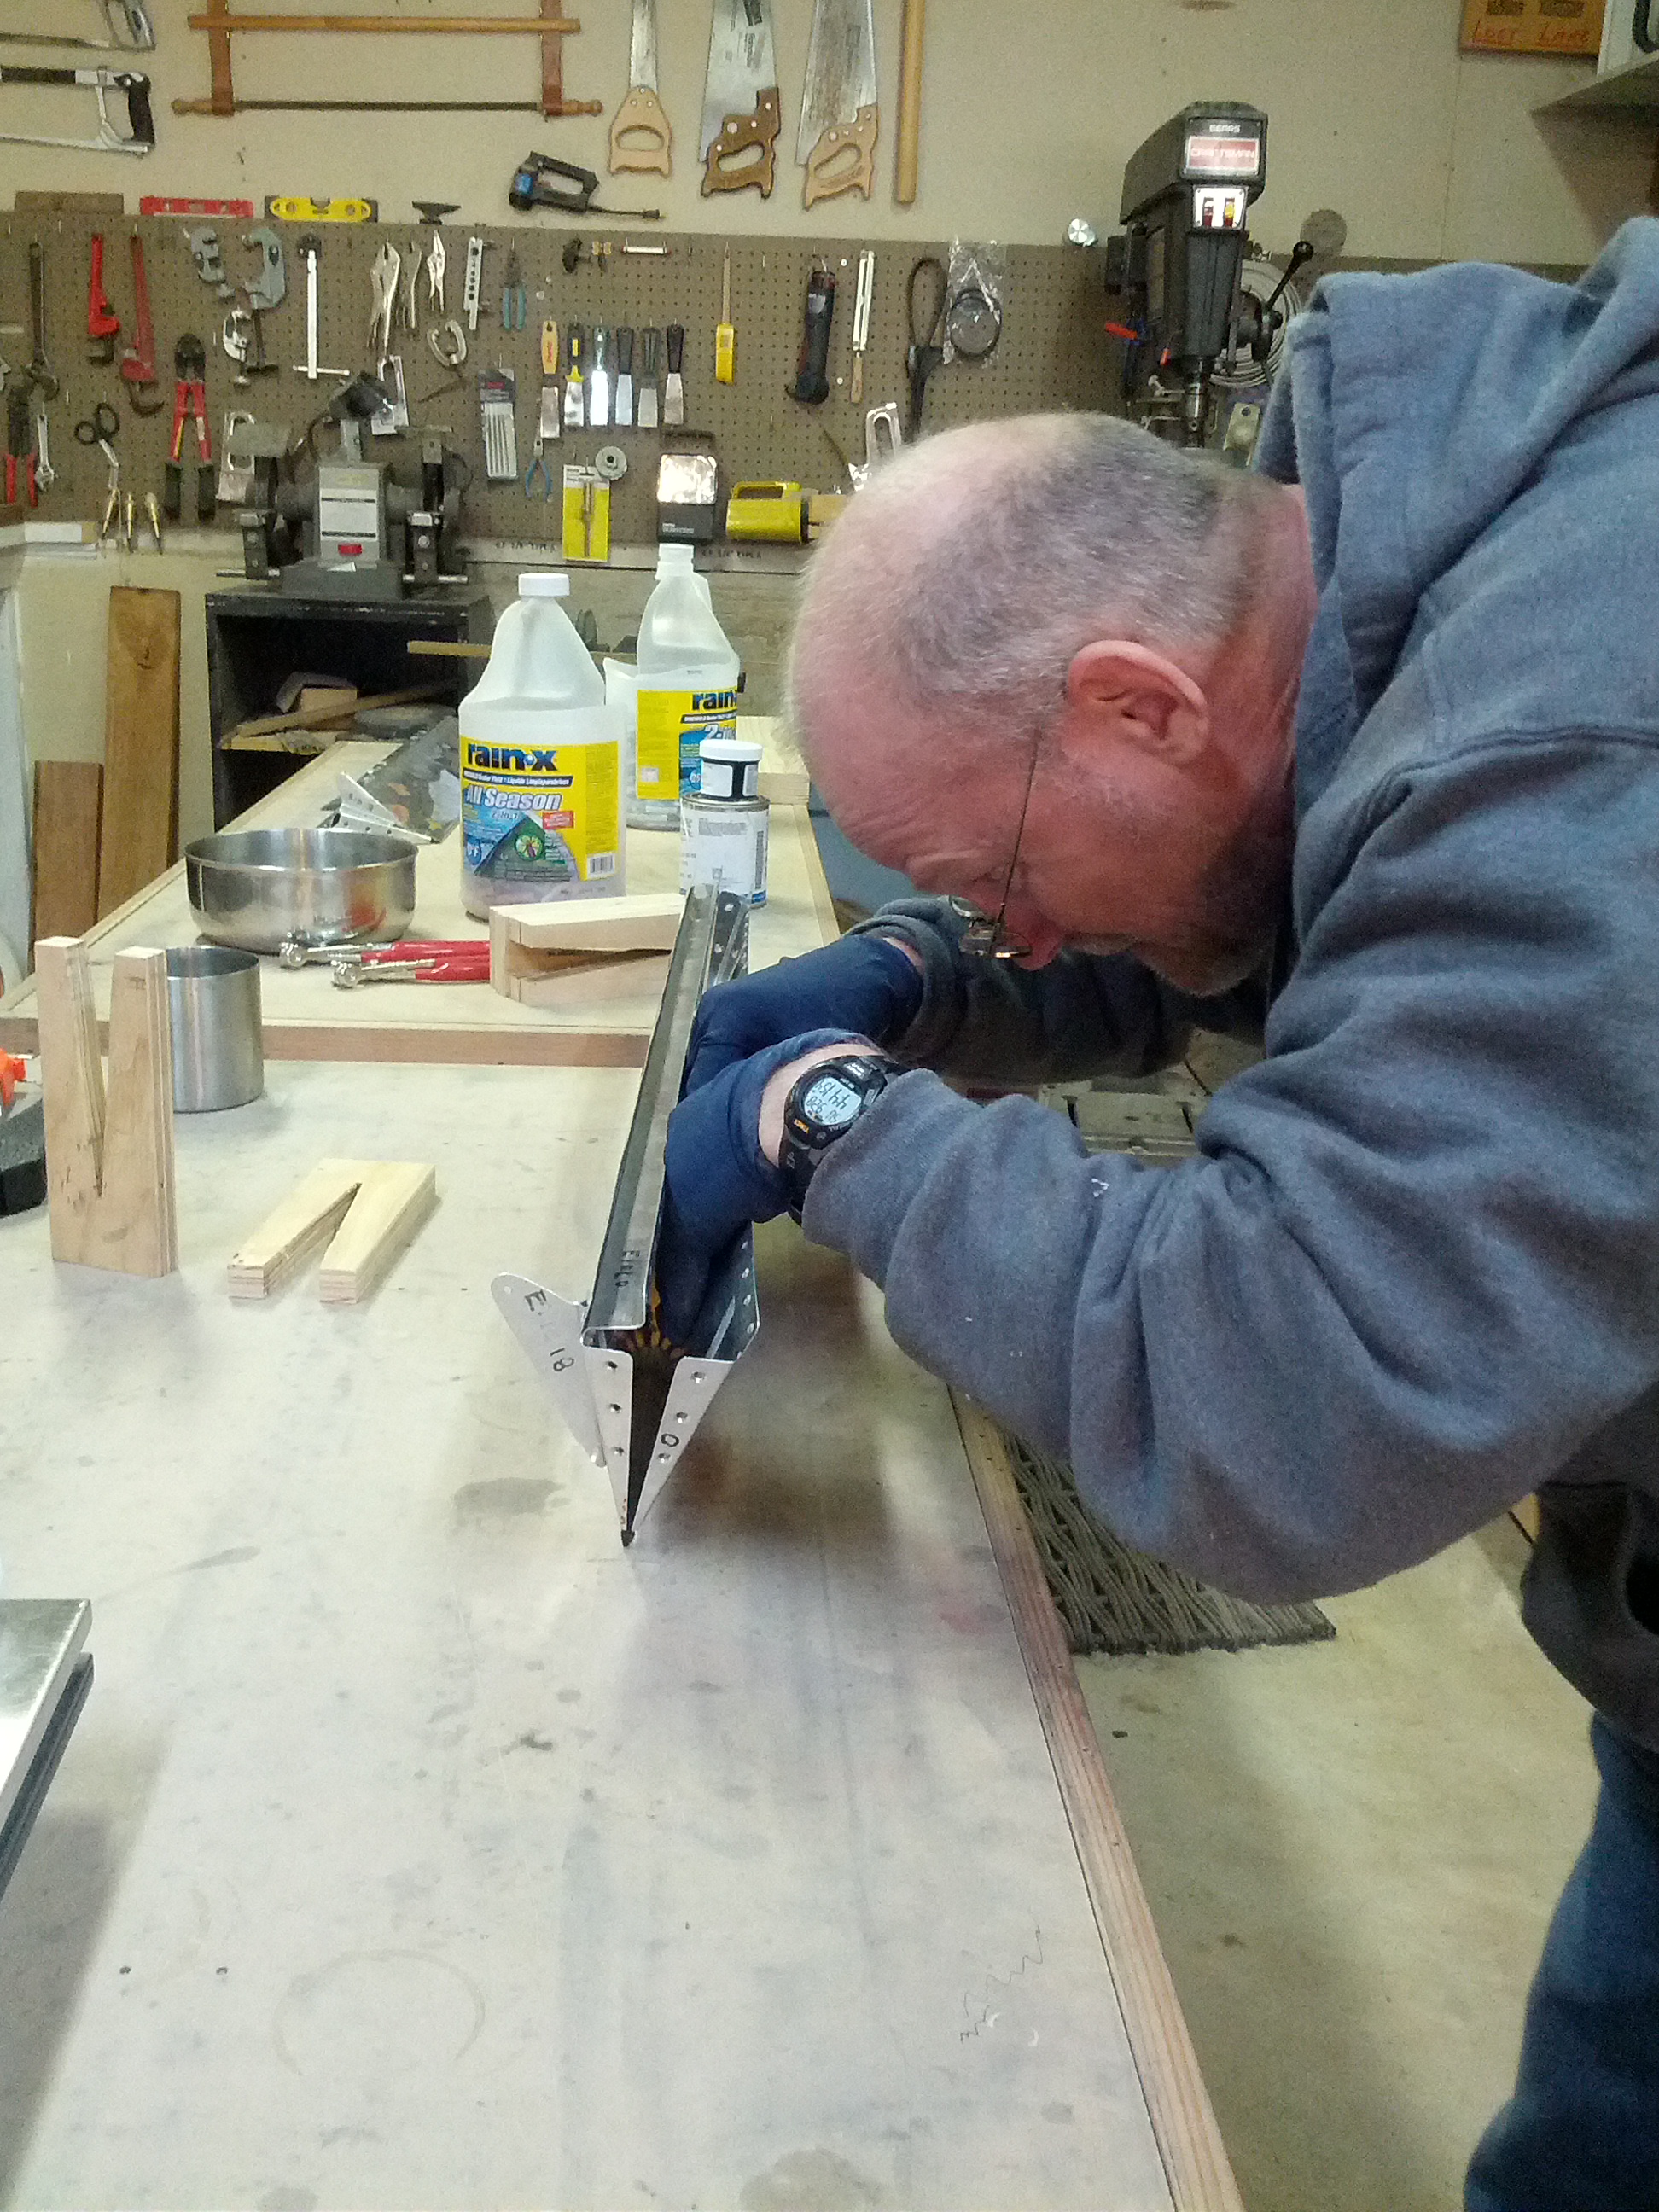
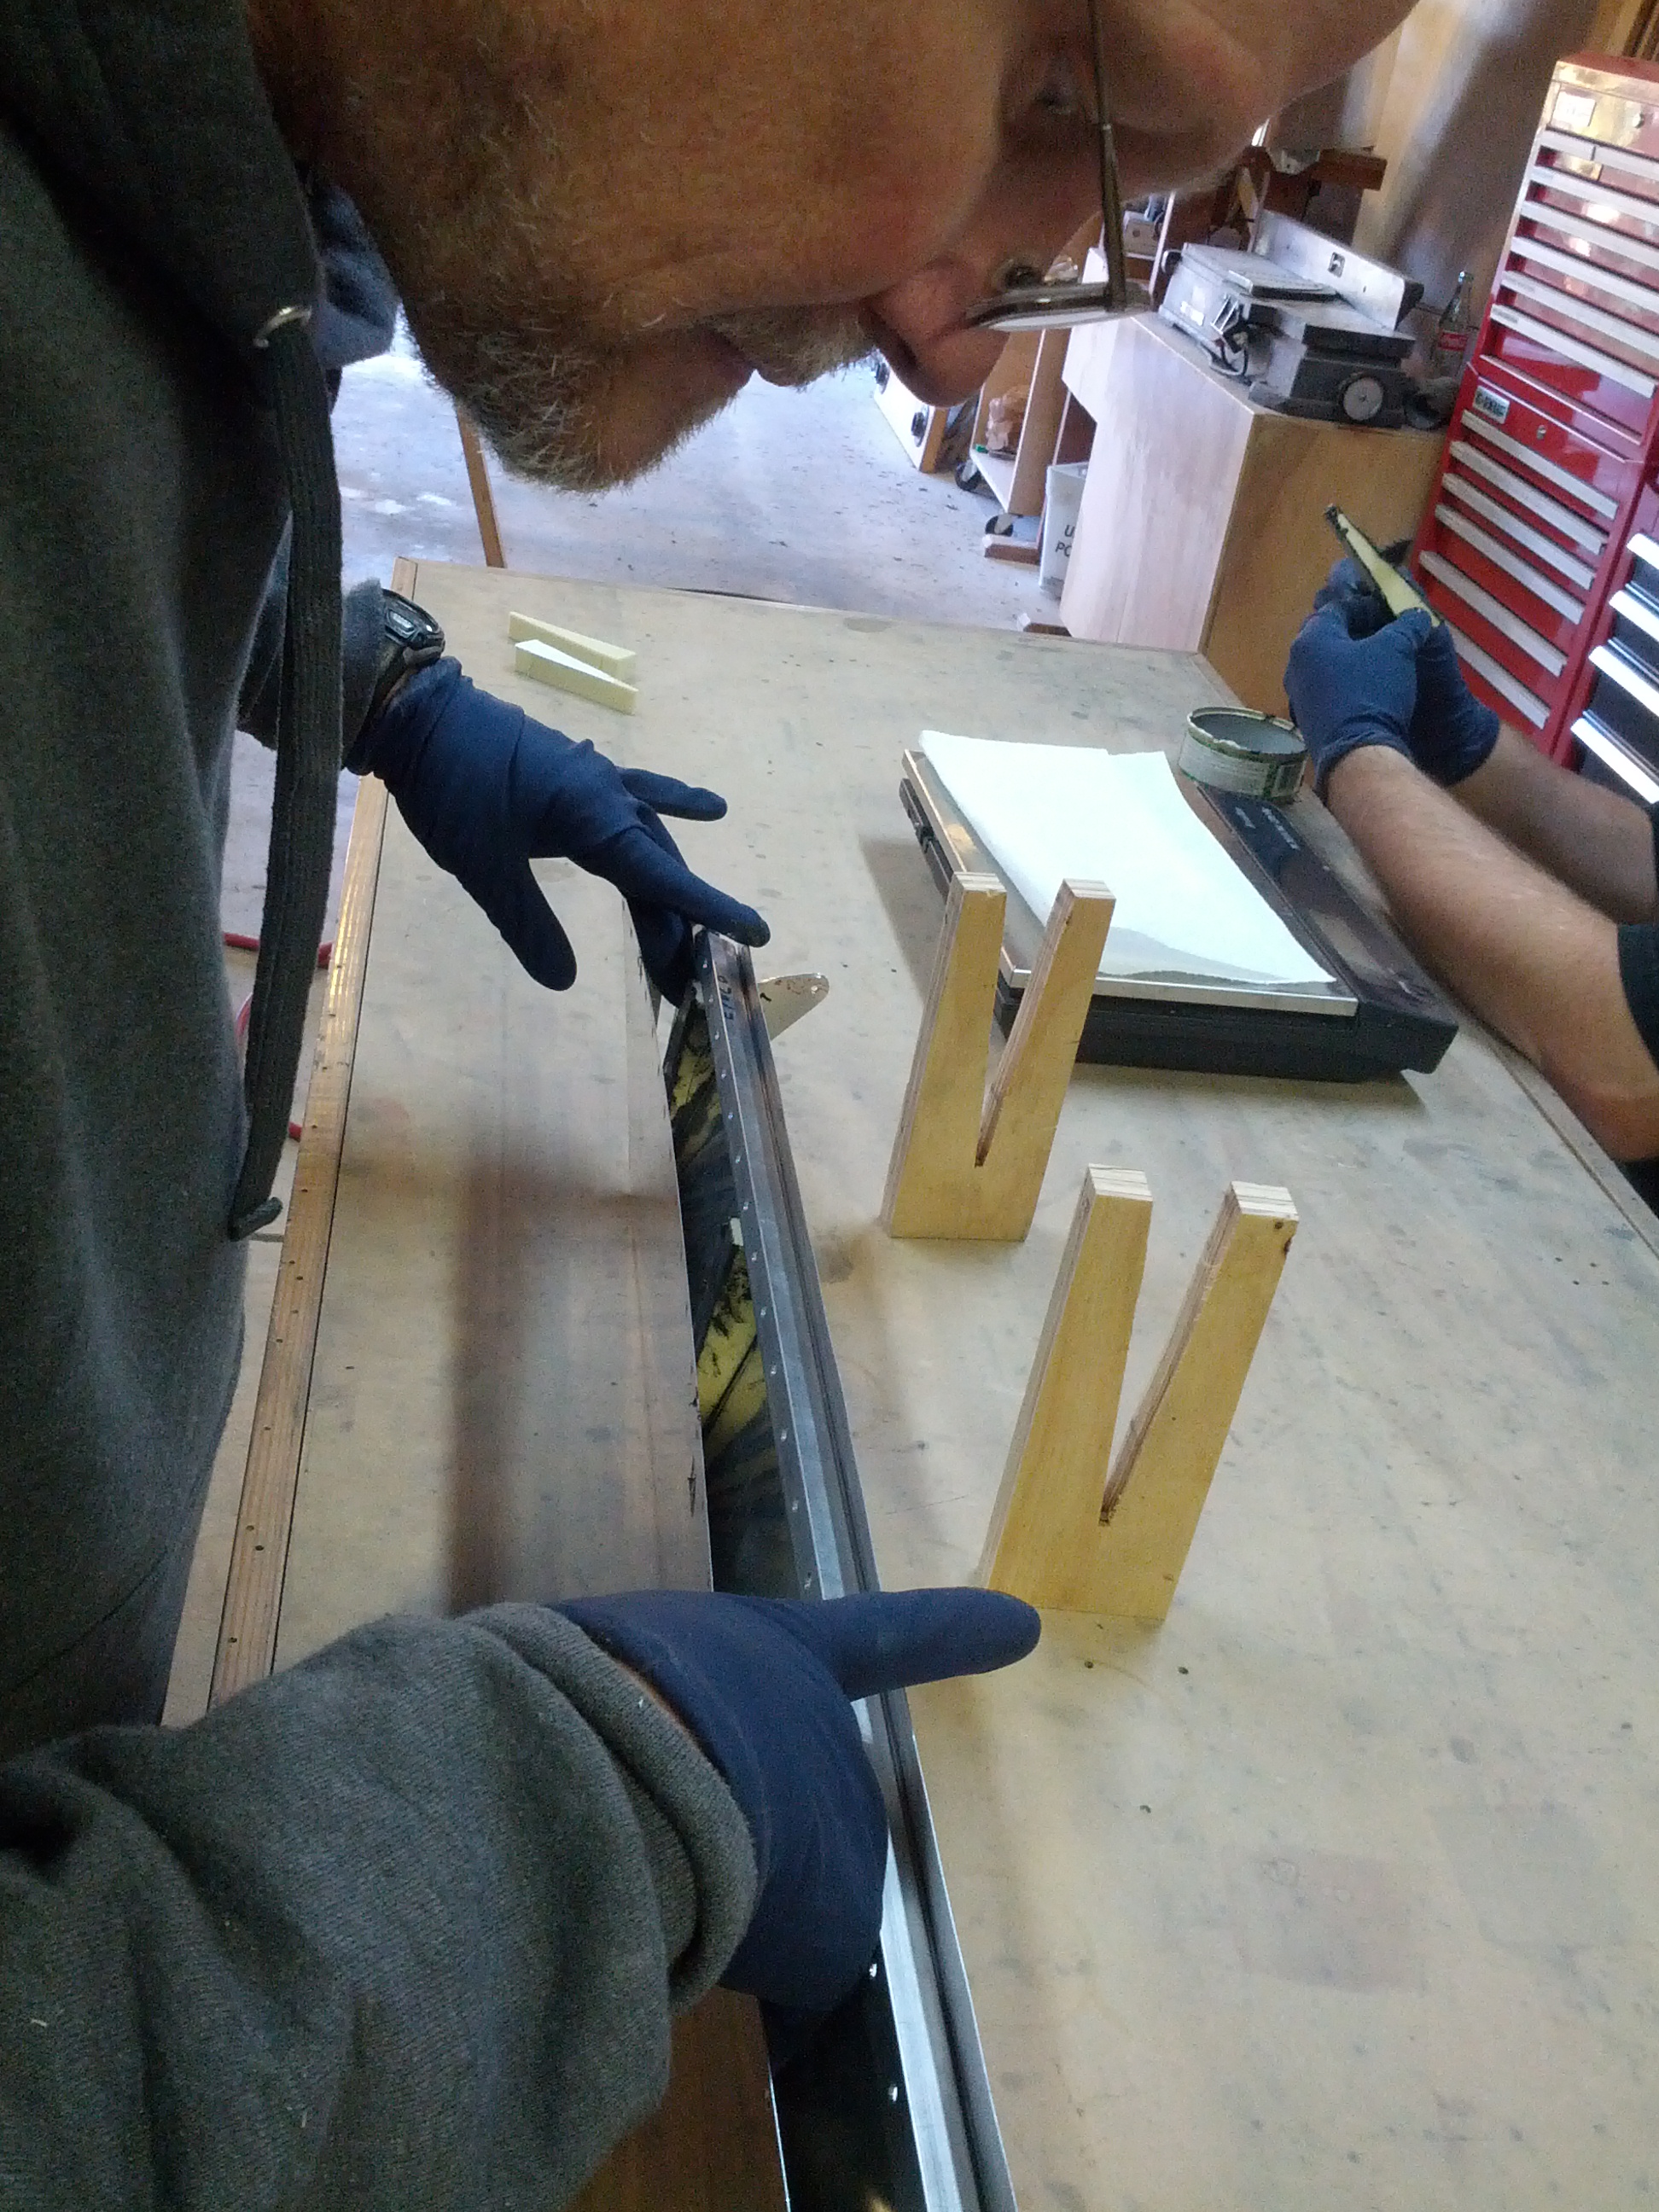
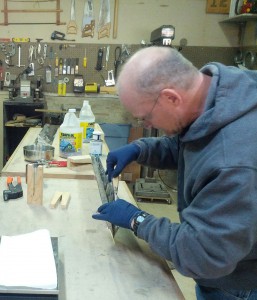
Several of the rivets for the elevator trim tab “horn” were tough. (It’s not a horn according to aircraft anatomy as I learned it, but that’s what Vans calls it.) There’s not enough depth on a yoke to squeeze some of them, and there’s not enough clearance with the mushroom head on the rivet gun.
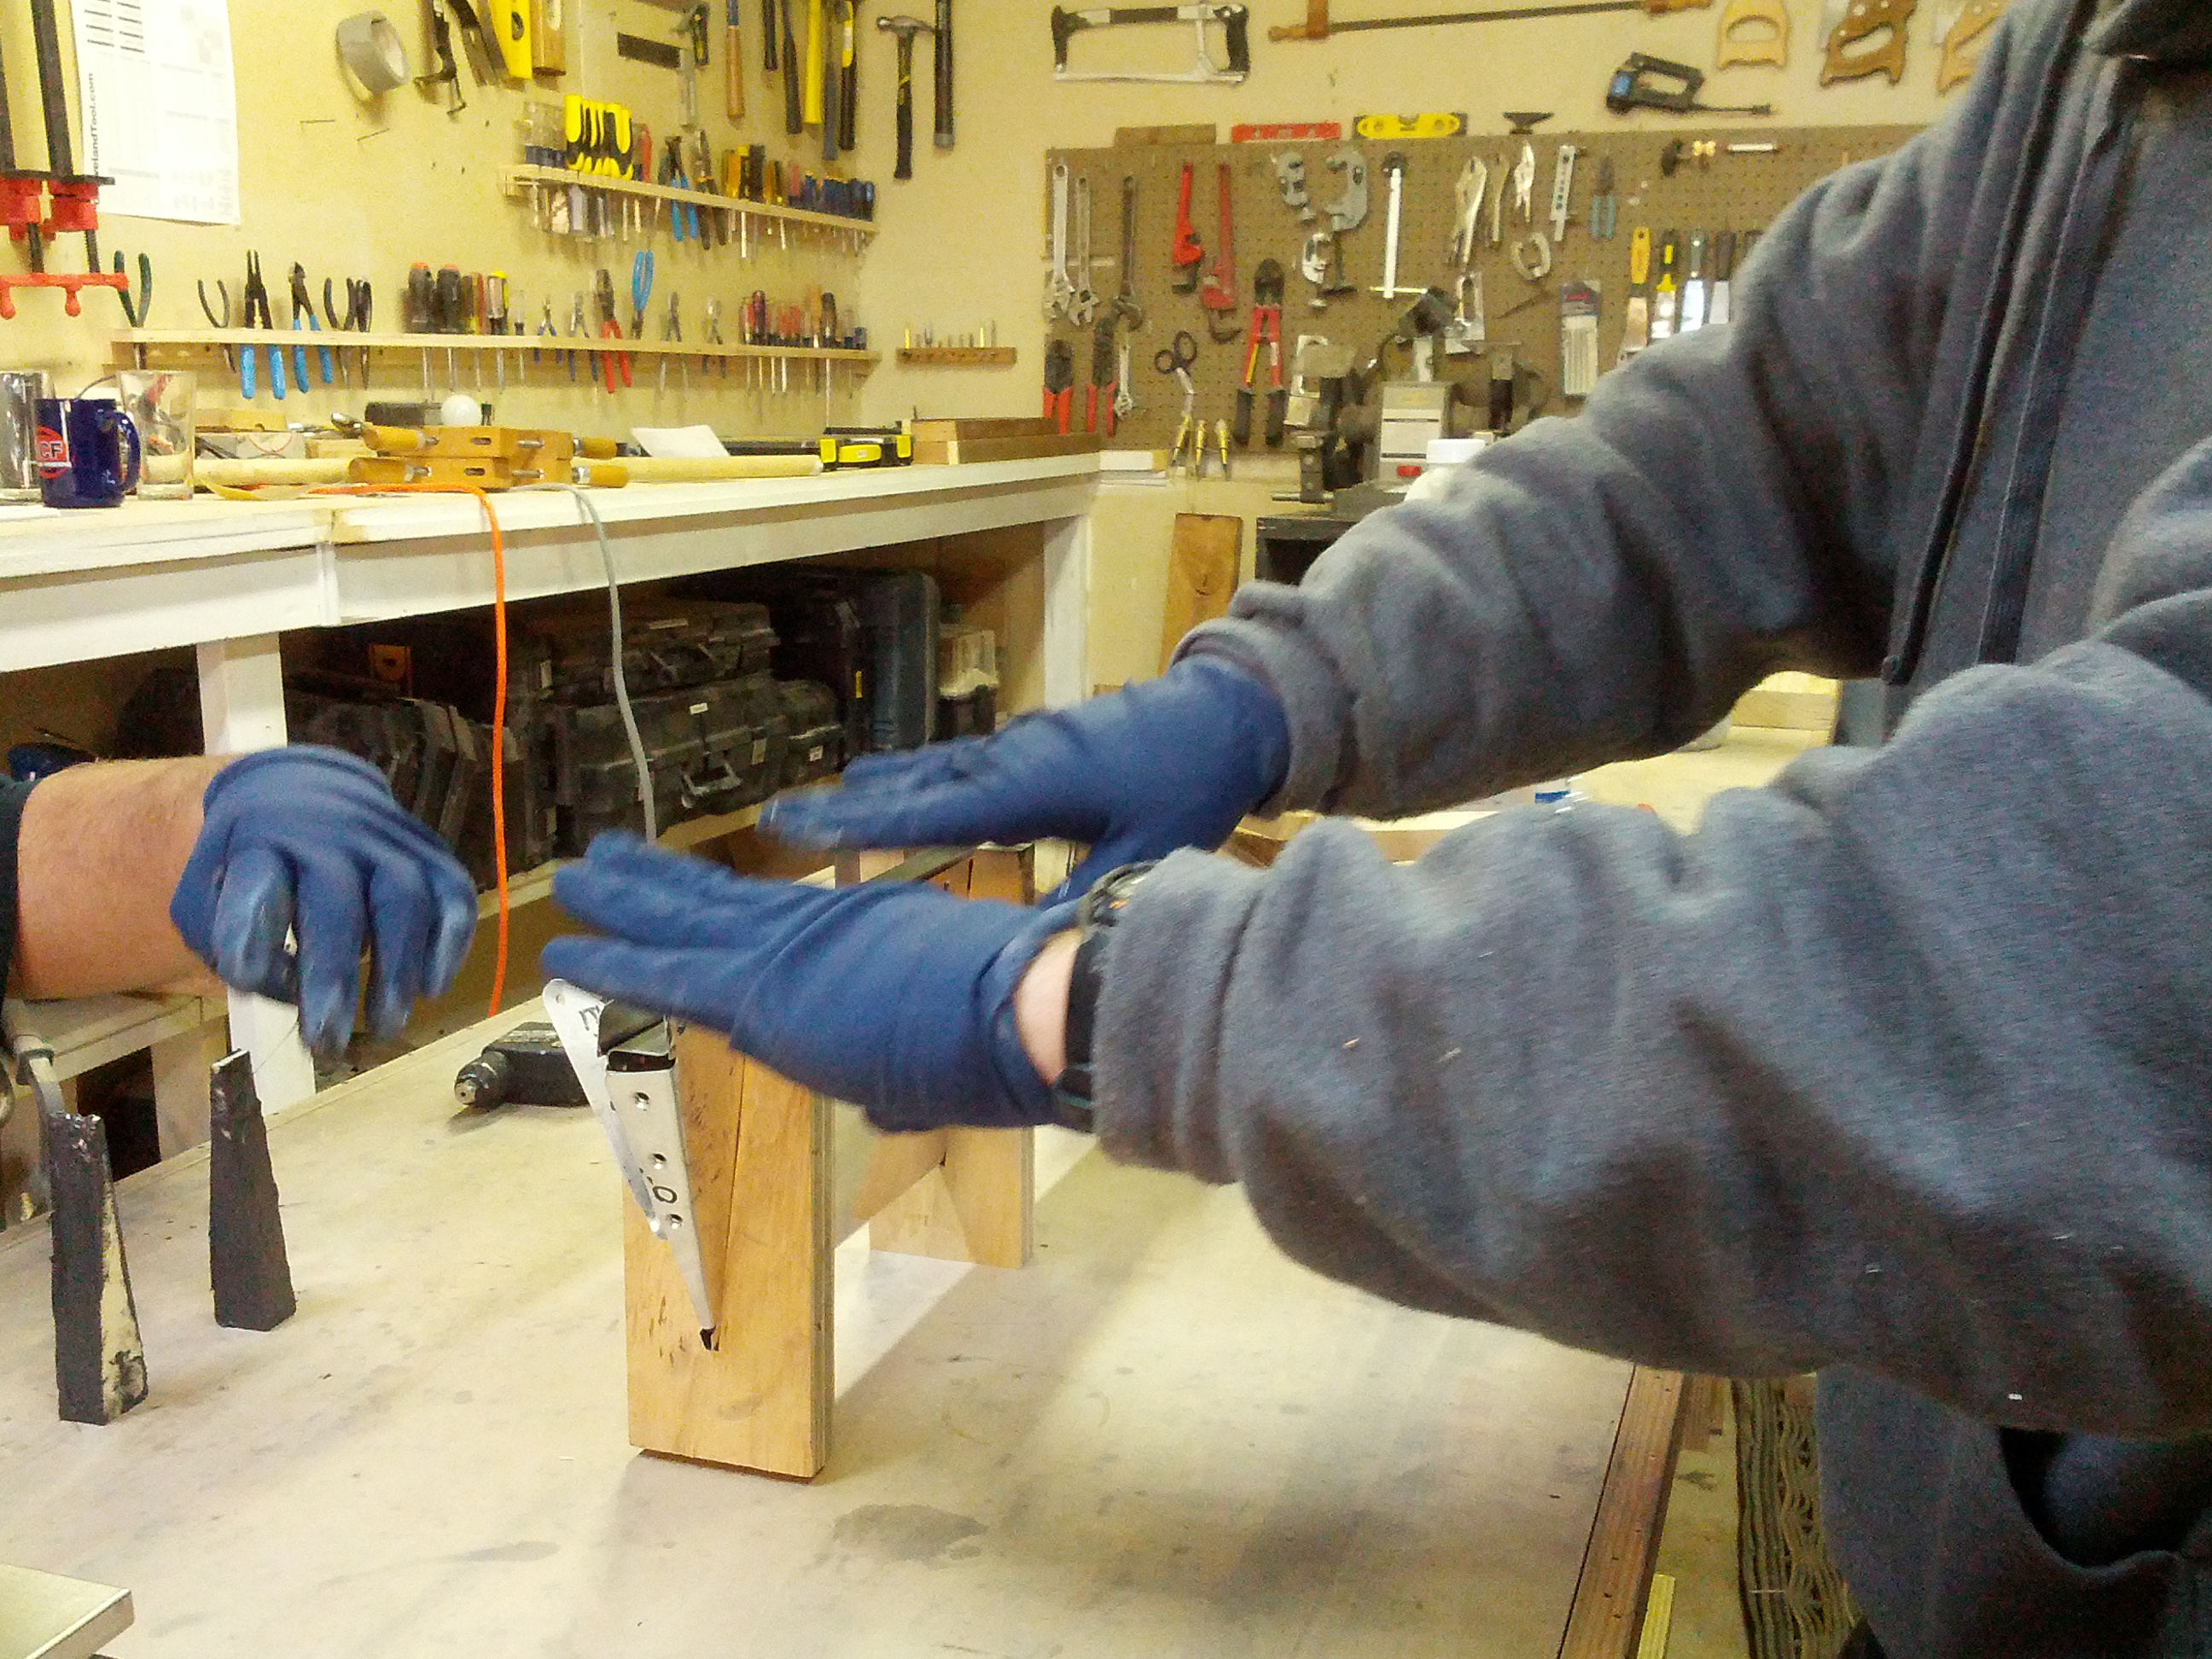
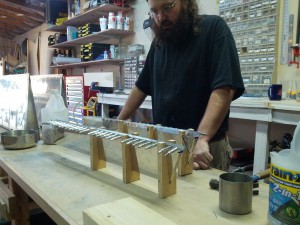
After drilling out a couple of rivets, we settled on back riveting against a bucking bar propped beneath the trim tab. That actually worked fairly well.
Also had some more frustrations counter-sinking. I don’t know why something so seemingly easy ends up destroying holes. We now know that for thin spars it’s mandatory that you countersink into a piece of wood beneath the spar, otherwise the spar flexes and the hole elongates. What we learned today is that if you wedge a spar (which has a radiused edge between the web and the flange, of course), against the web of the spar while trying to drill the flange, it will pull away as the countersink bit flattens against the wood underneath the spar. Fortunately, we figured that out after only a couple of oops rivets.
All that’s left for the elevators is to finish the hinges and rivet them to the trim tabs and the elevators. We should get working on the tail cone pretty soon.
Berck: 7 hours, Randy: 7 hours, Jonah 0.5 hours, Bex: 0.5 hours.