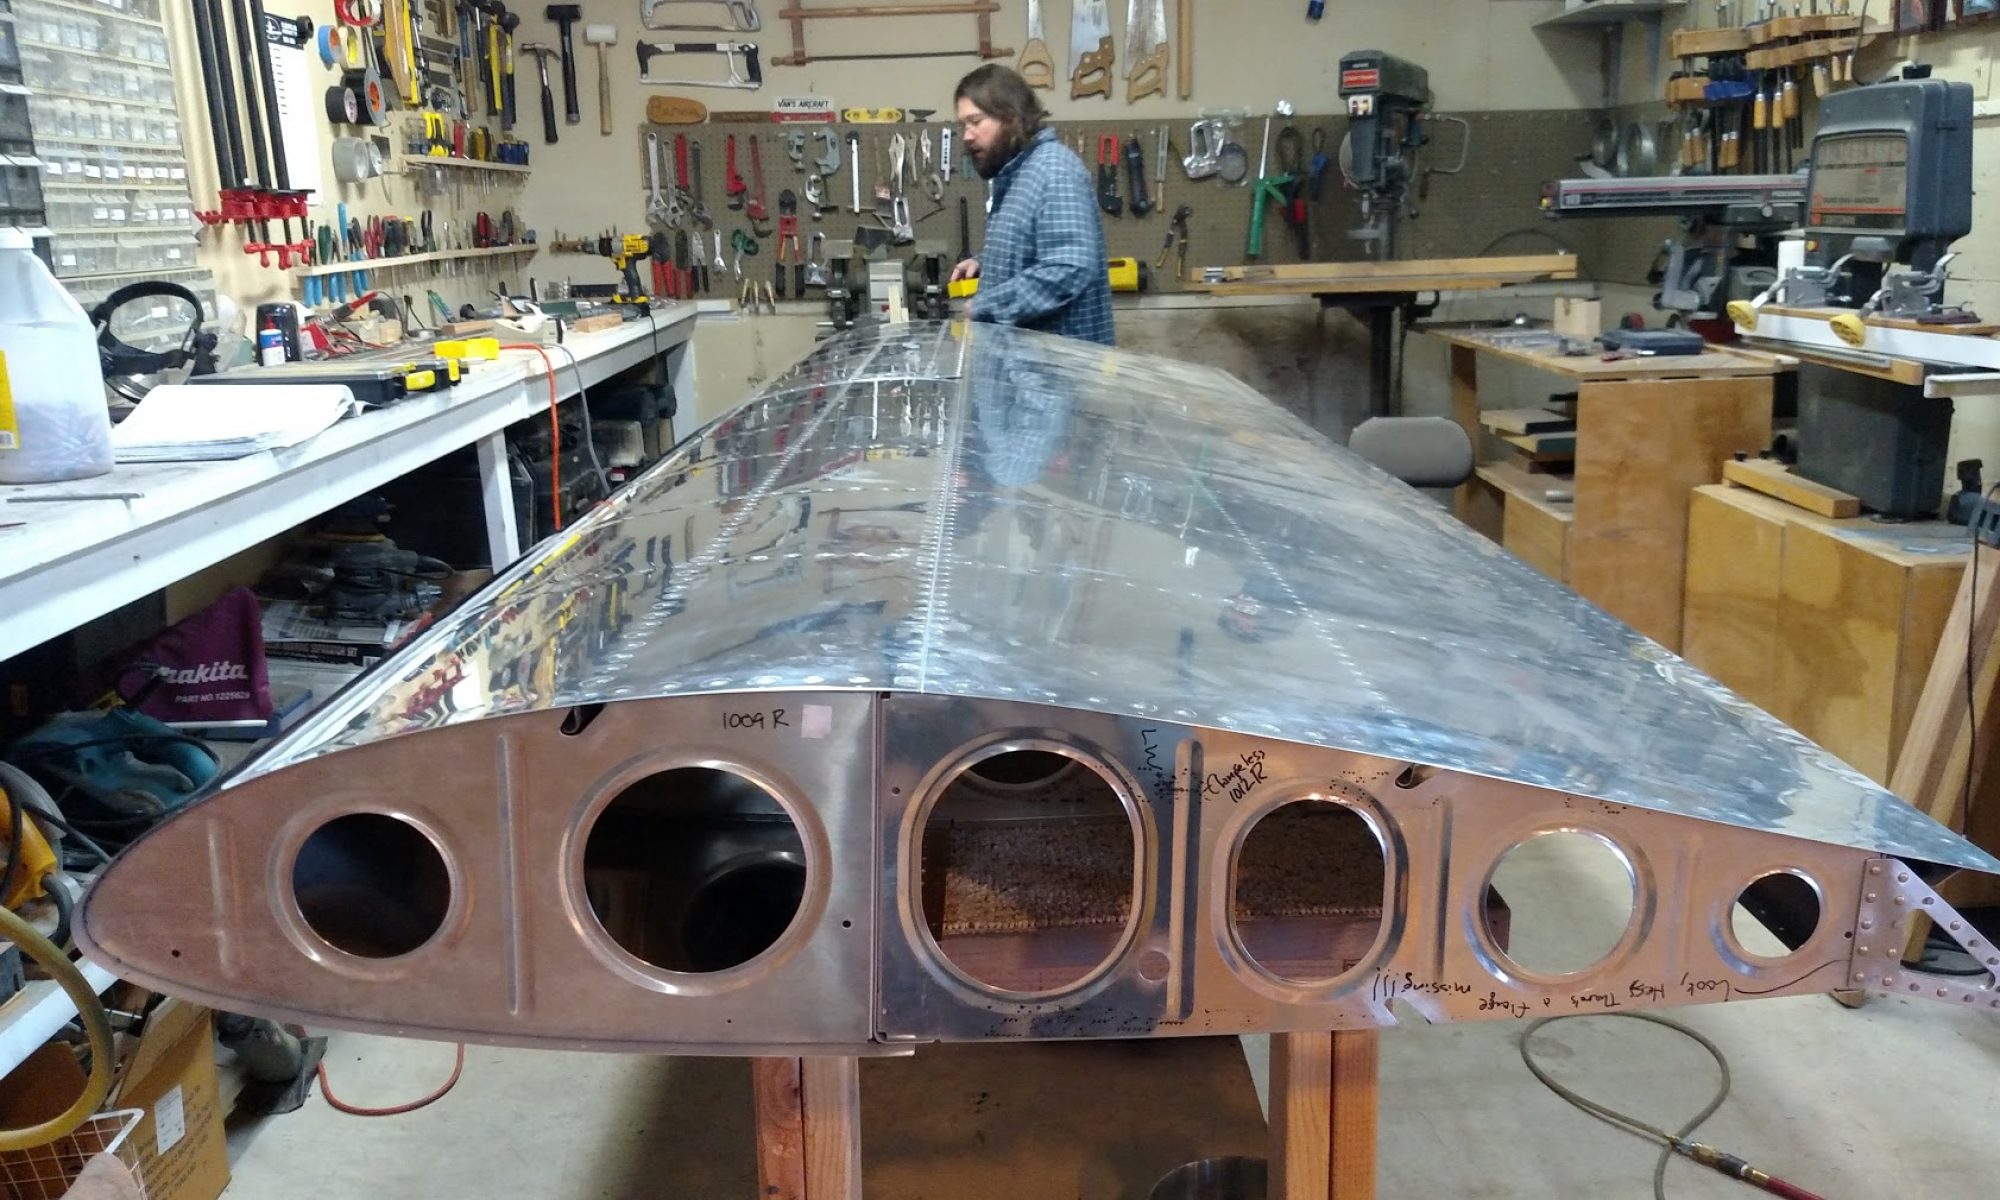
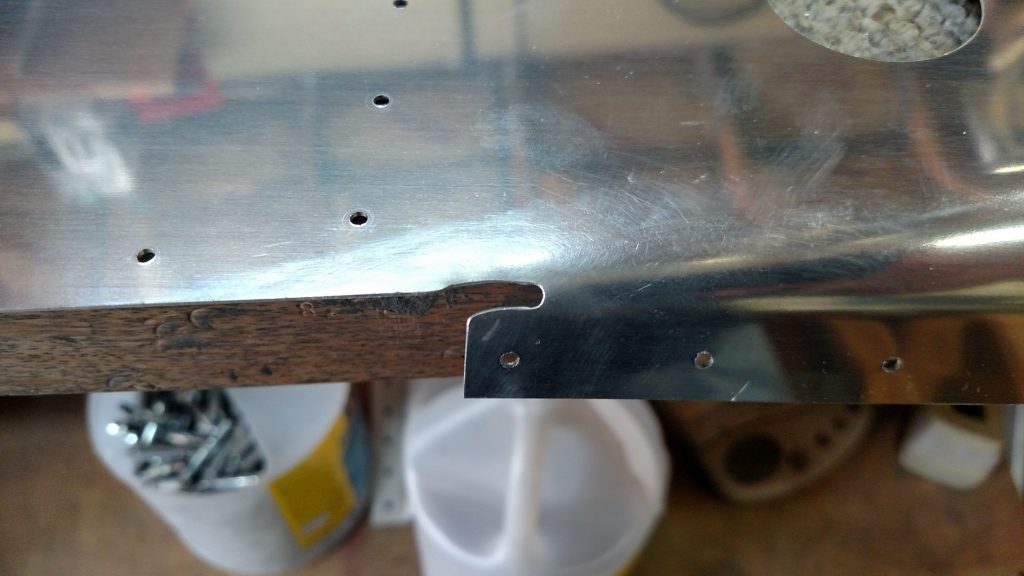
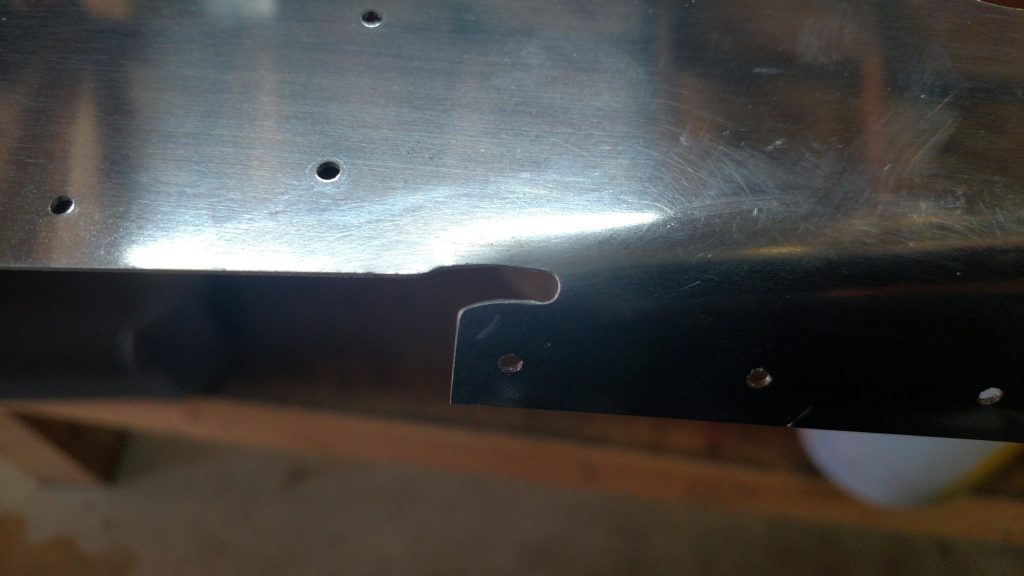
I’m the latest victim of an (apparently) well-known defect in the plans. You’d think that after a decade, Vans would update them.
In my defense, I’d read that there were problems with section 29, and before I riveted anything I went to go read up on them. Only to discover that the big problems aren’t with section 29, but rather with section 26, you just don’t notice until section 29.
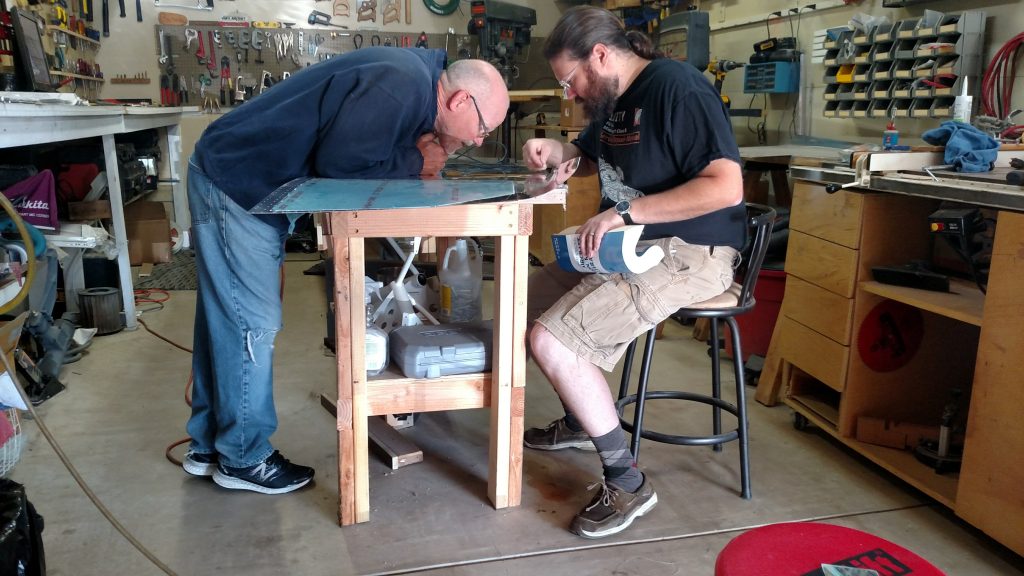
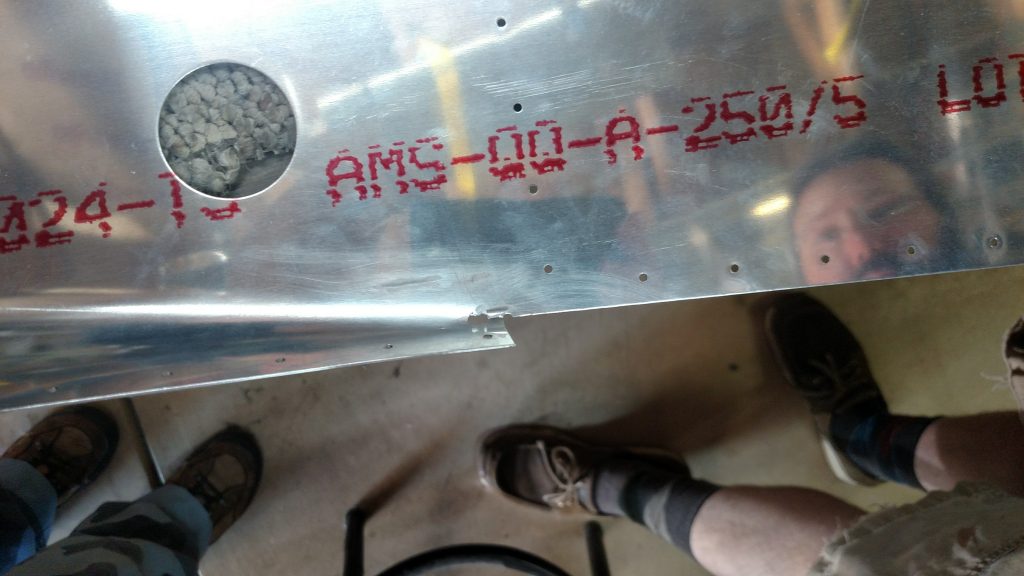
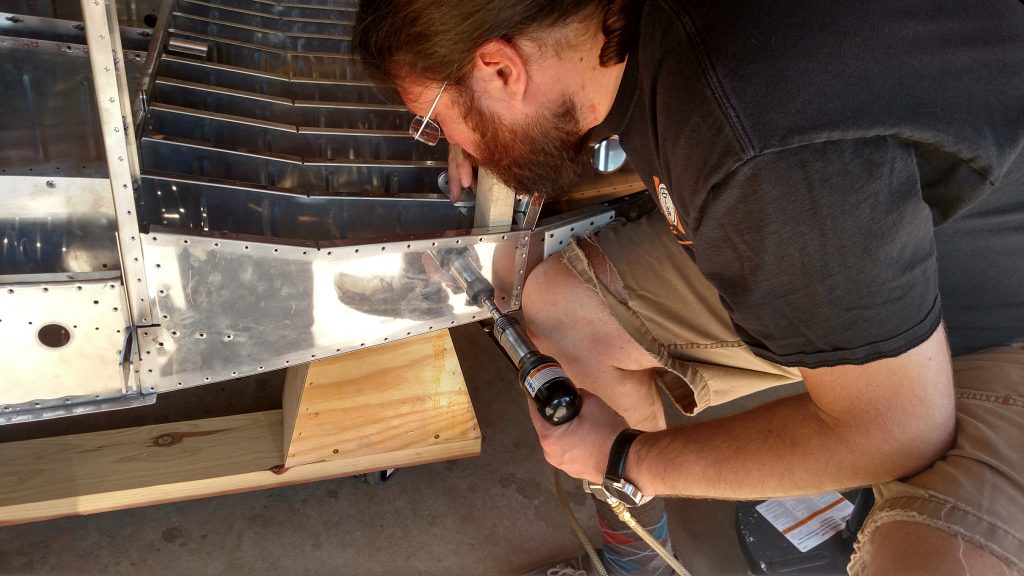
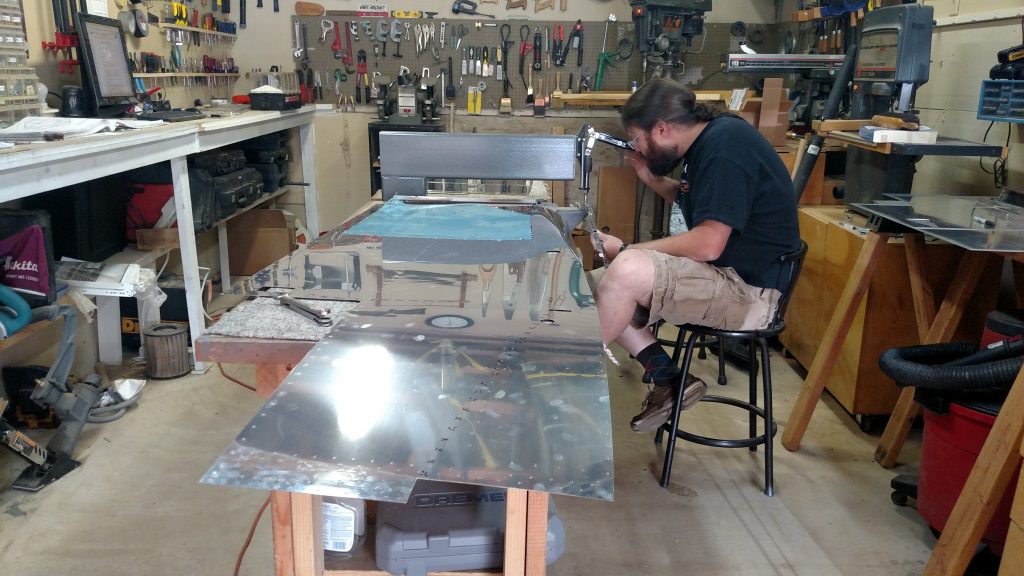
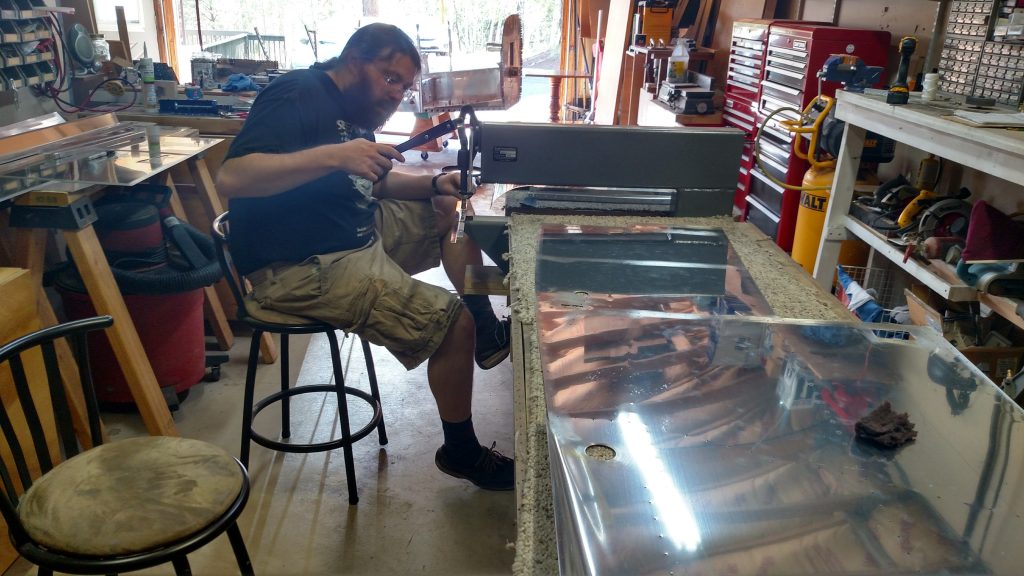
Section 26 should have had us dimple the #40 holes in the part below. It’s really difficult to do it after the fact. I used combination of a female dimple die mounted in a block of wood, a male dimple die in a rivet set in a rivet gun, and a squeezer with the female dimple padded with a half-dozen washers to clear the upper flange.
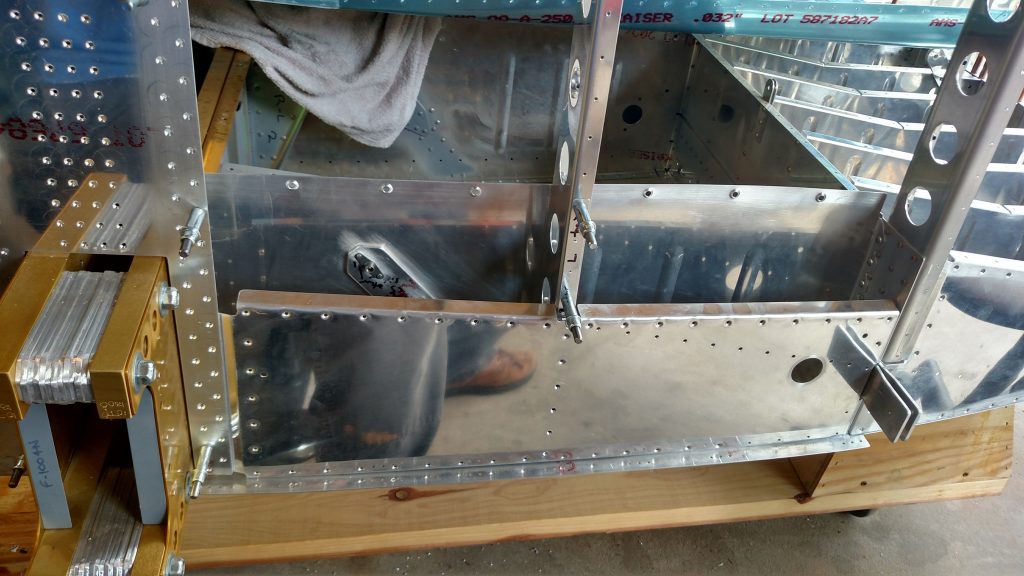
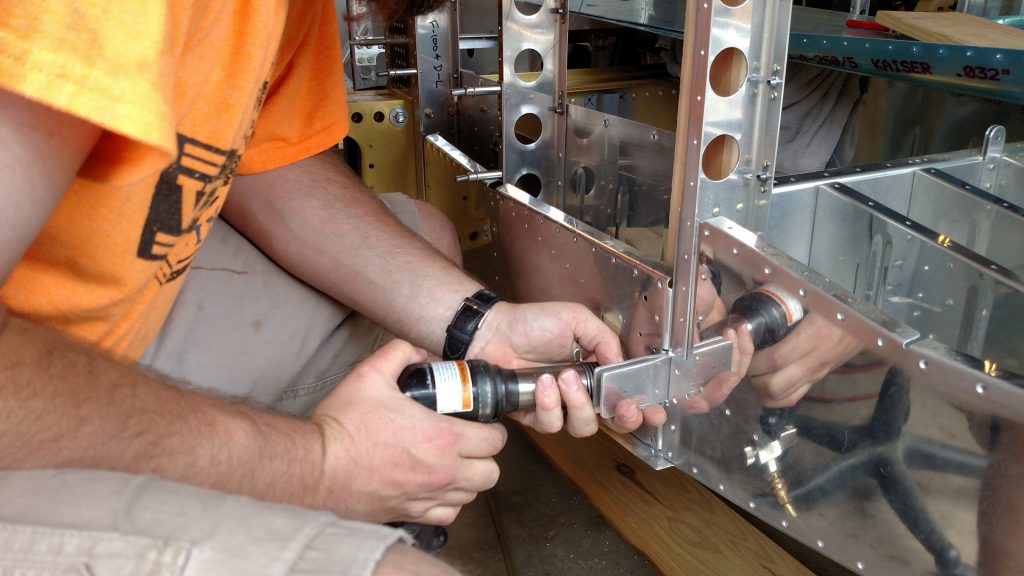
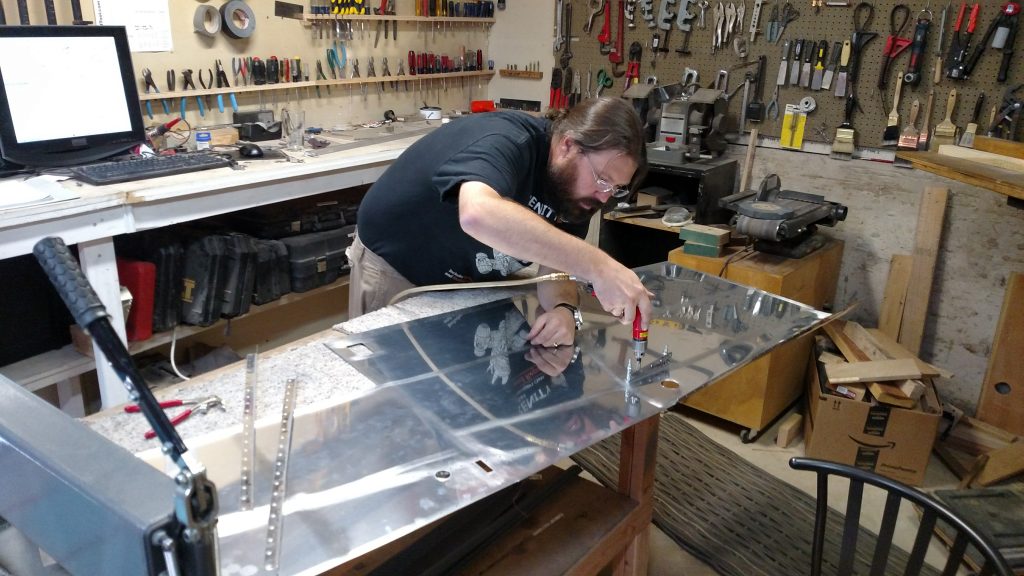
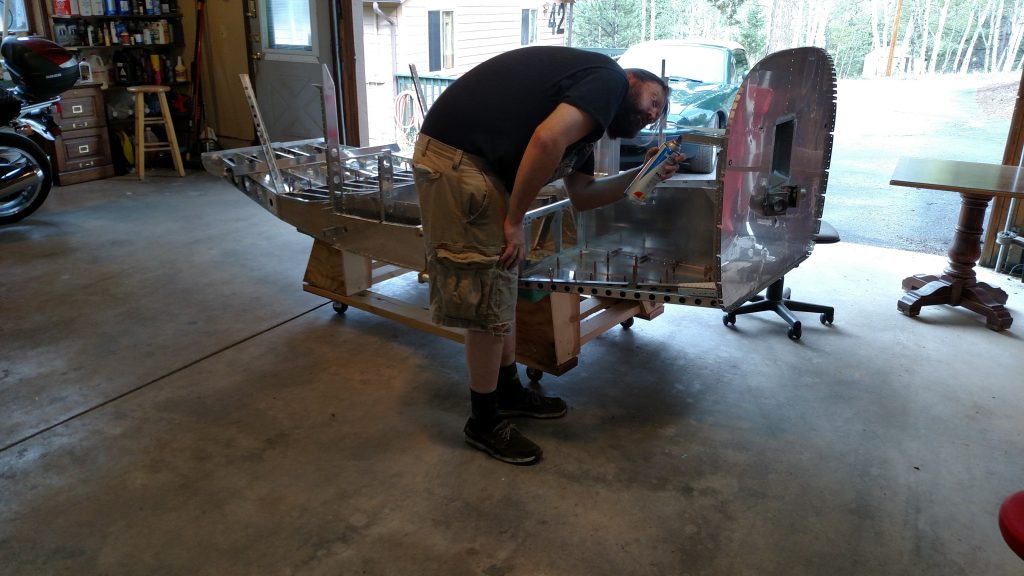
The notable omission was the nut plates in the upper fuse channels aren’t mentioned anywhere. Fortunately, section 29 is the time to fix the problem, rather than the time I’d have noticed the problem.
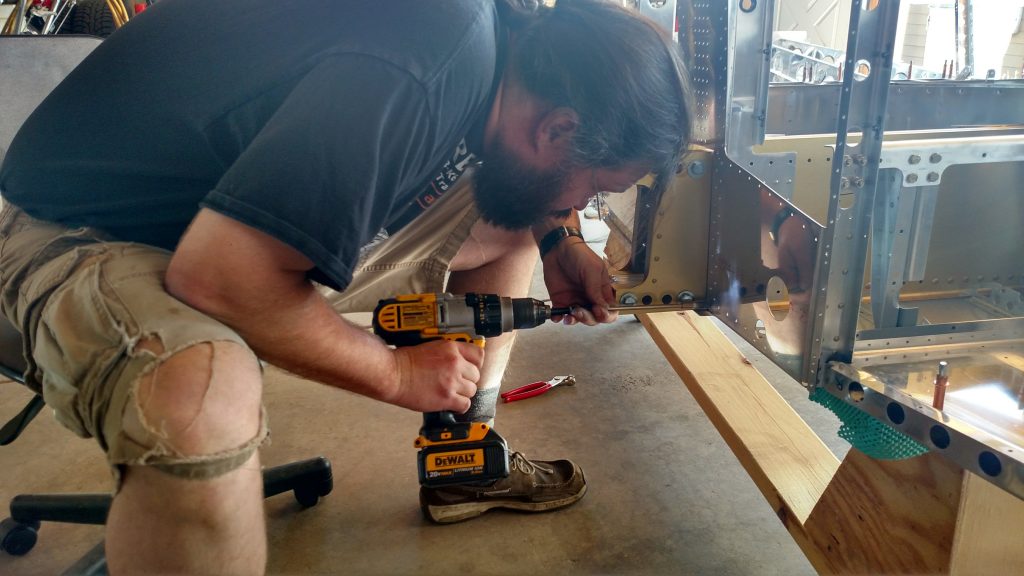
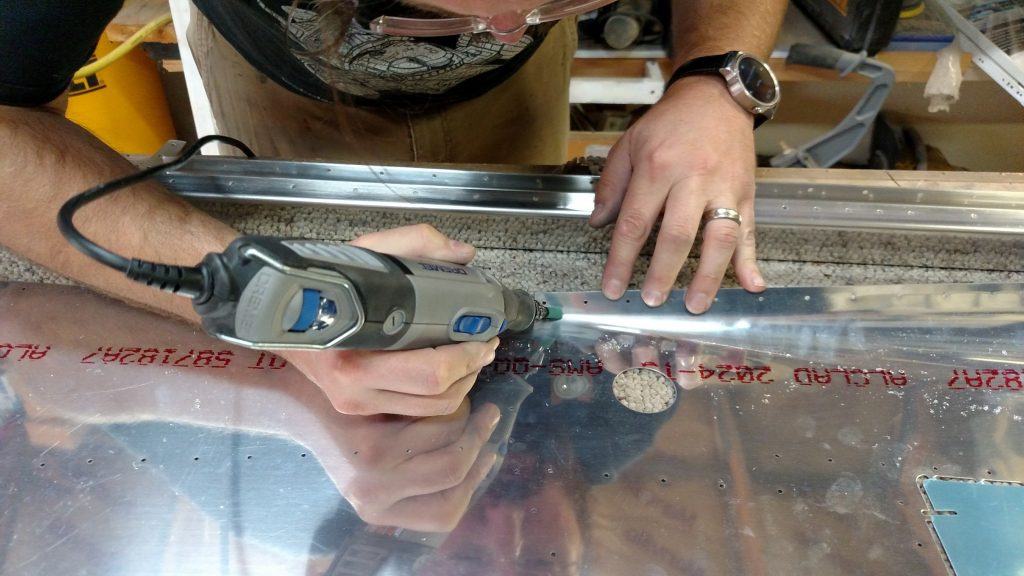
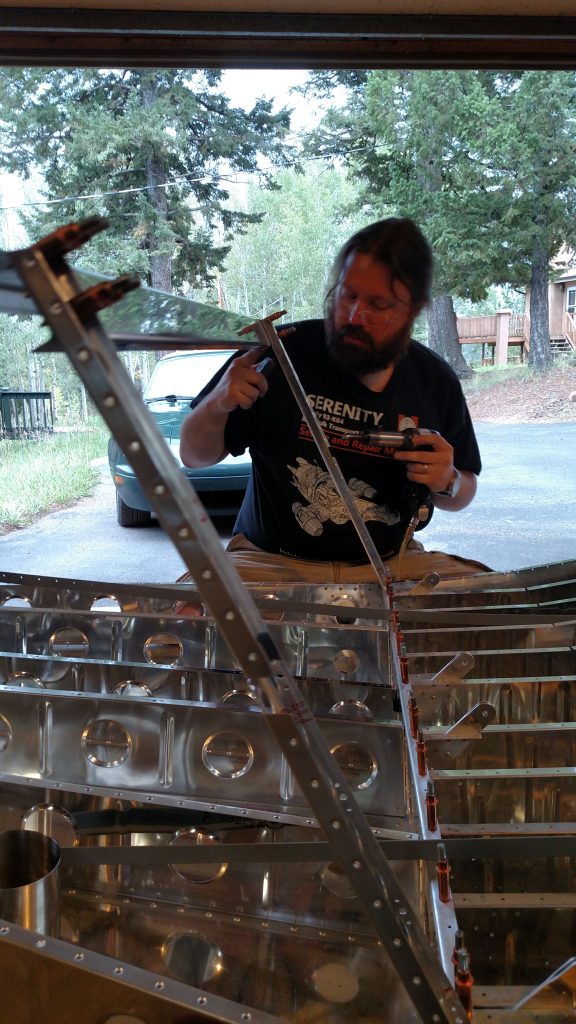
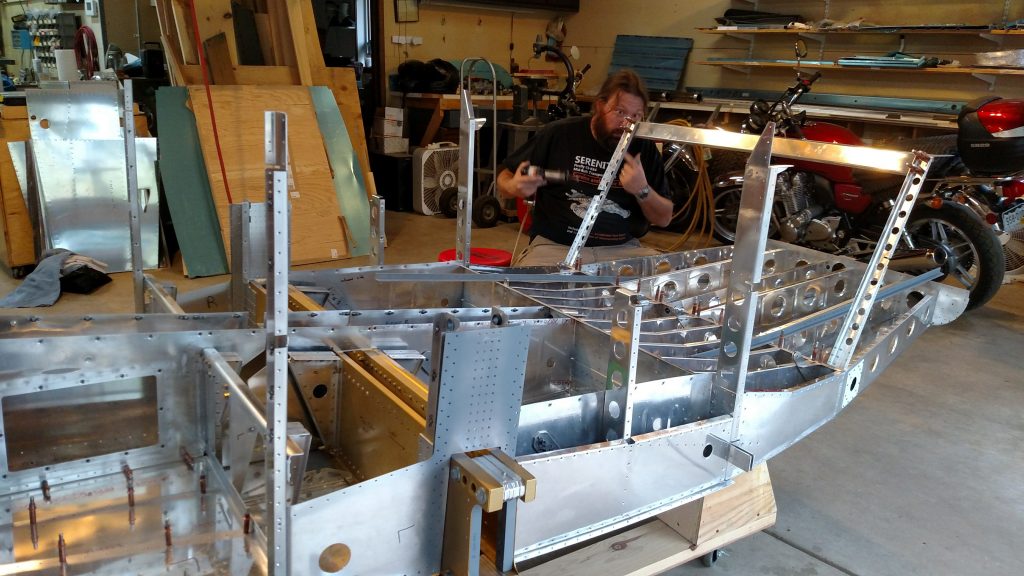
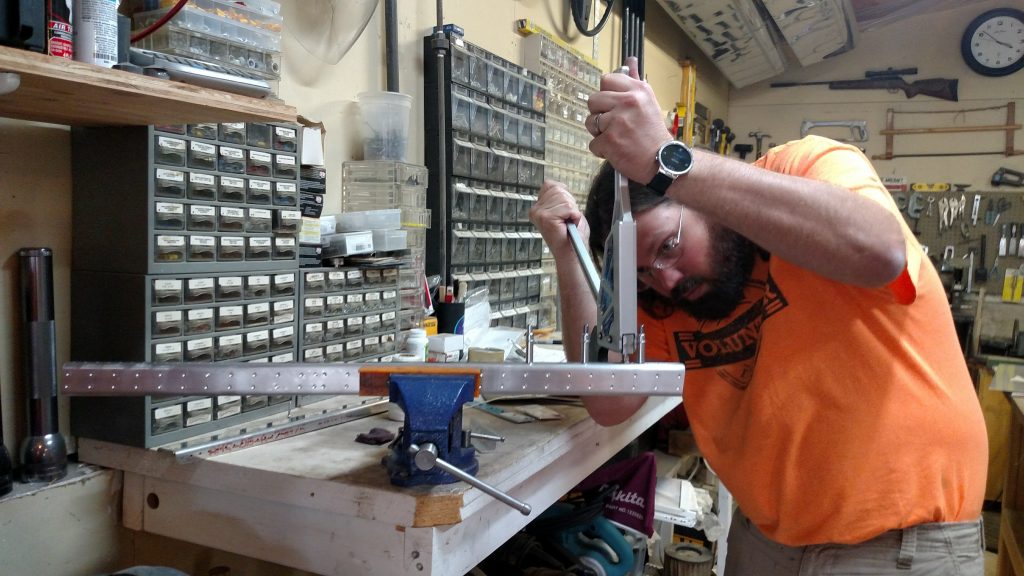
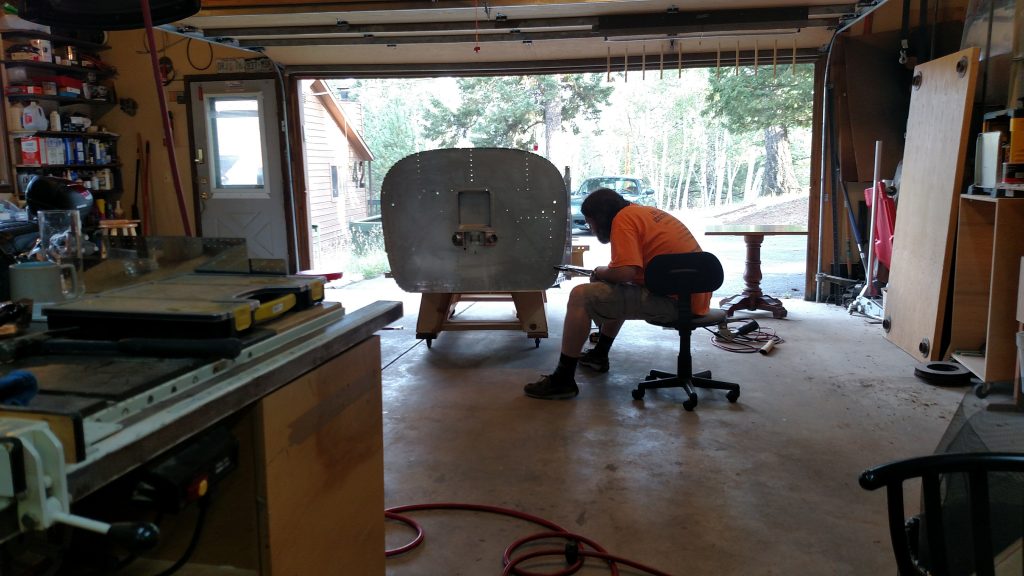
I also deviated from the plans a bit in countersinking the upper fuse channel. The plans have you drill the upper row of holes in the upper channel right now, but would have you wait to countersink until you’re ready to install the upper skin. At that point, I wouldn’t be able to countersink with the nifty microstop cage because the side skin would be in the way. So, since they’re already drilled, I decided there was no harm in countersinking already.
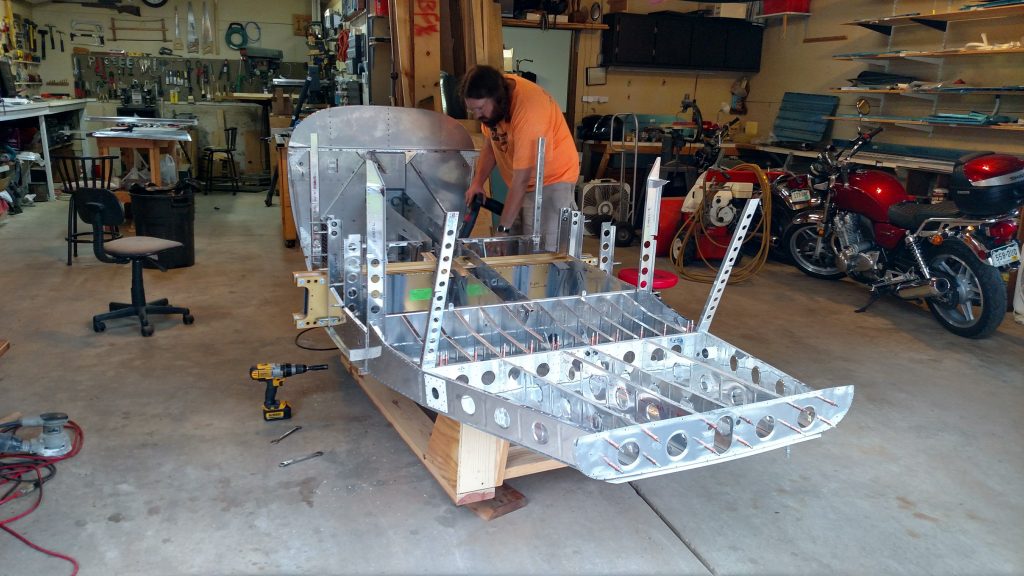
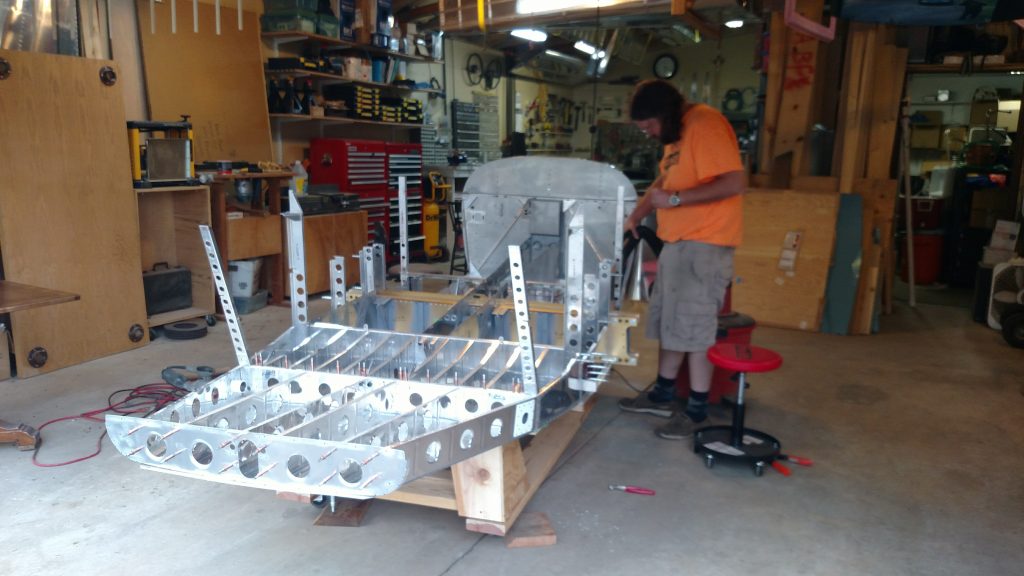
Berck: 8 hours, Jonah: 3.25 hours
