Bottom half of tailcone mostly assembled!

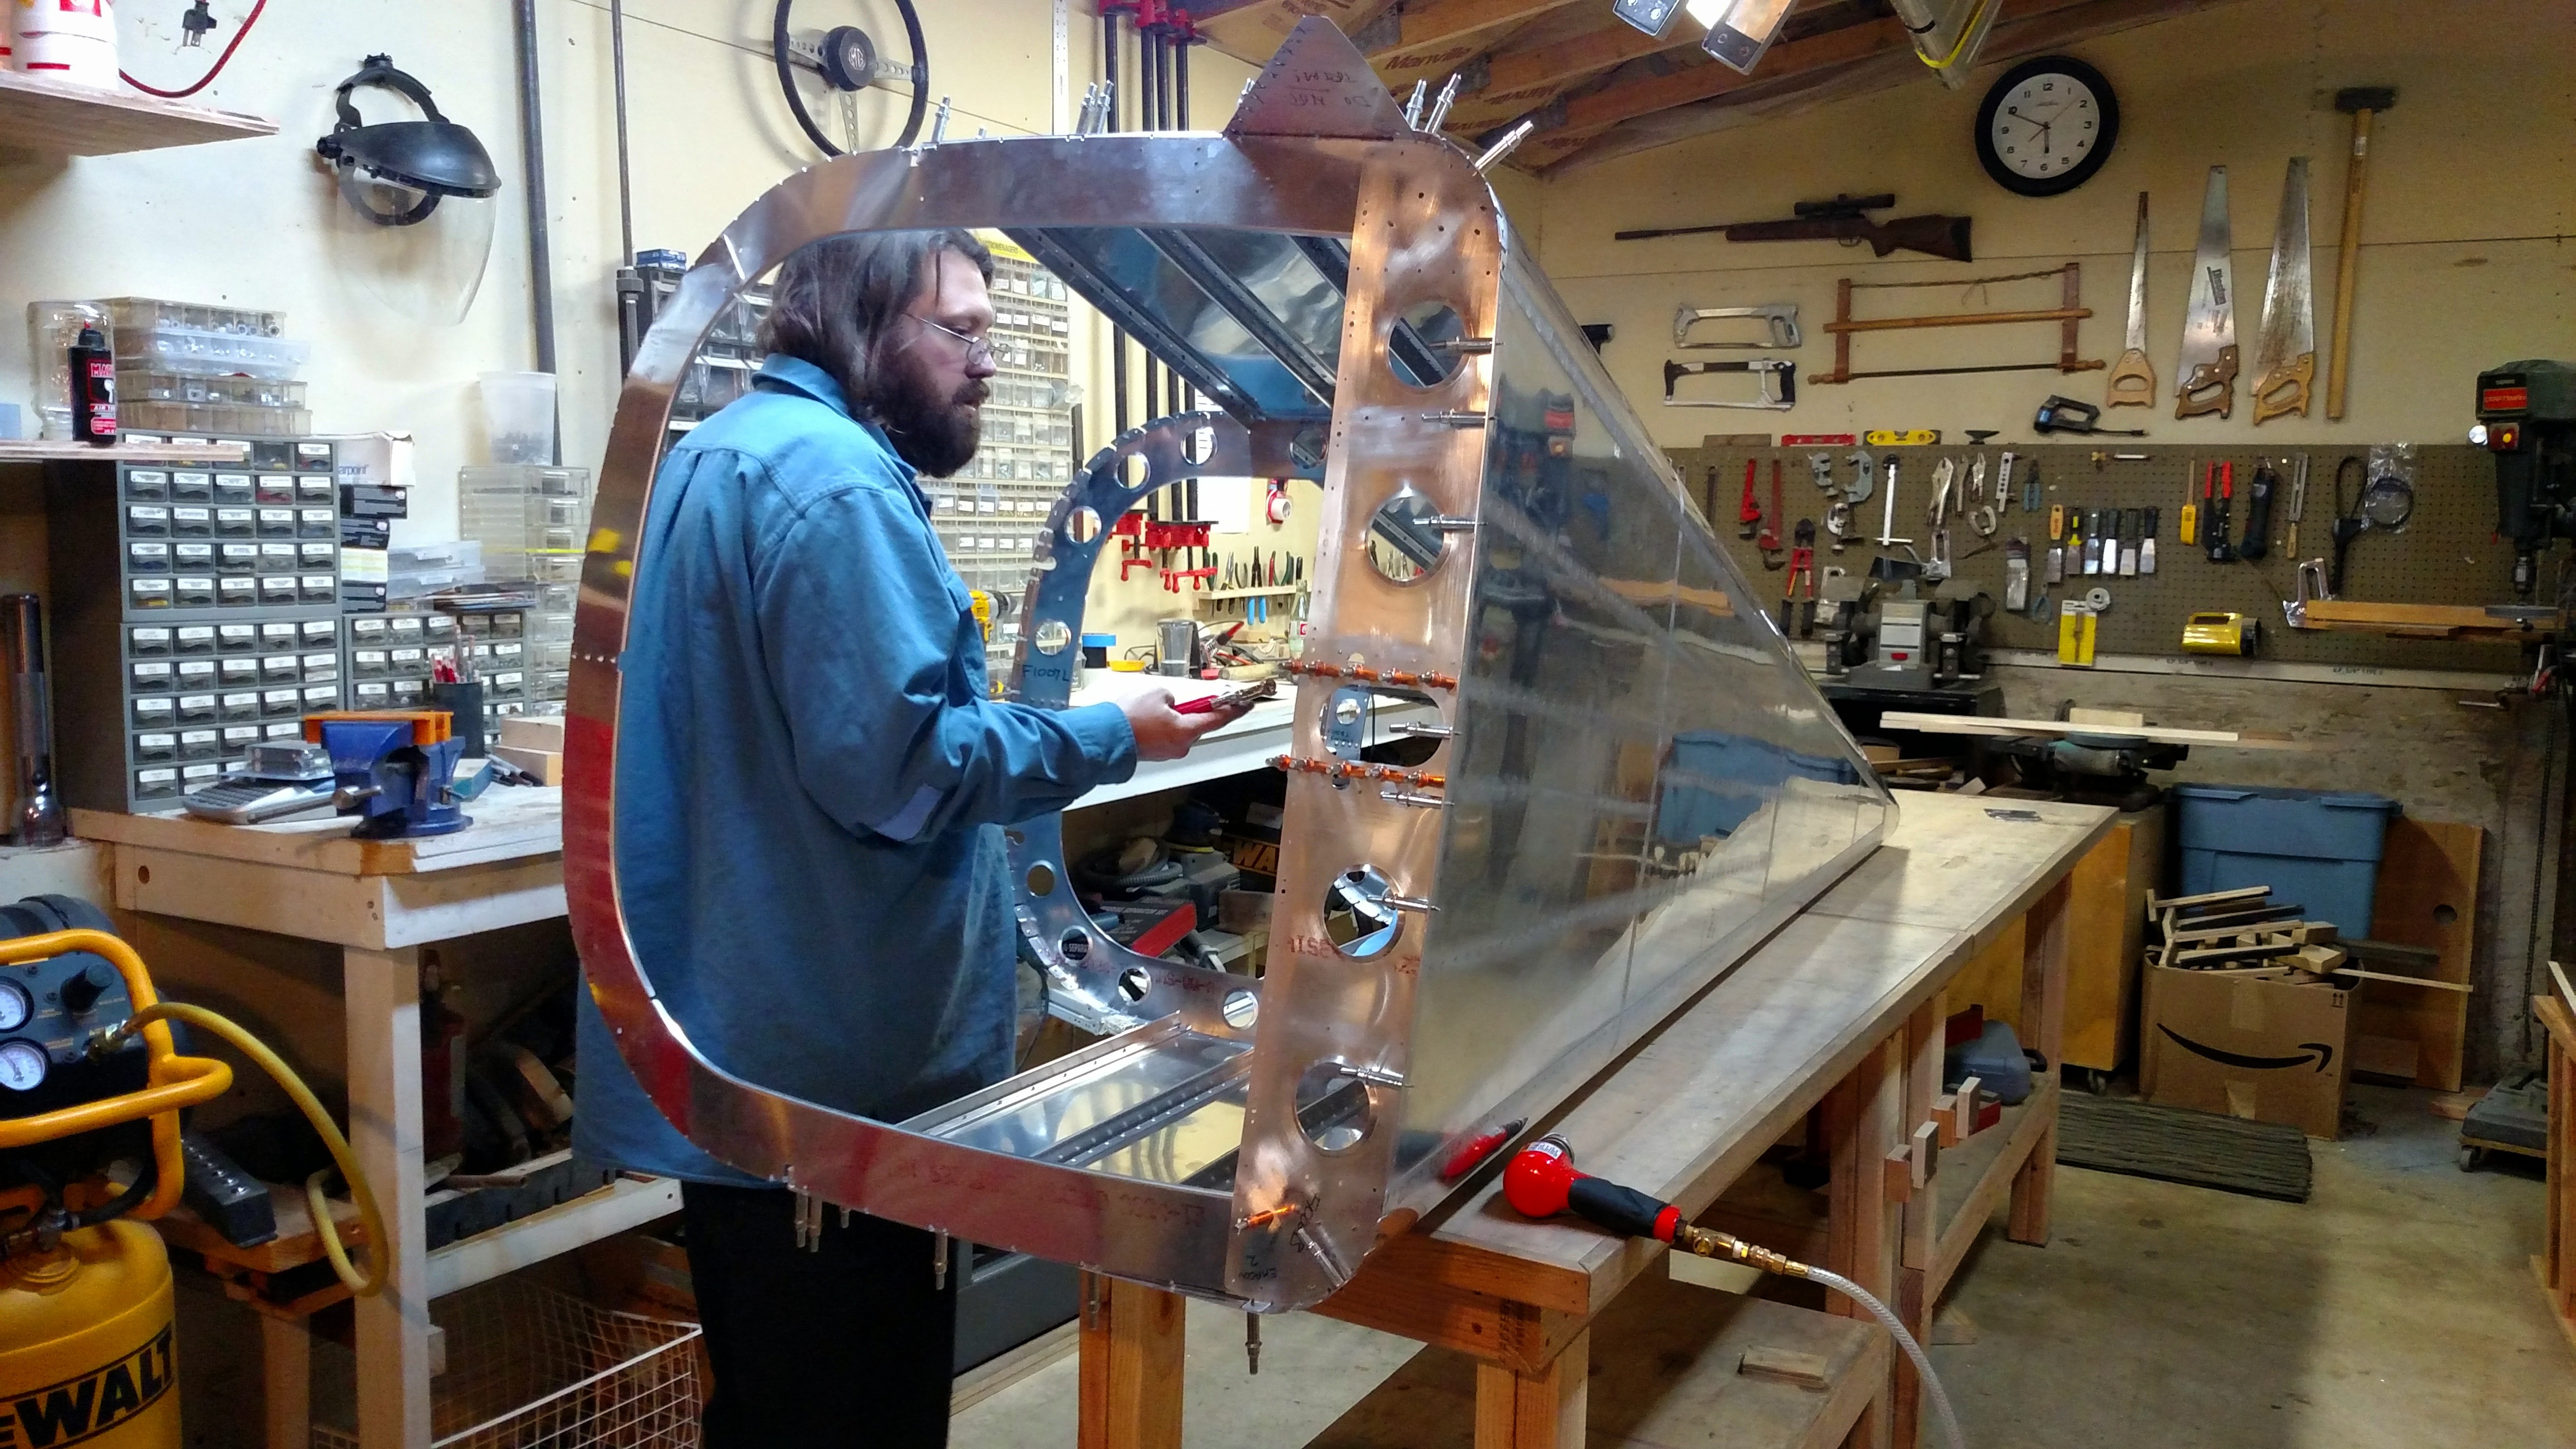
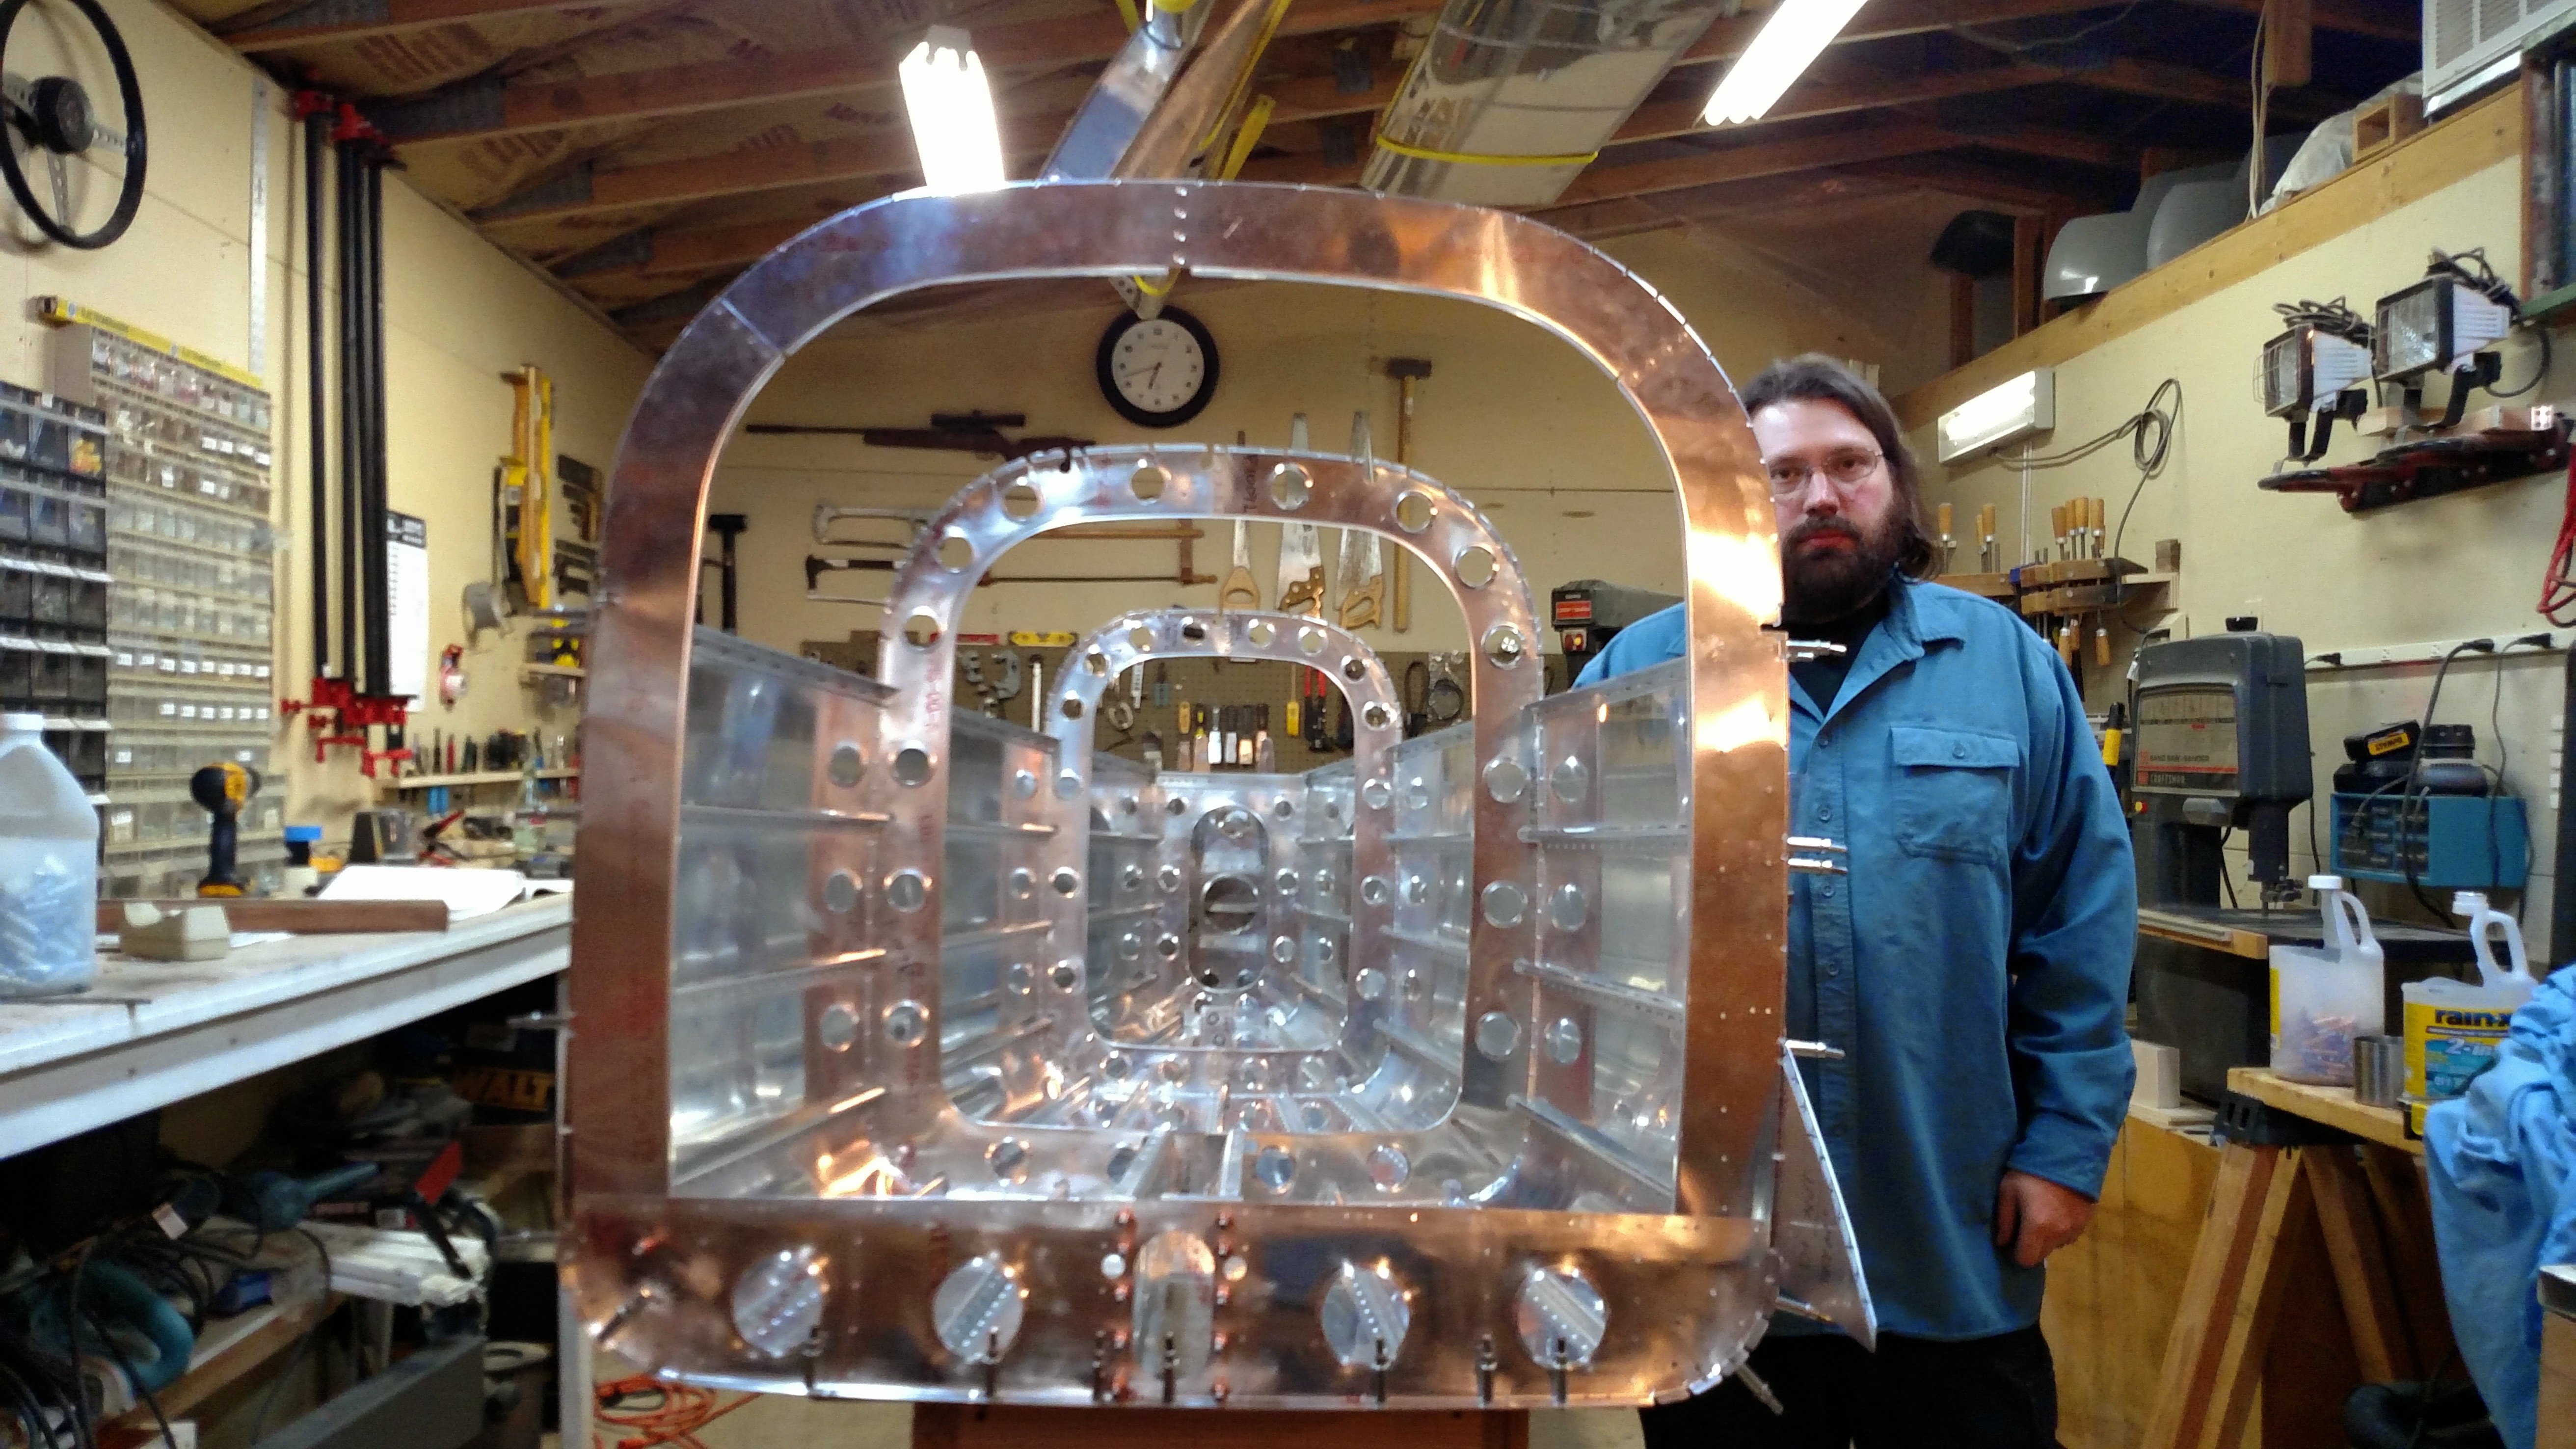
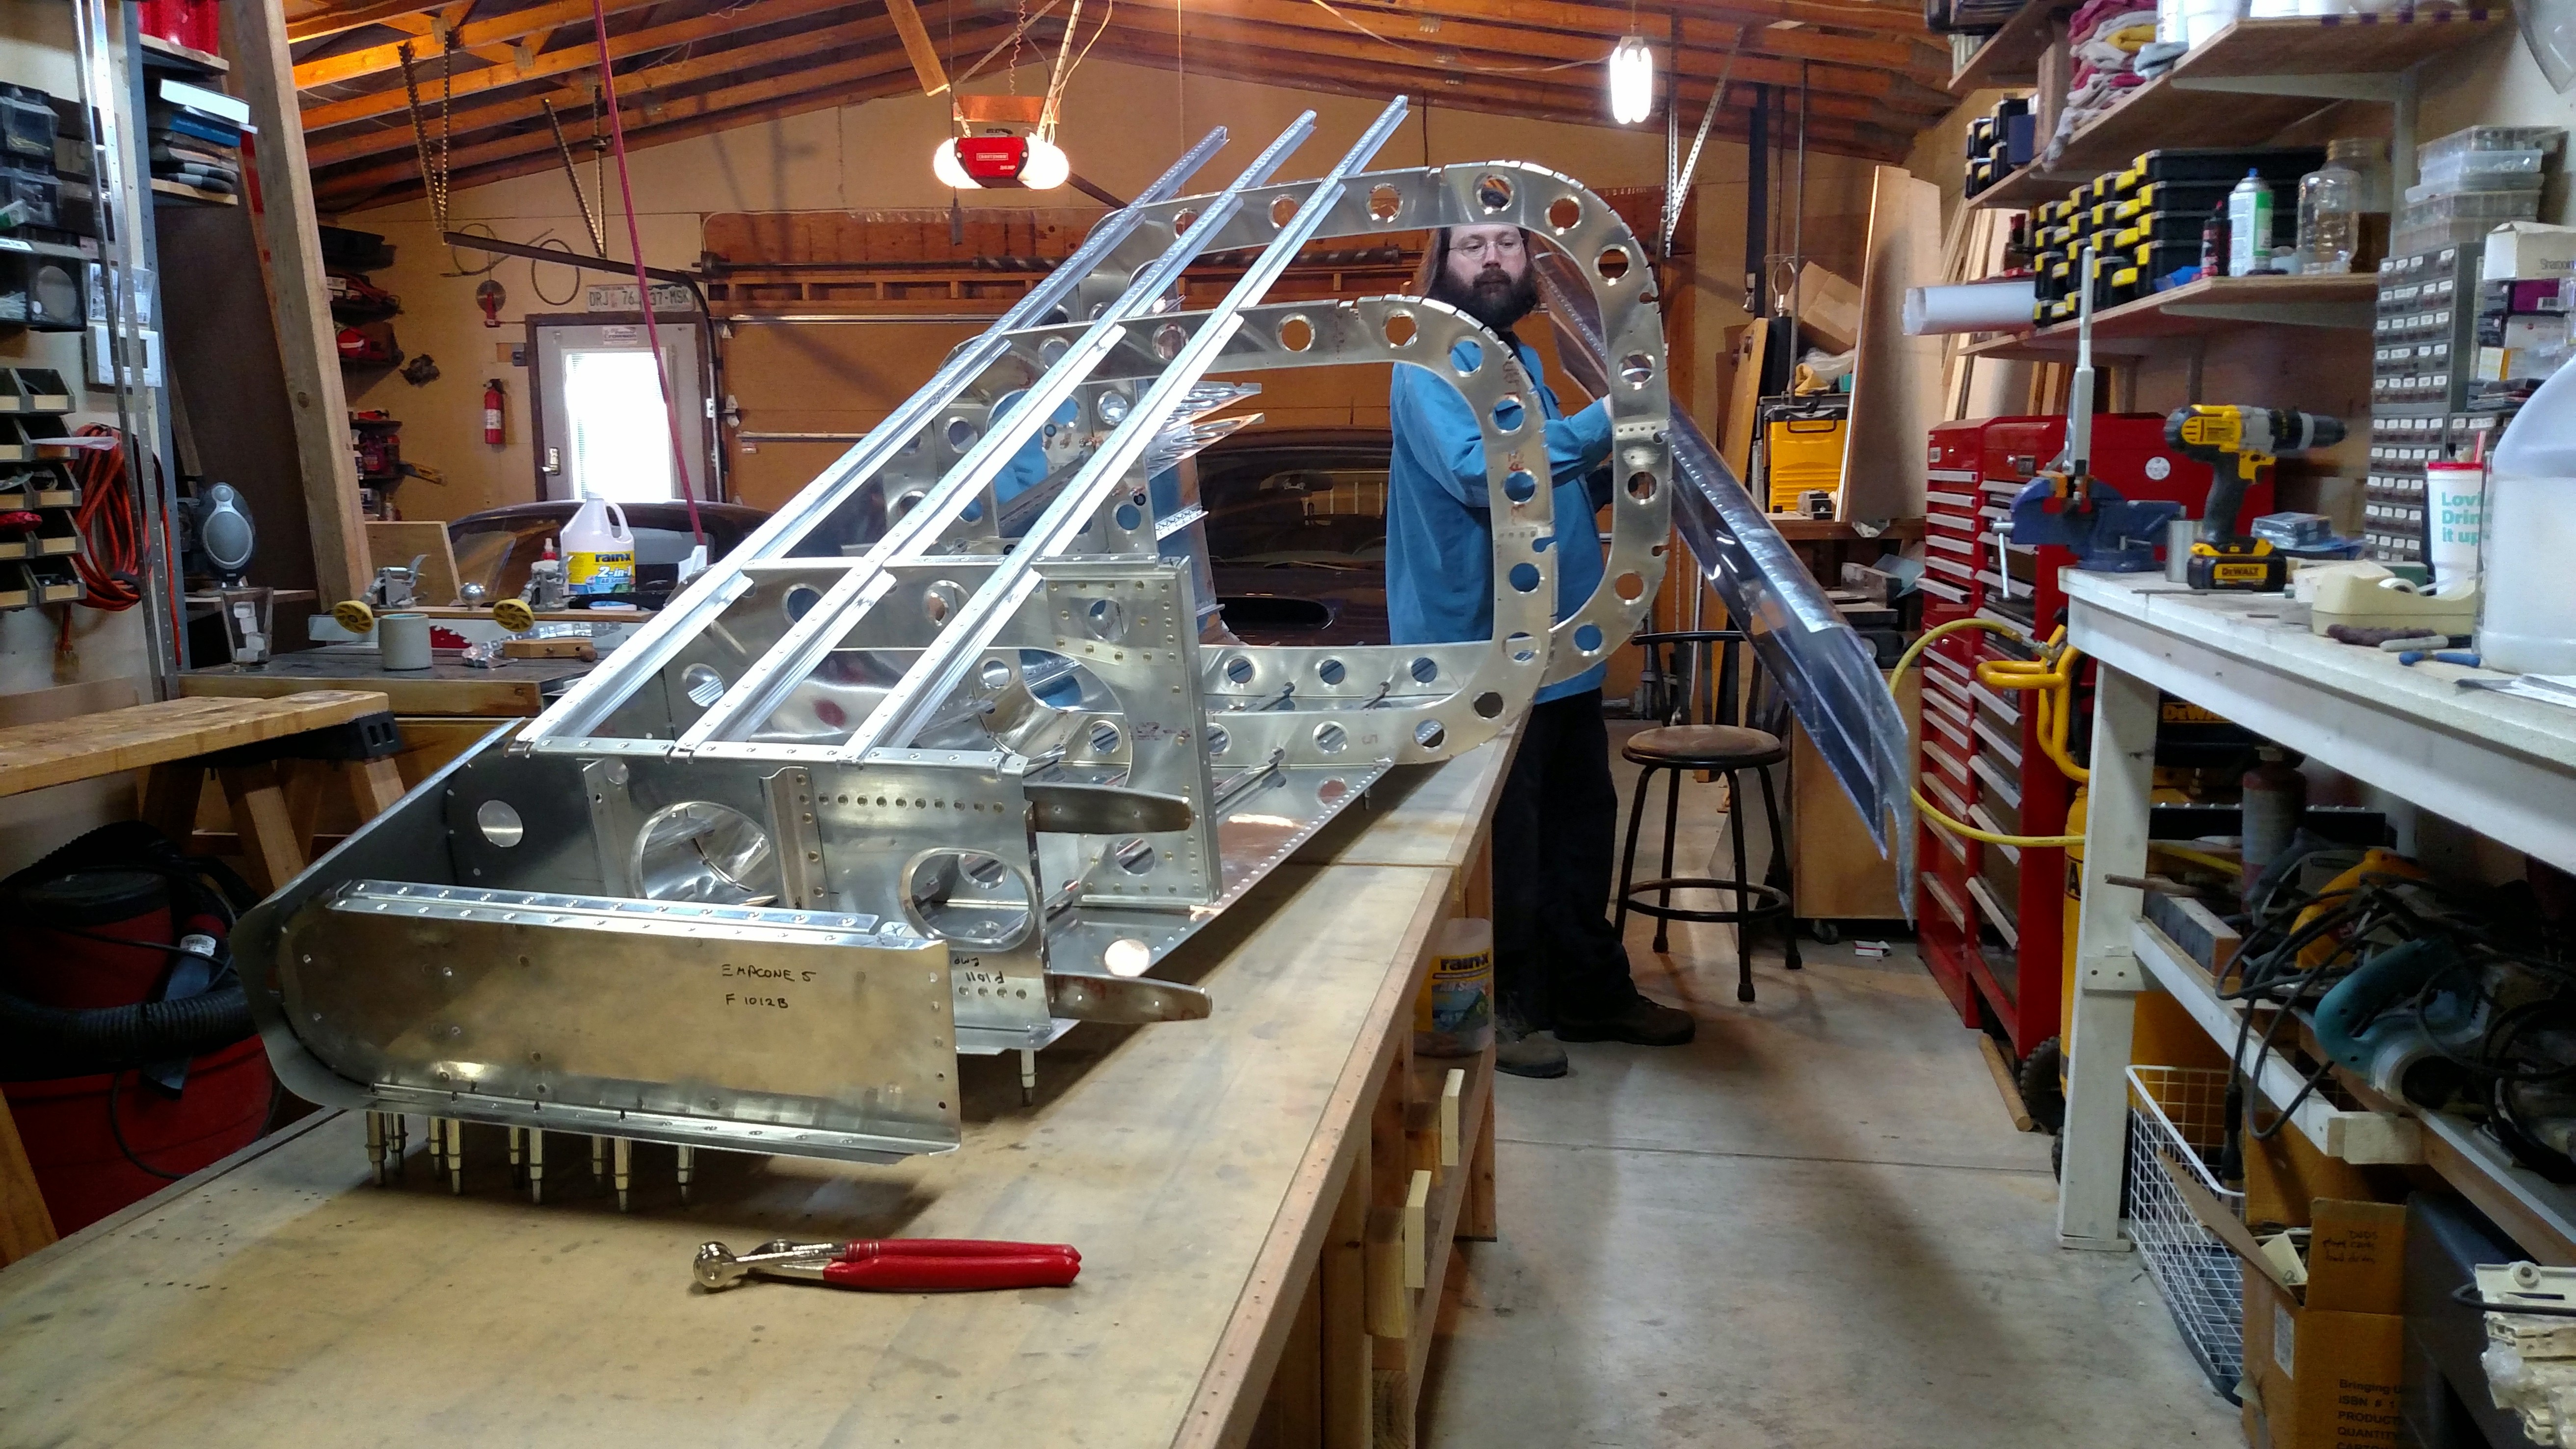
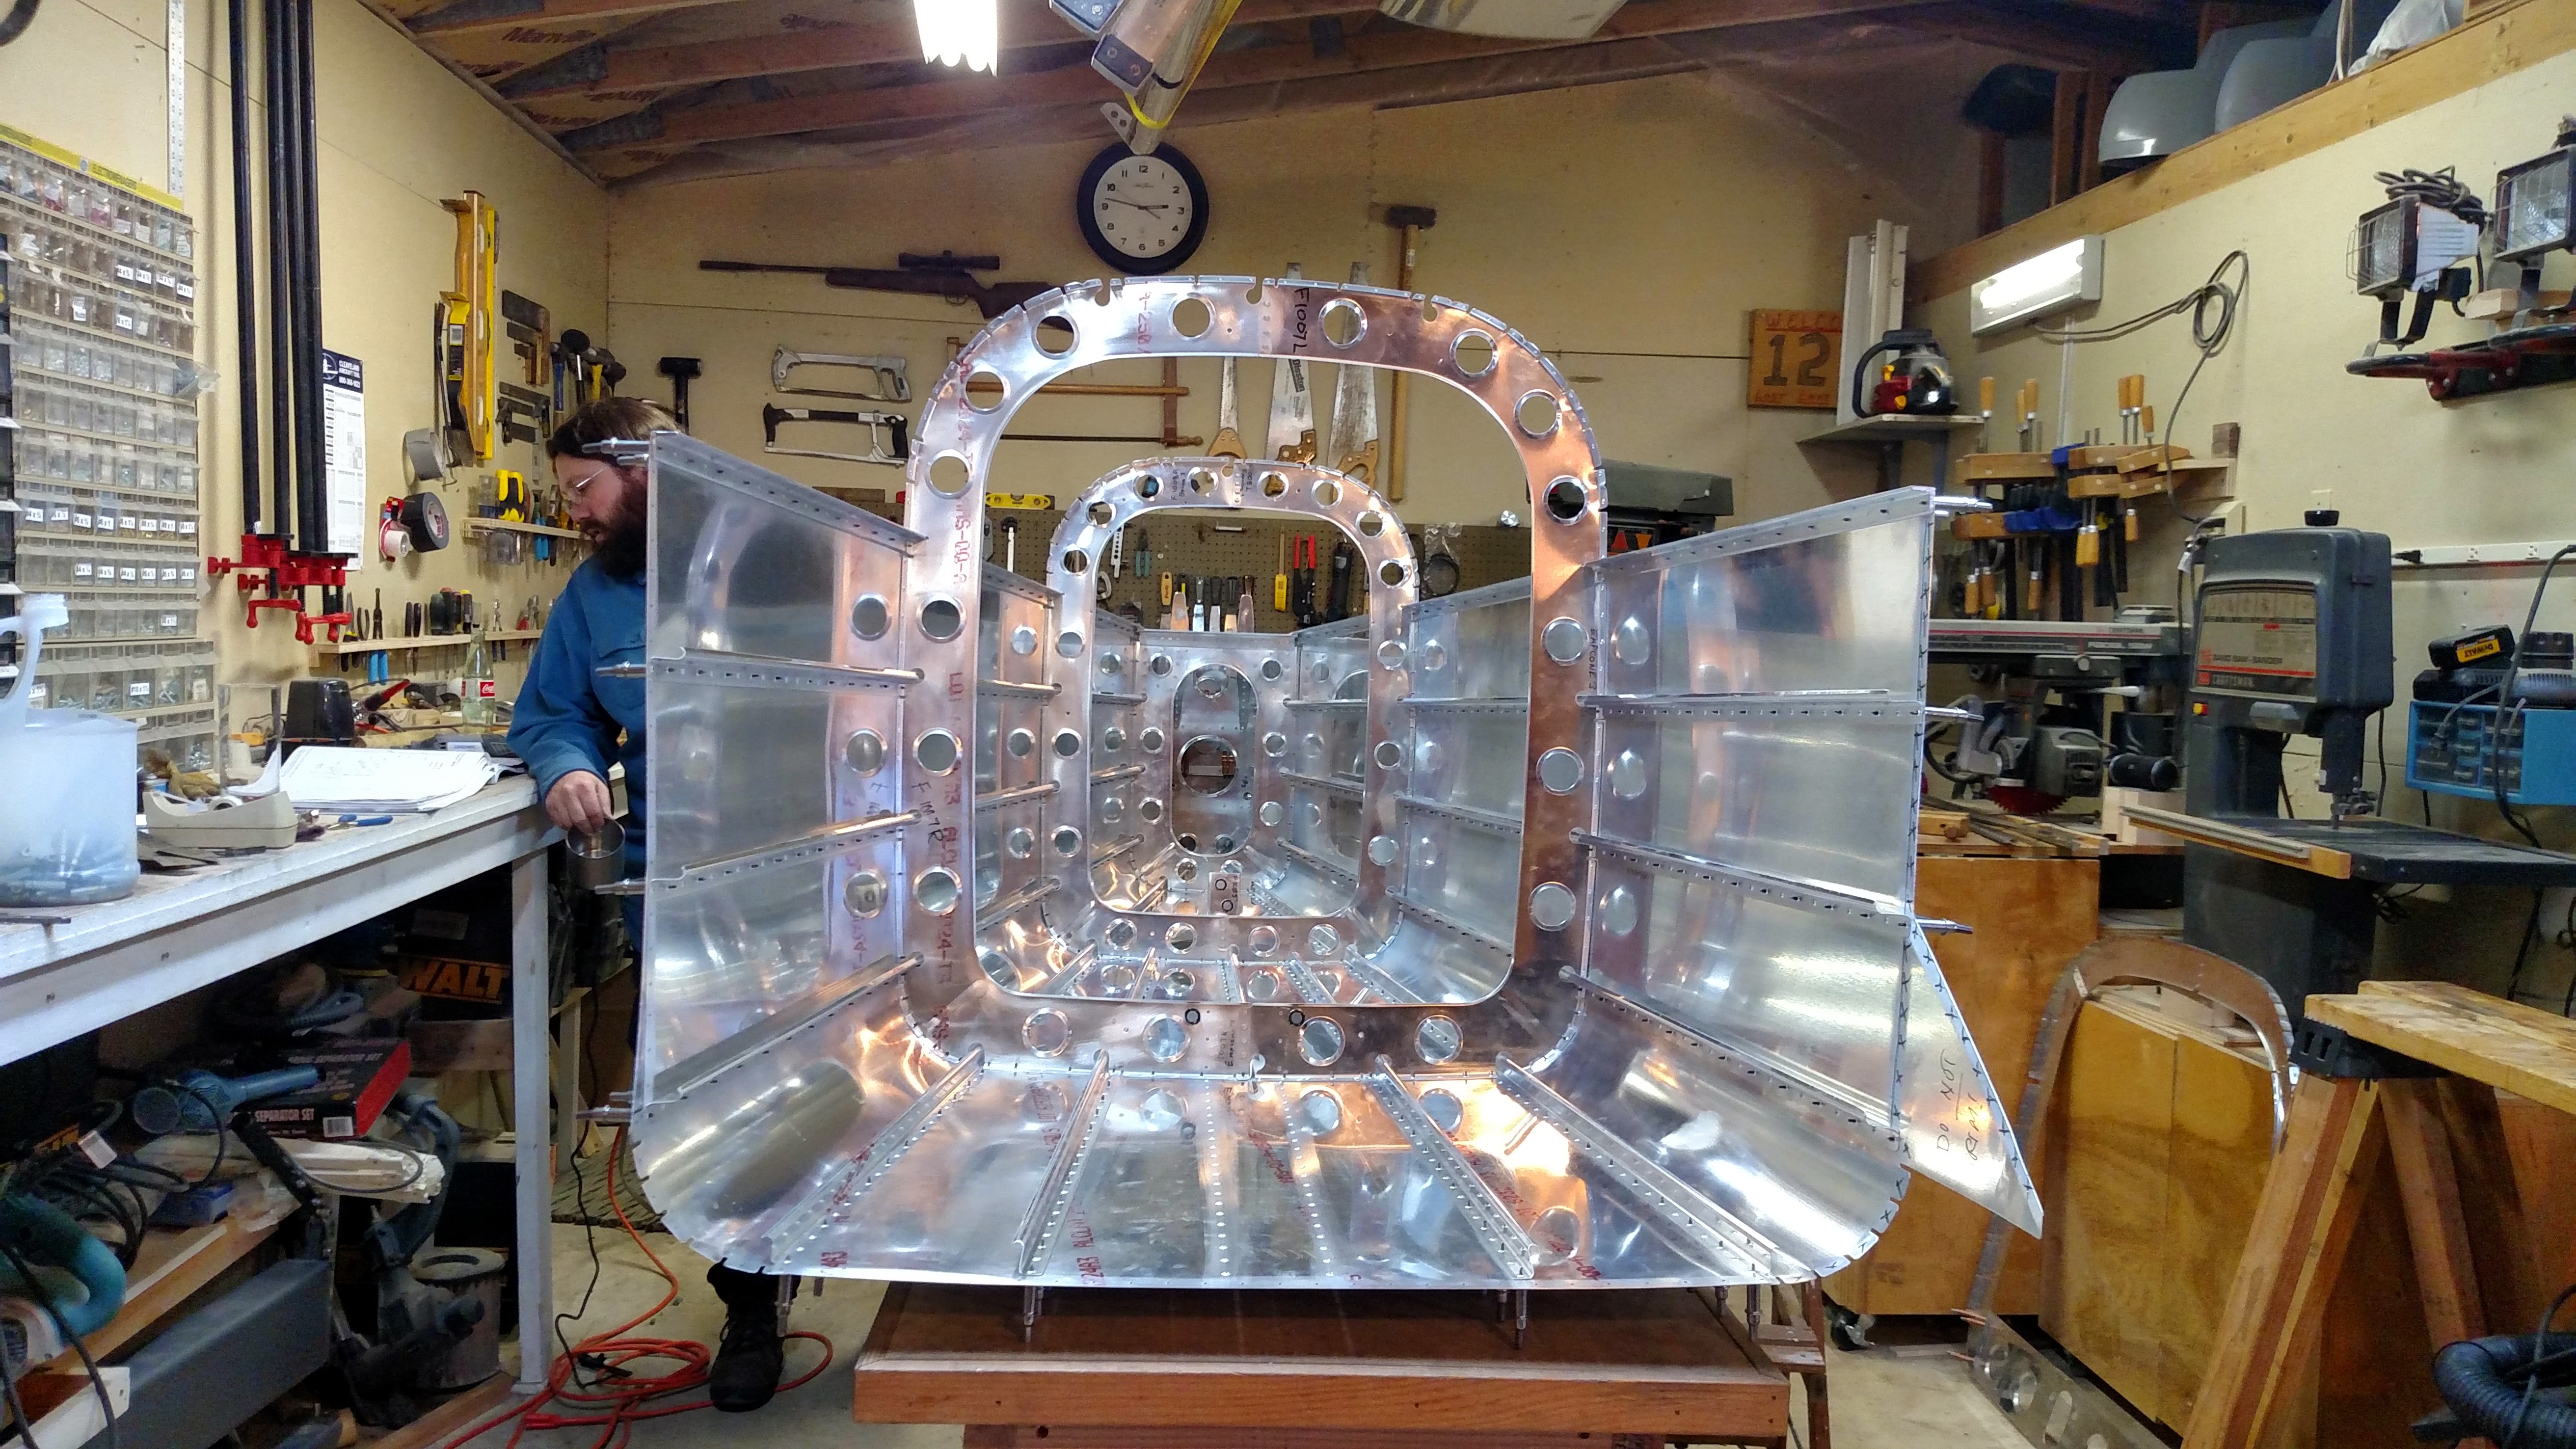
Overall, great progress this weekend.  No major mistakes, a few drilled rivets and one case of dropping the bucking bar inside in the tailcone.  Oops.  Many hundreds of very nice rivets set.

IMG_20150111_170928215

IMG_20150111_171126270

IMG_20150111_171243501

IMG_20150111_174907121
IMG_20150111_175258679

IMG_20150111_170949646
IMG_20150111_174947
IMG_20150111_184128616

IMG_20150111_184145715

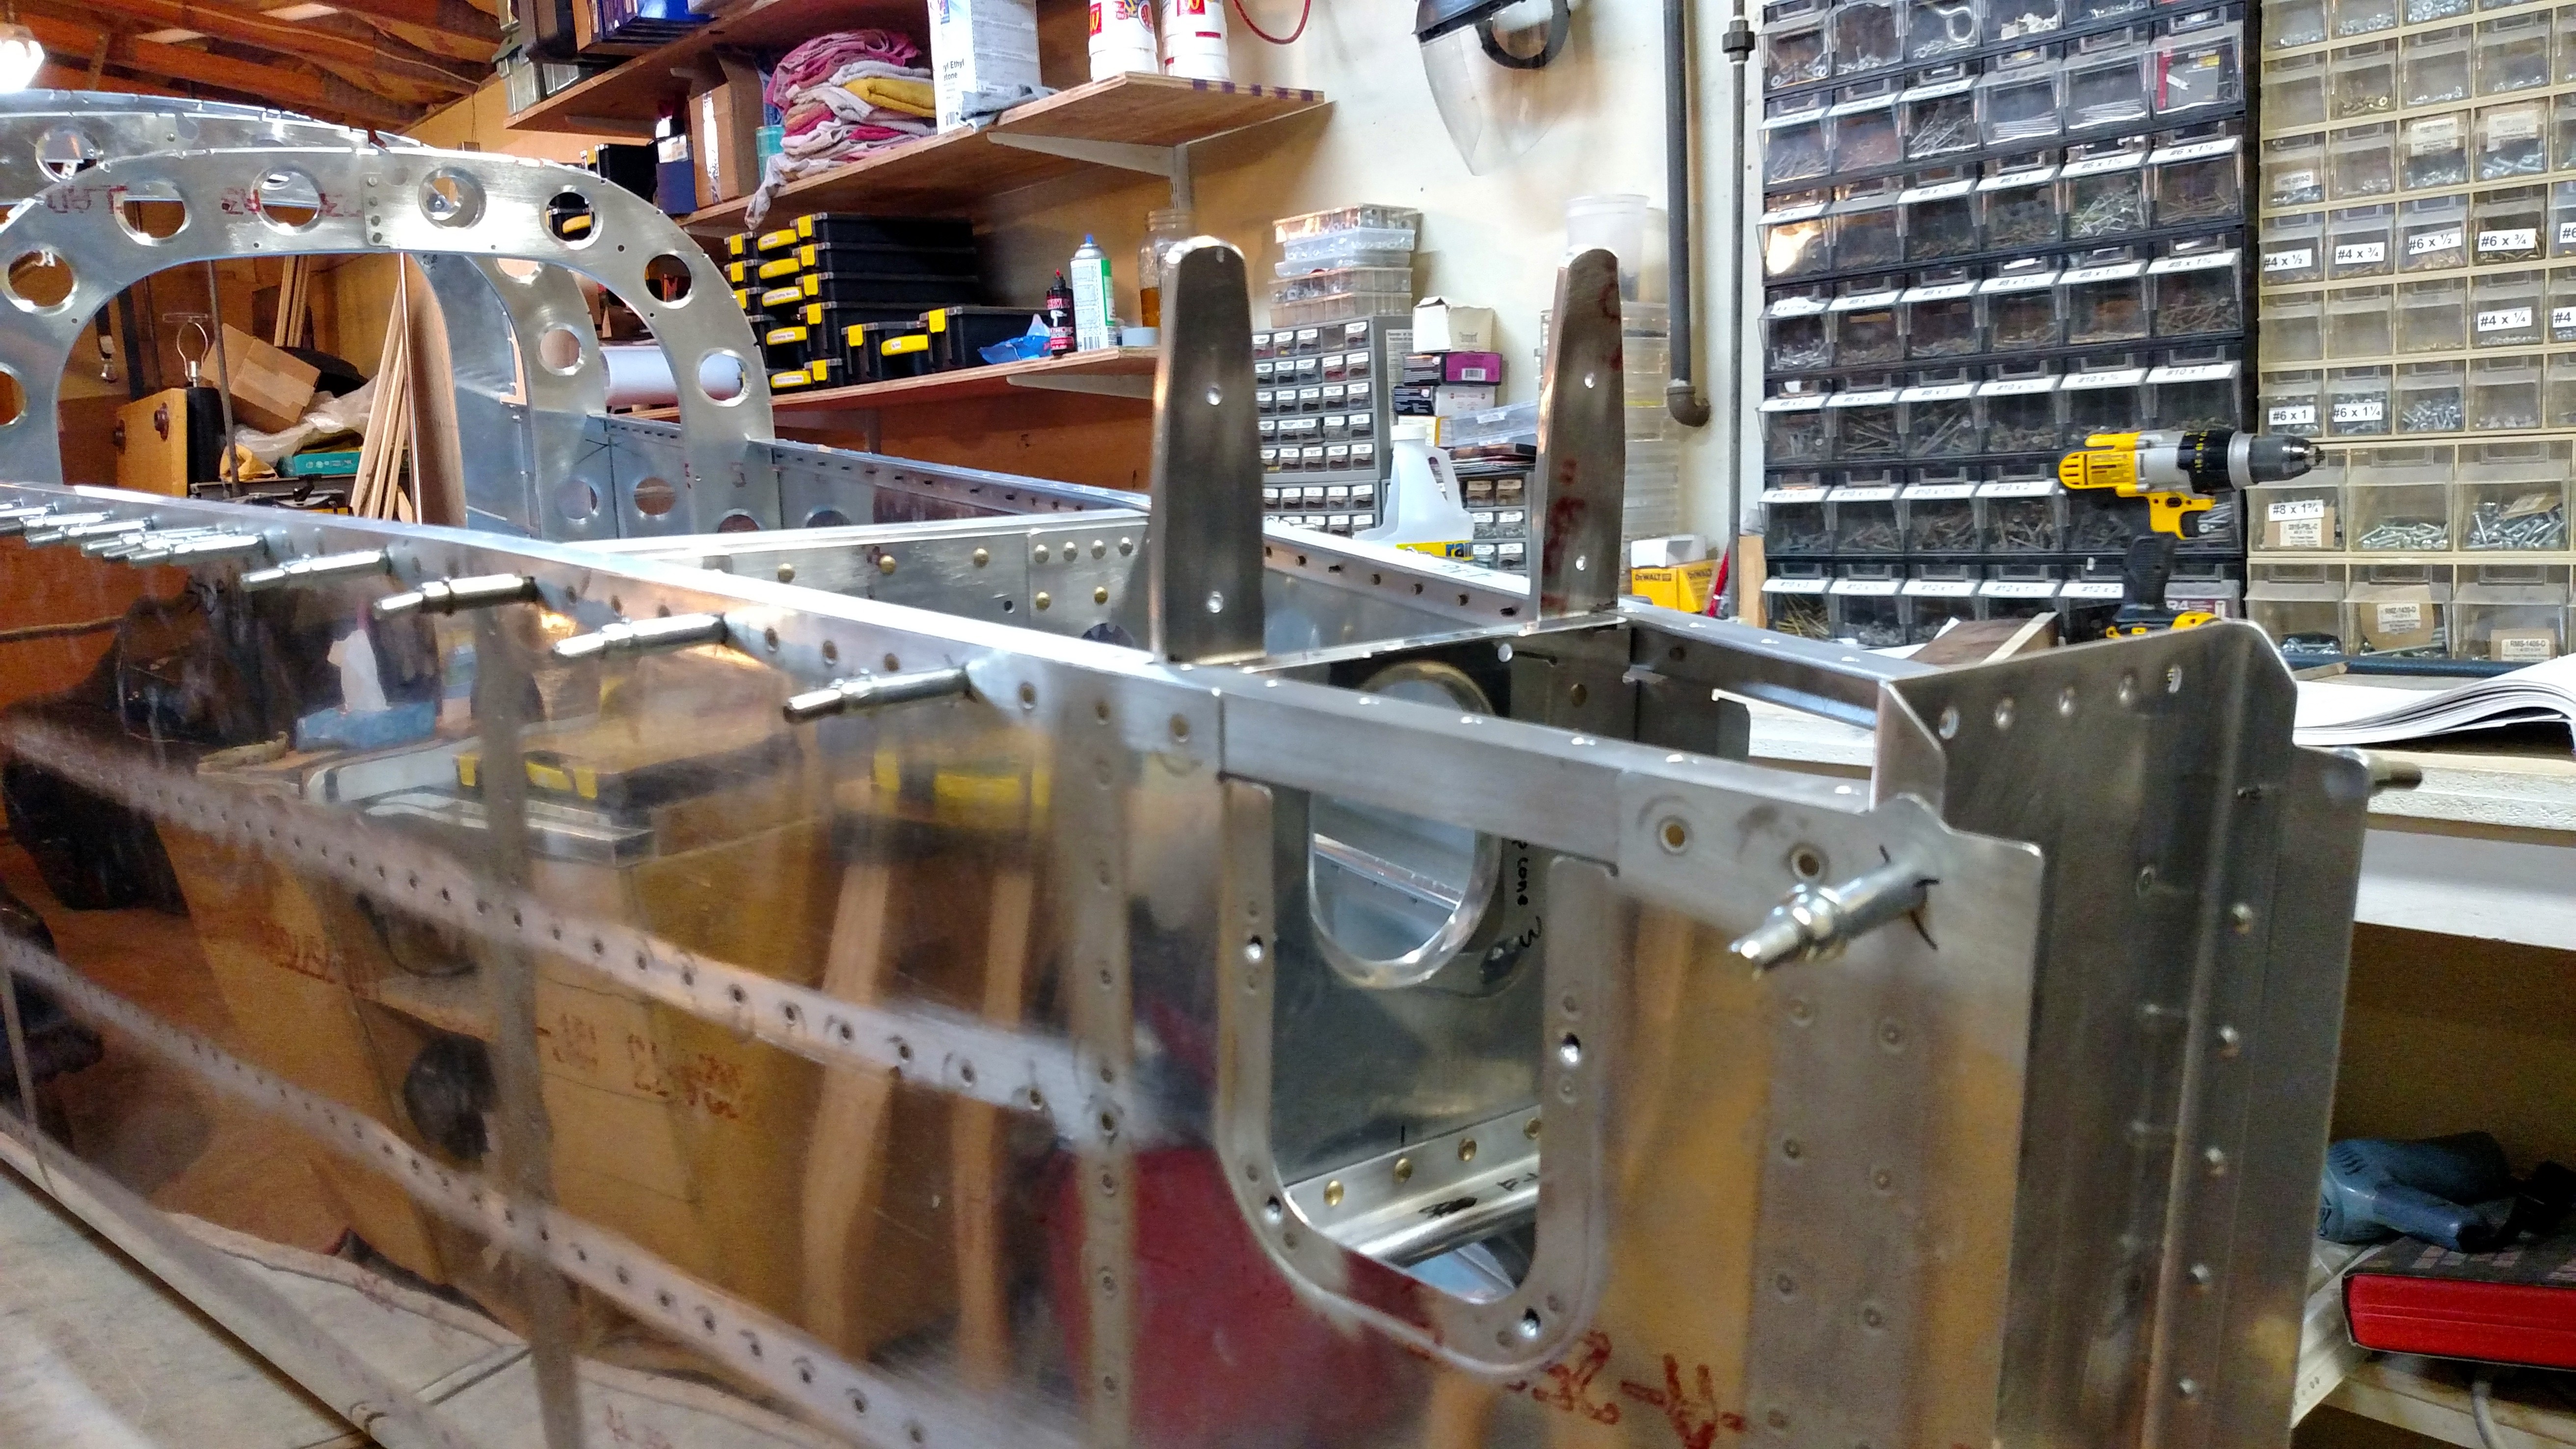
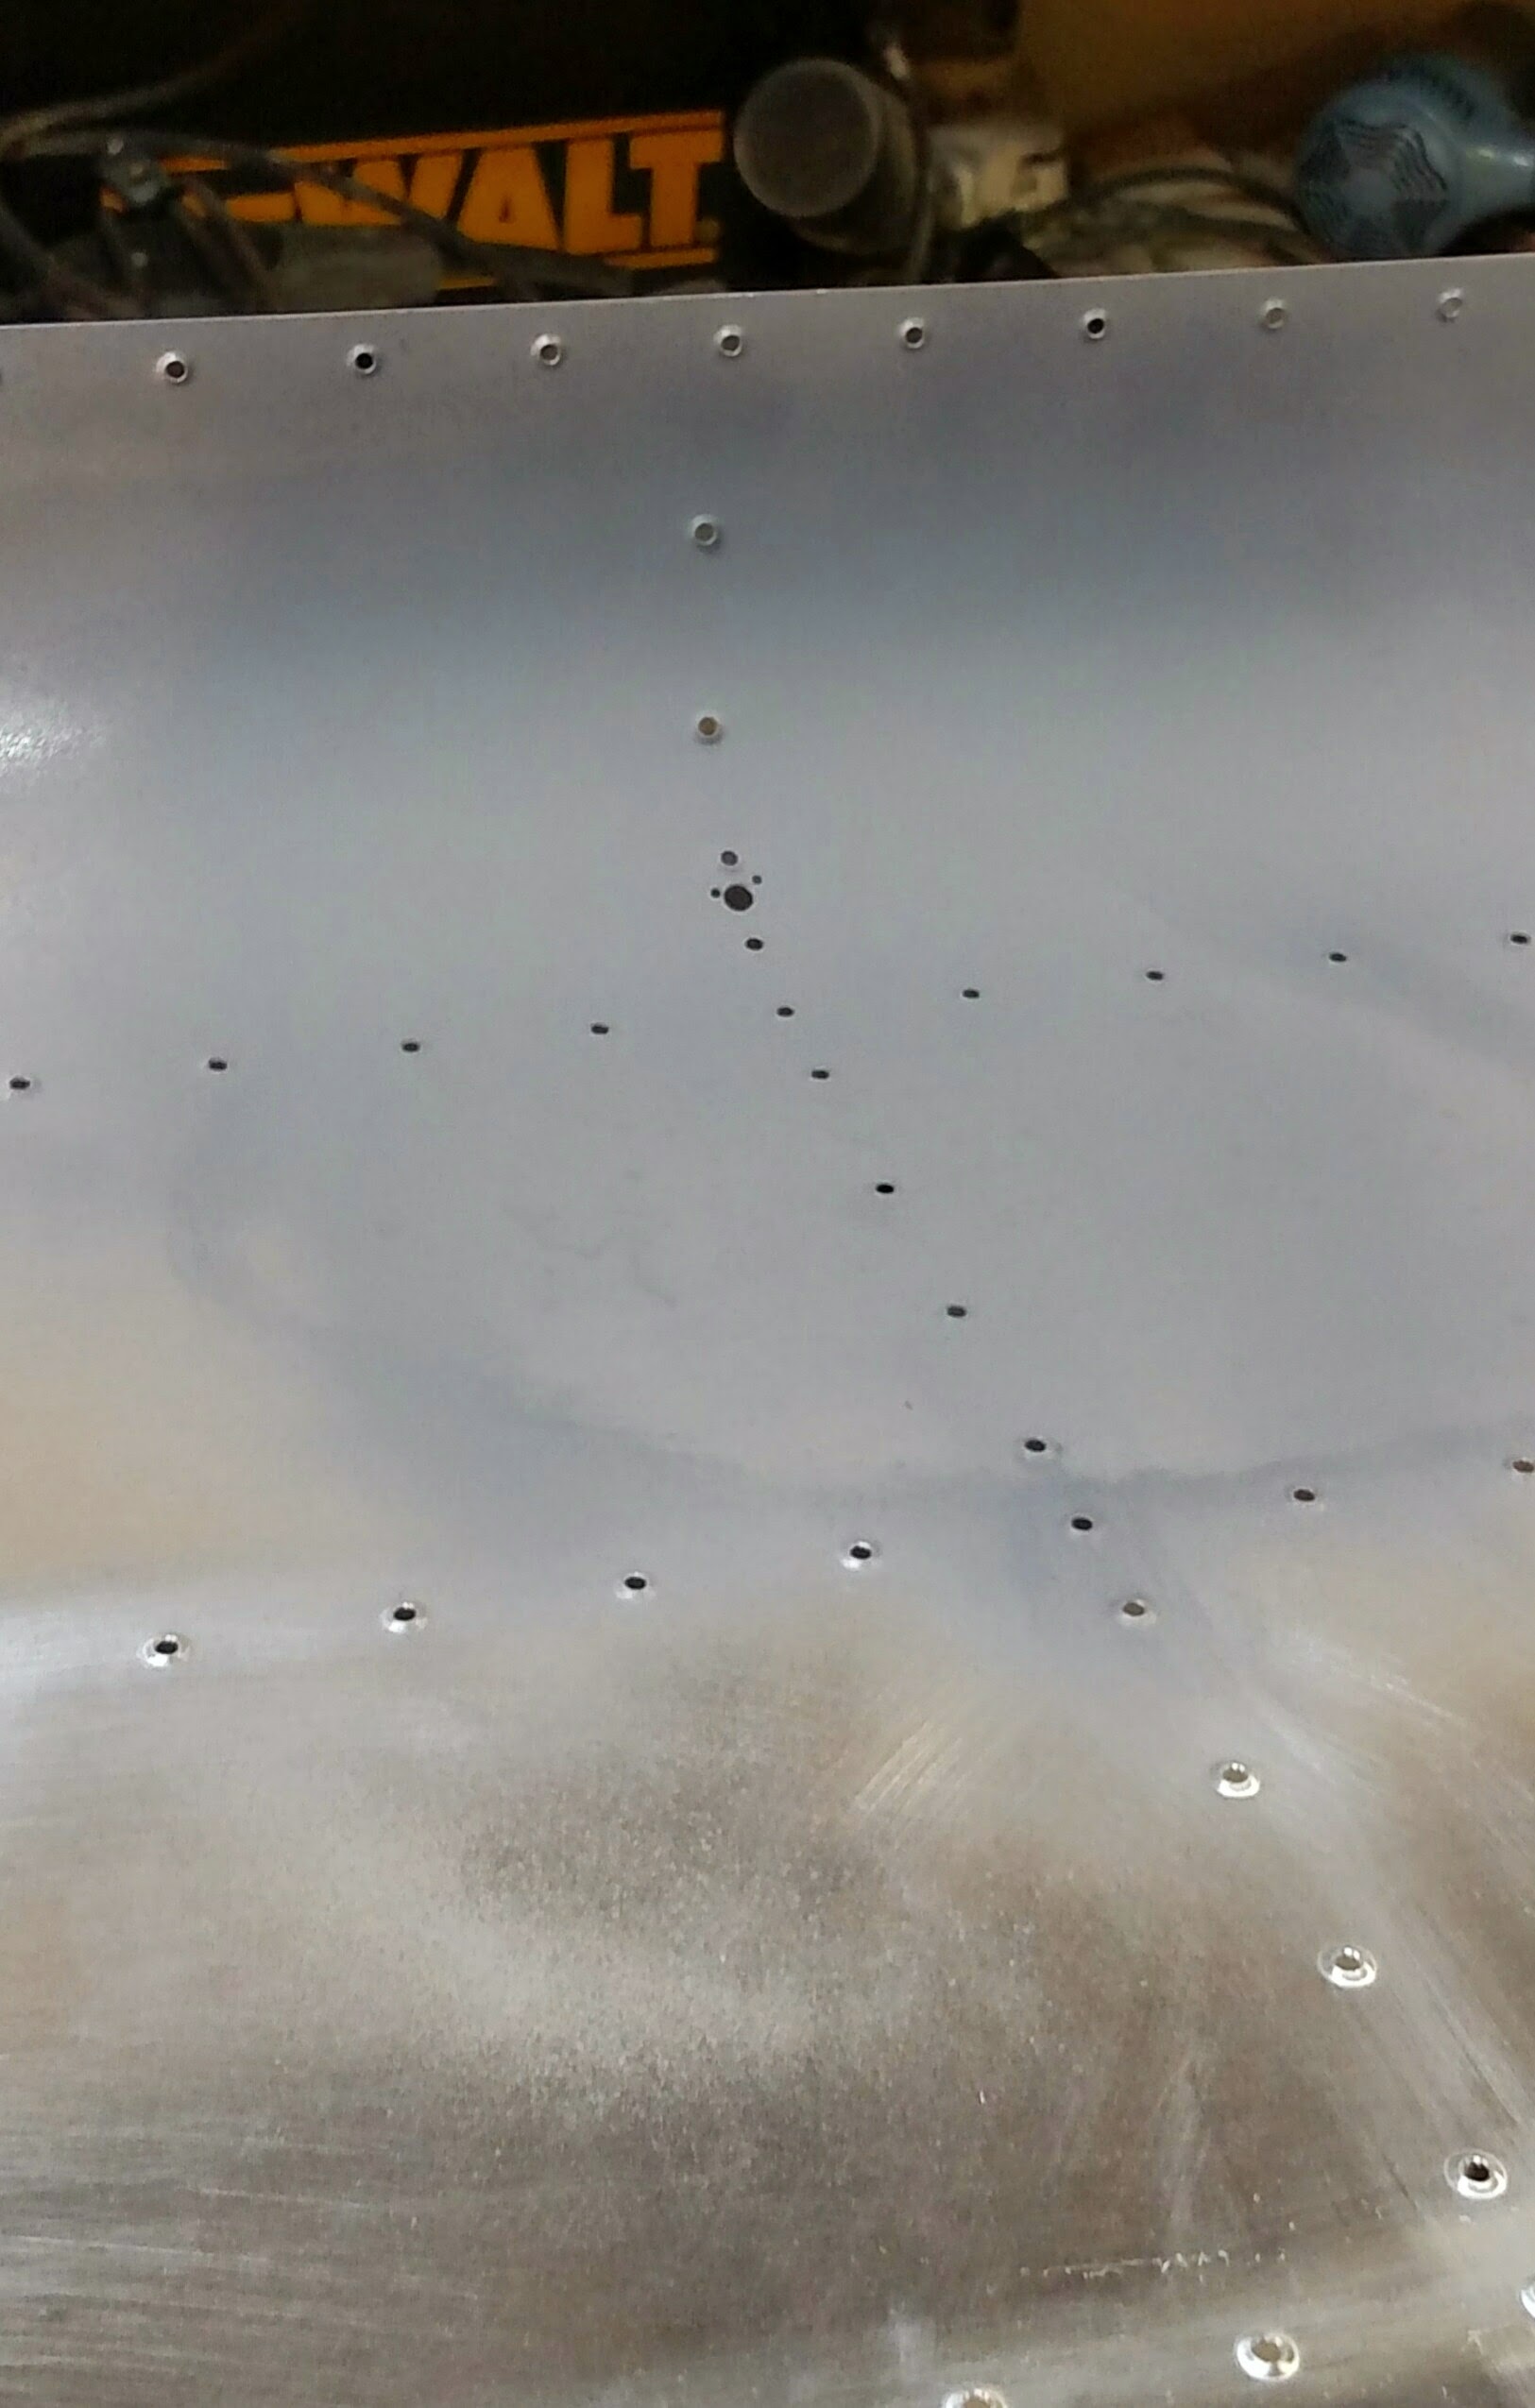
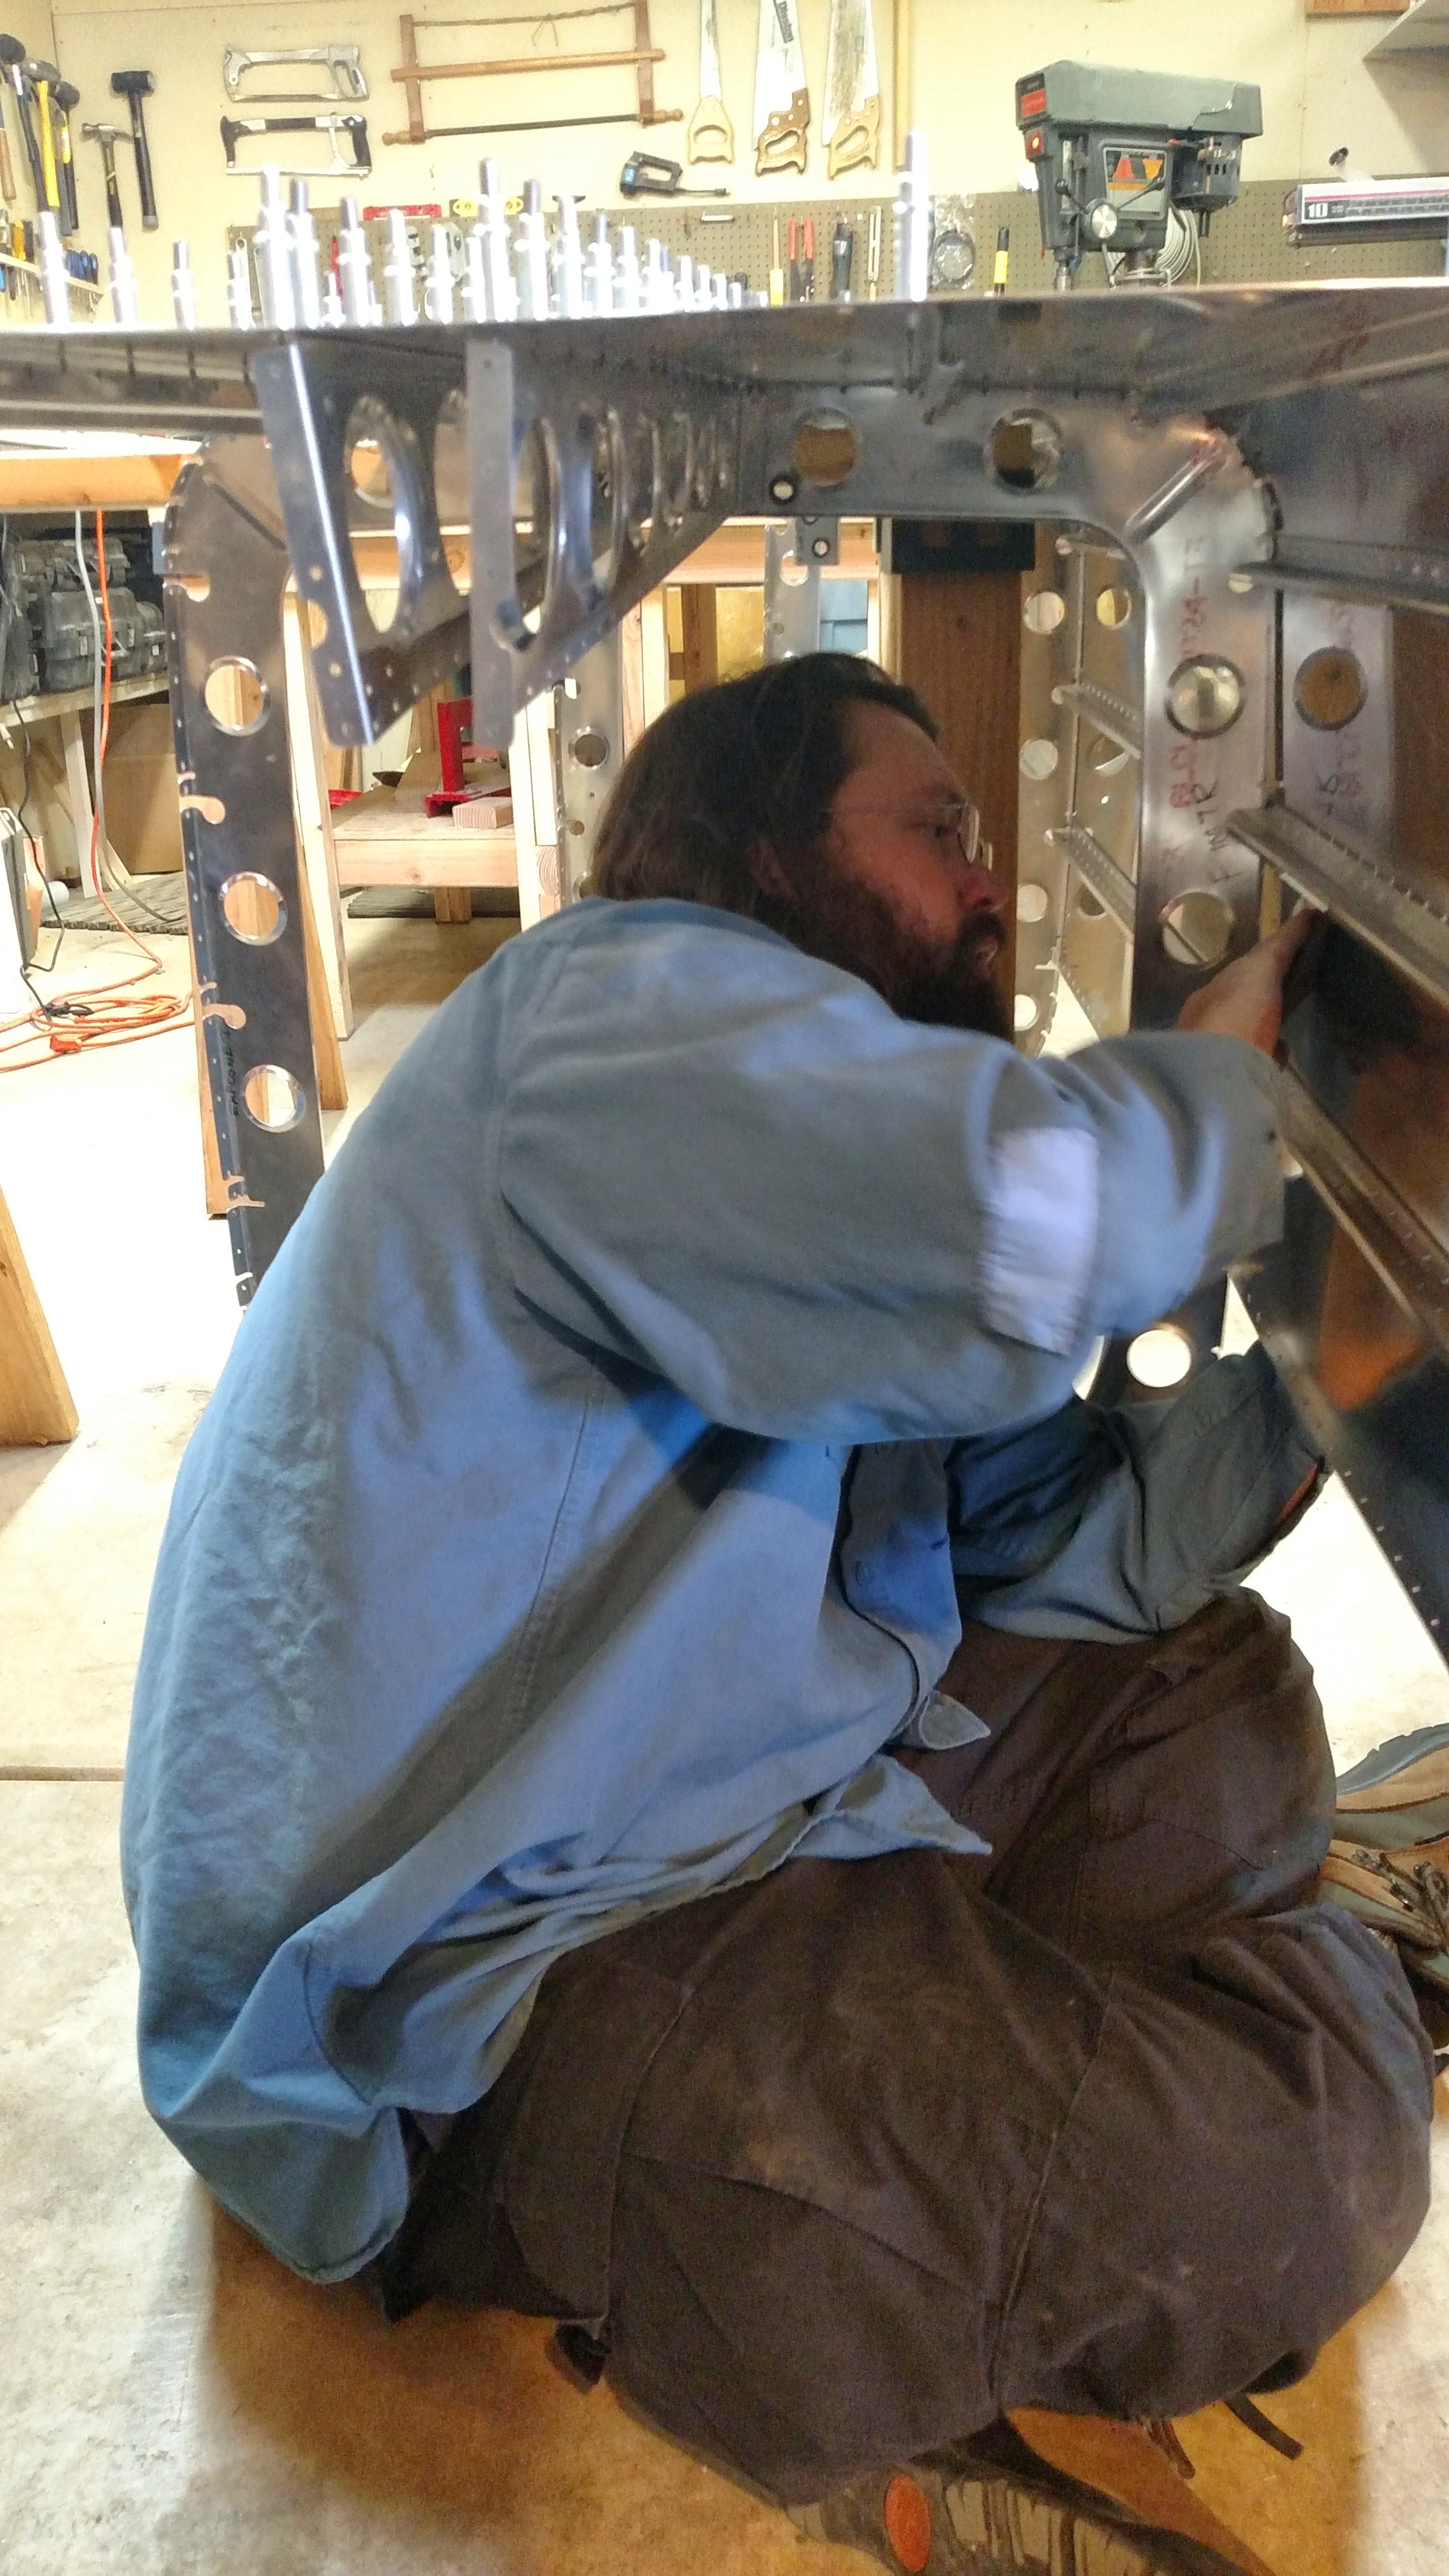
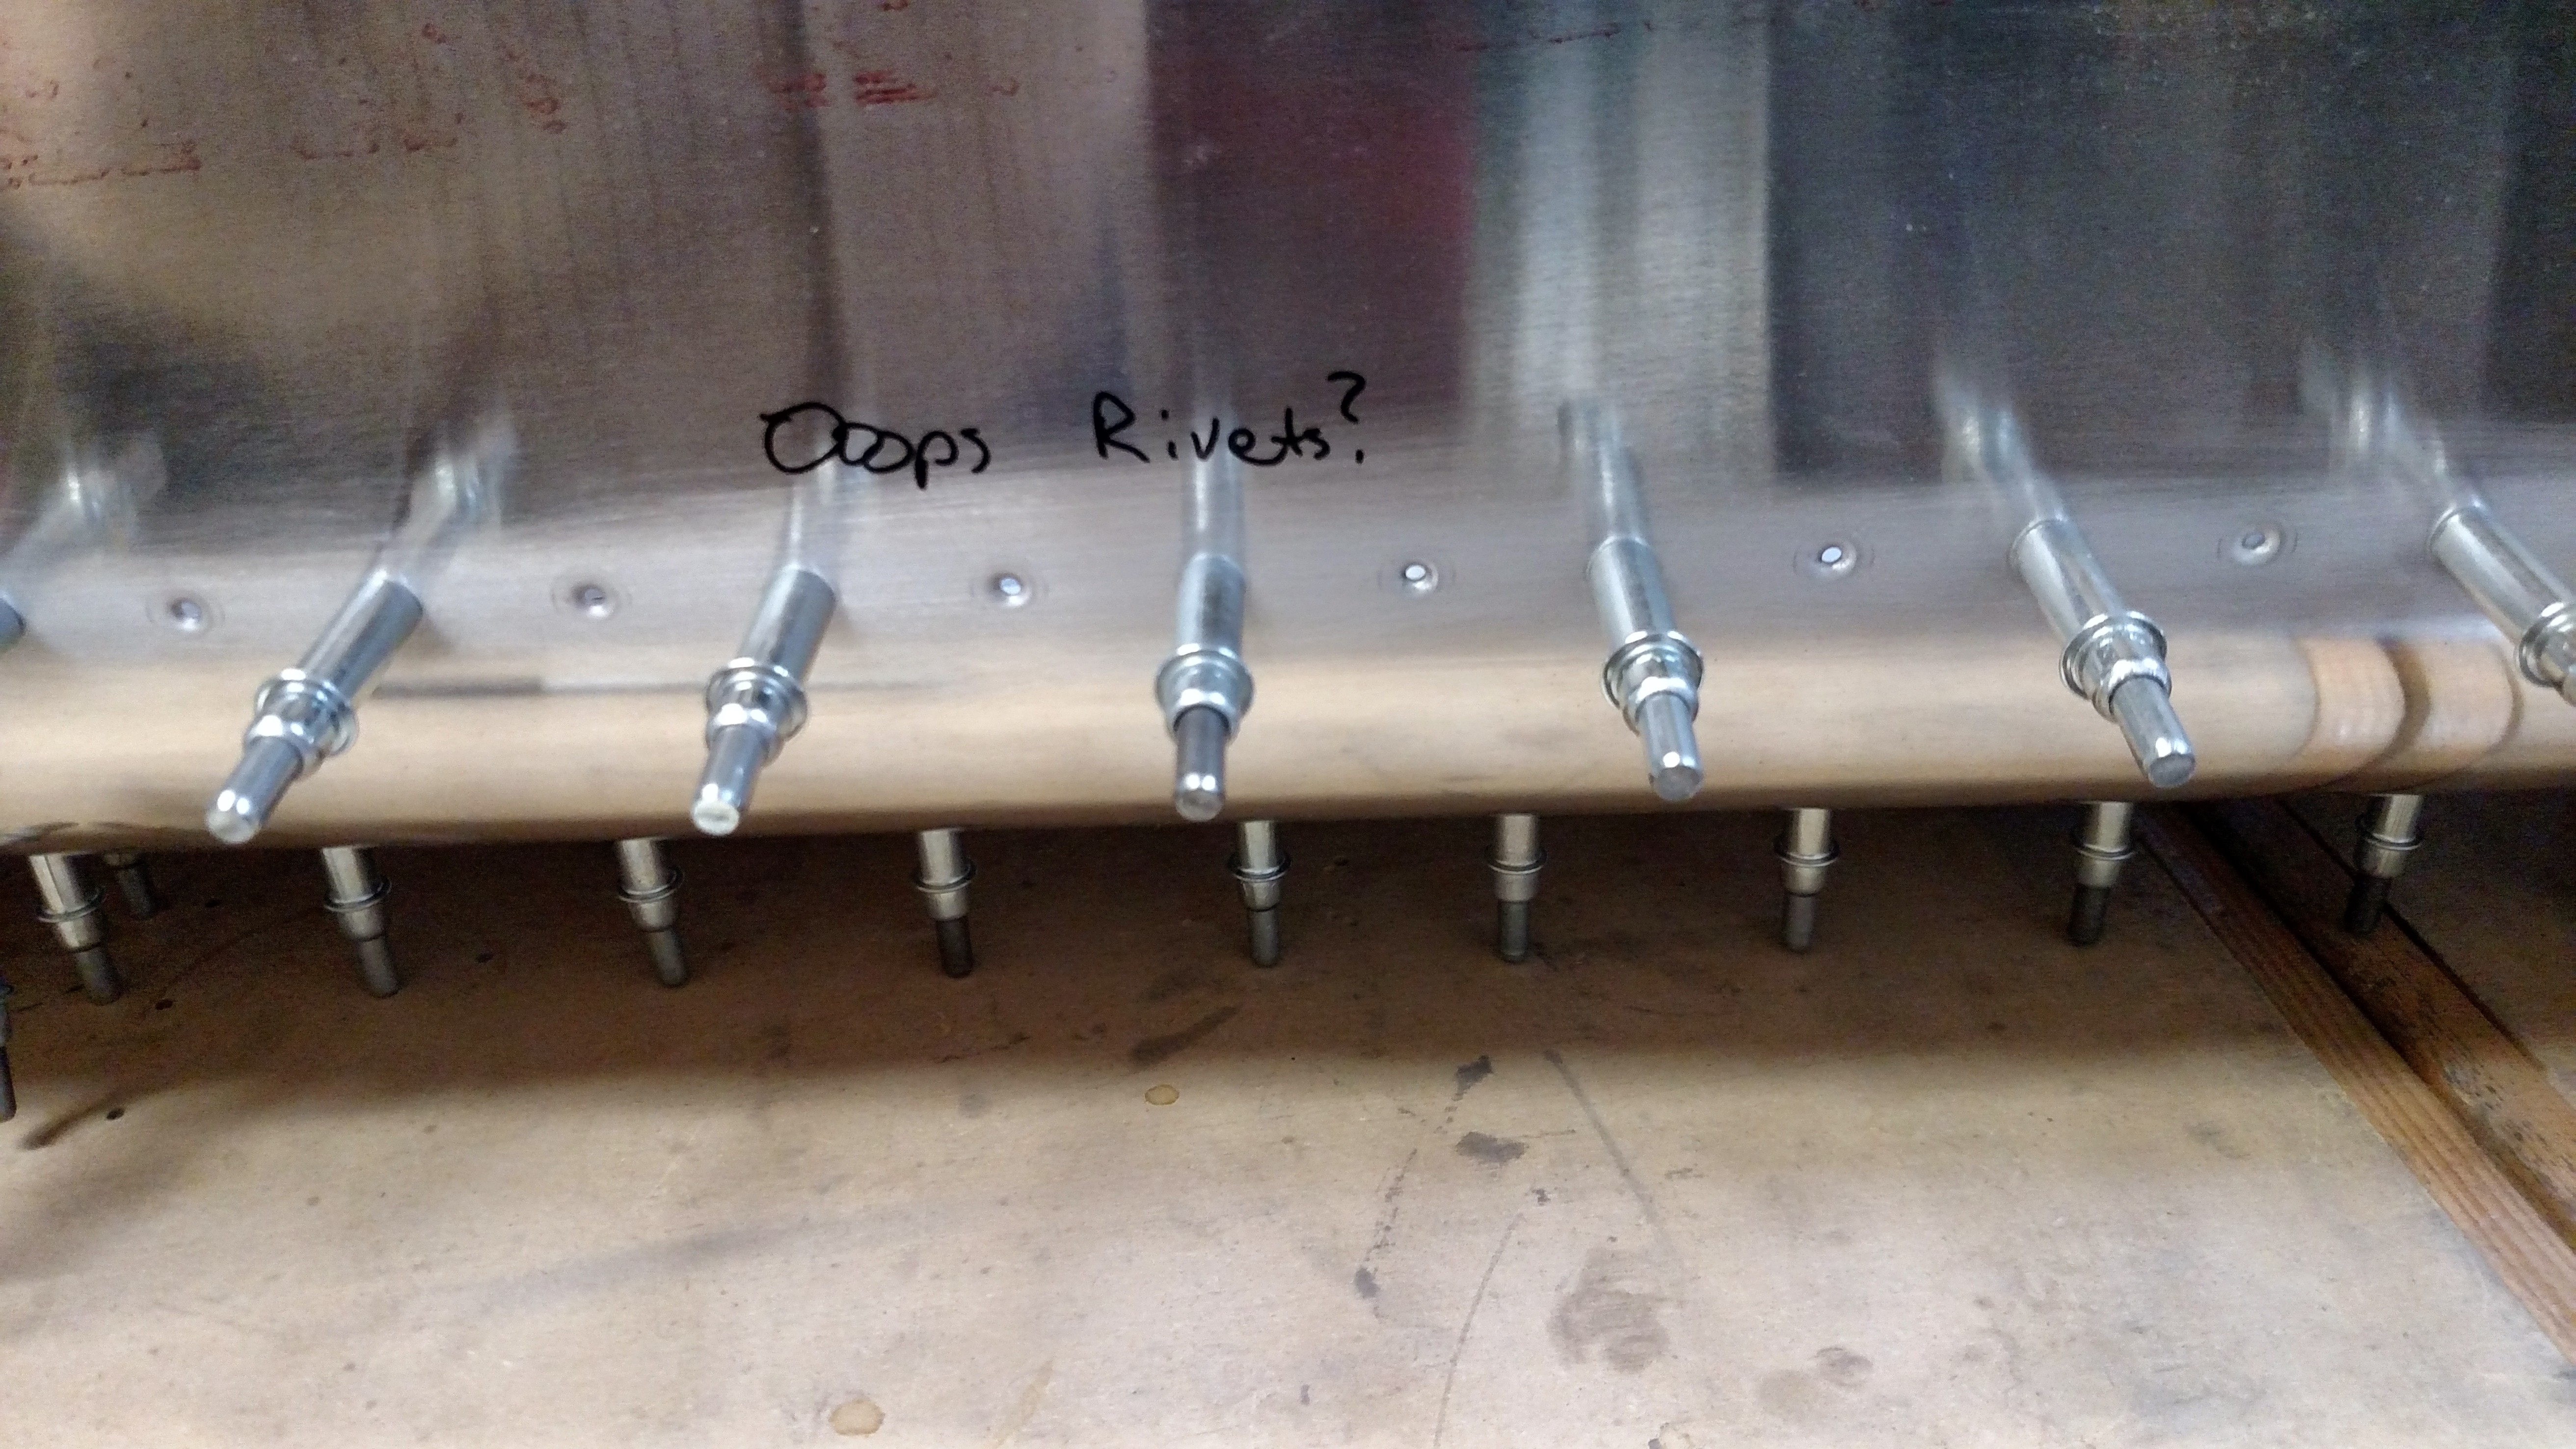
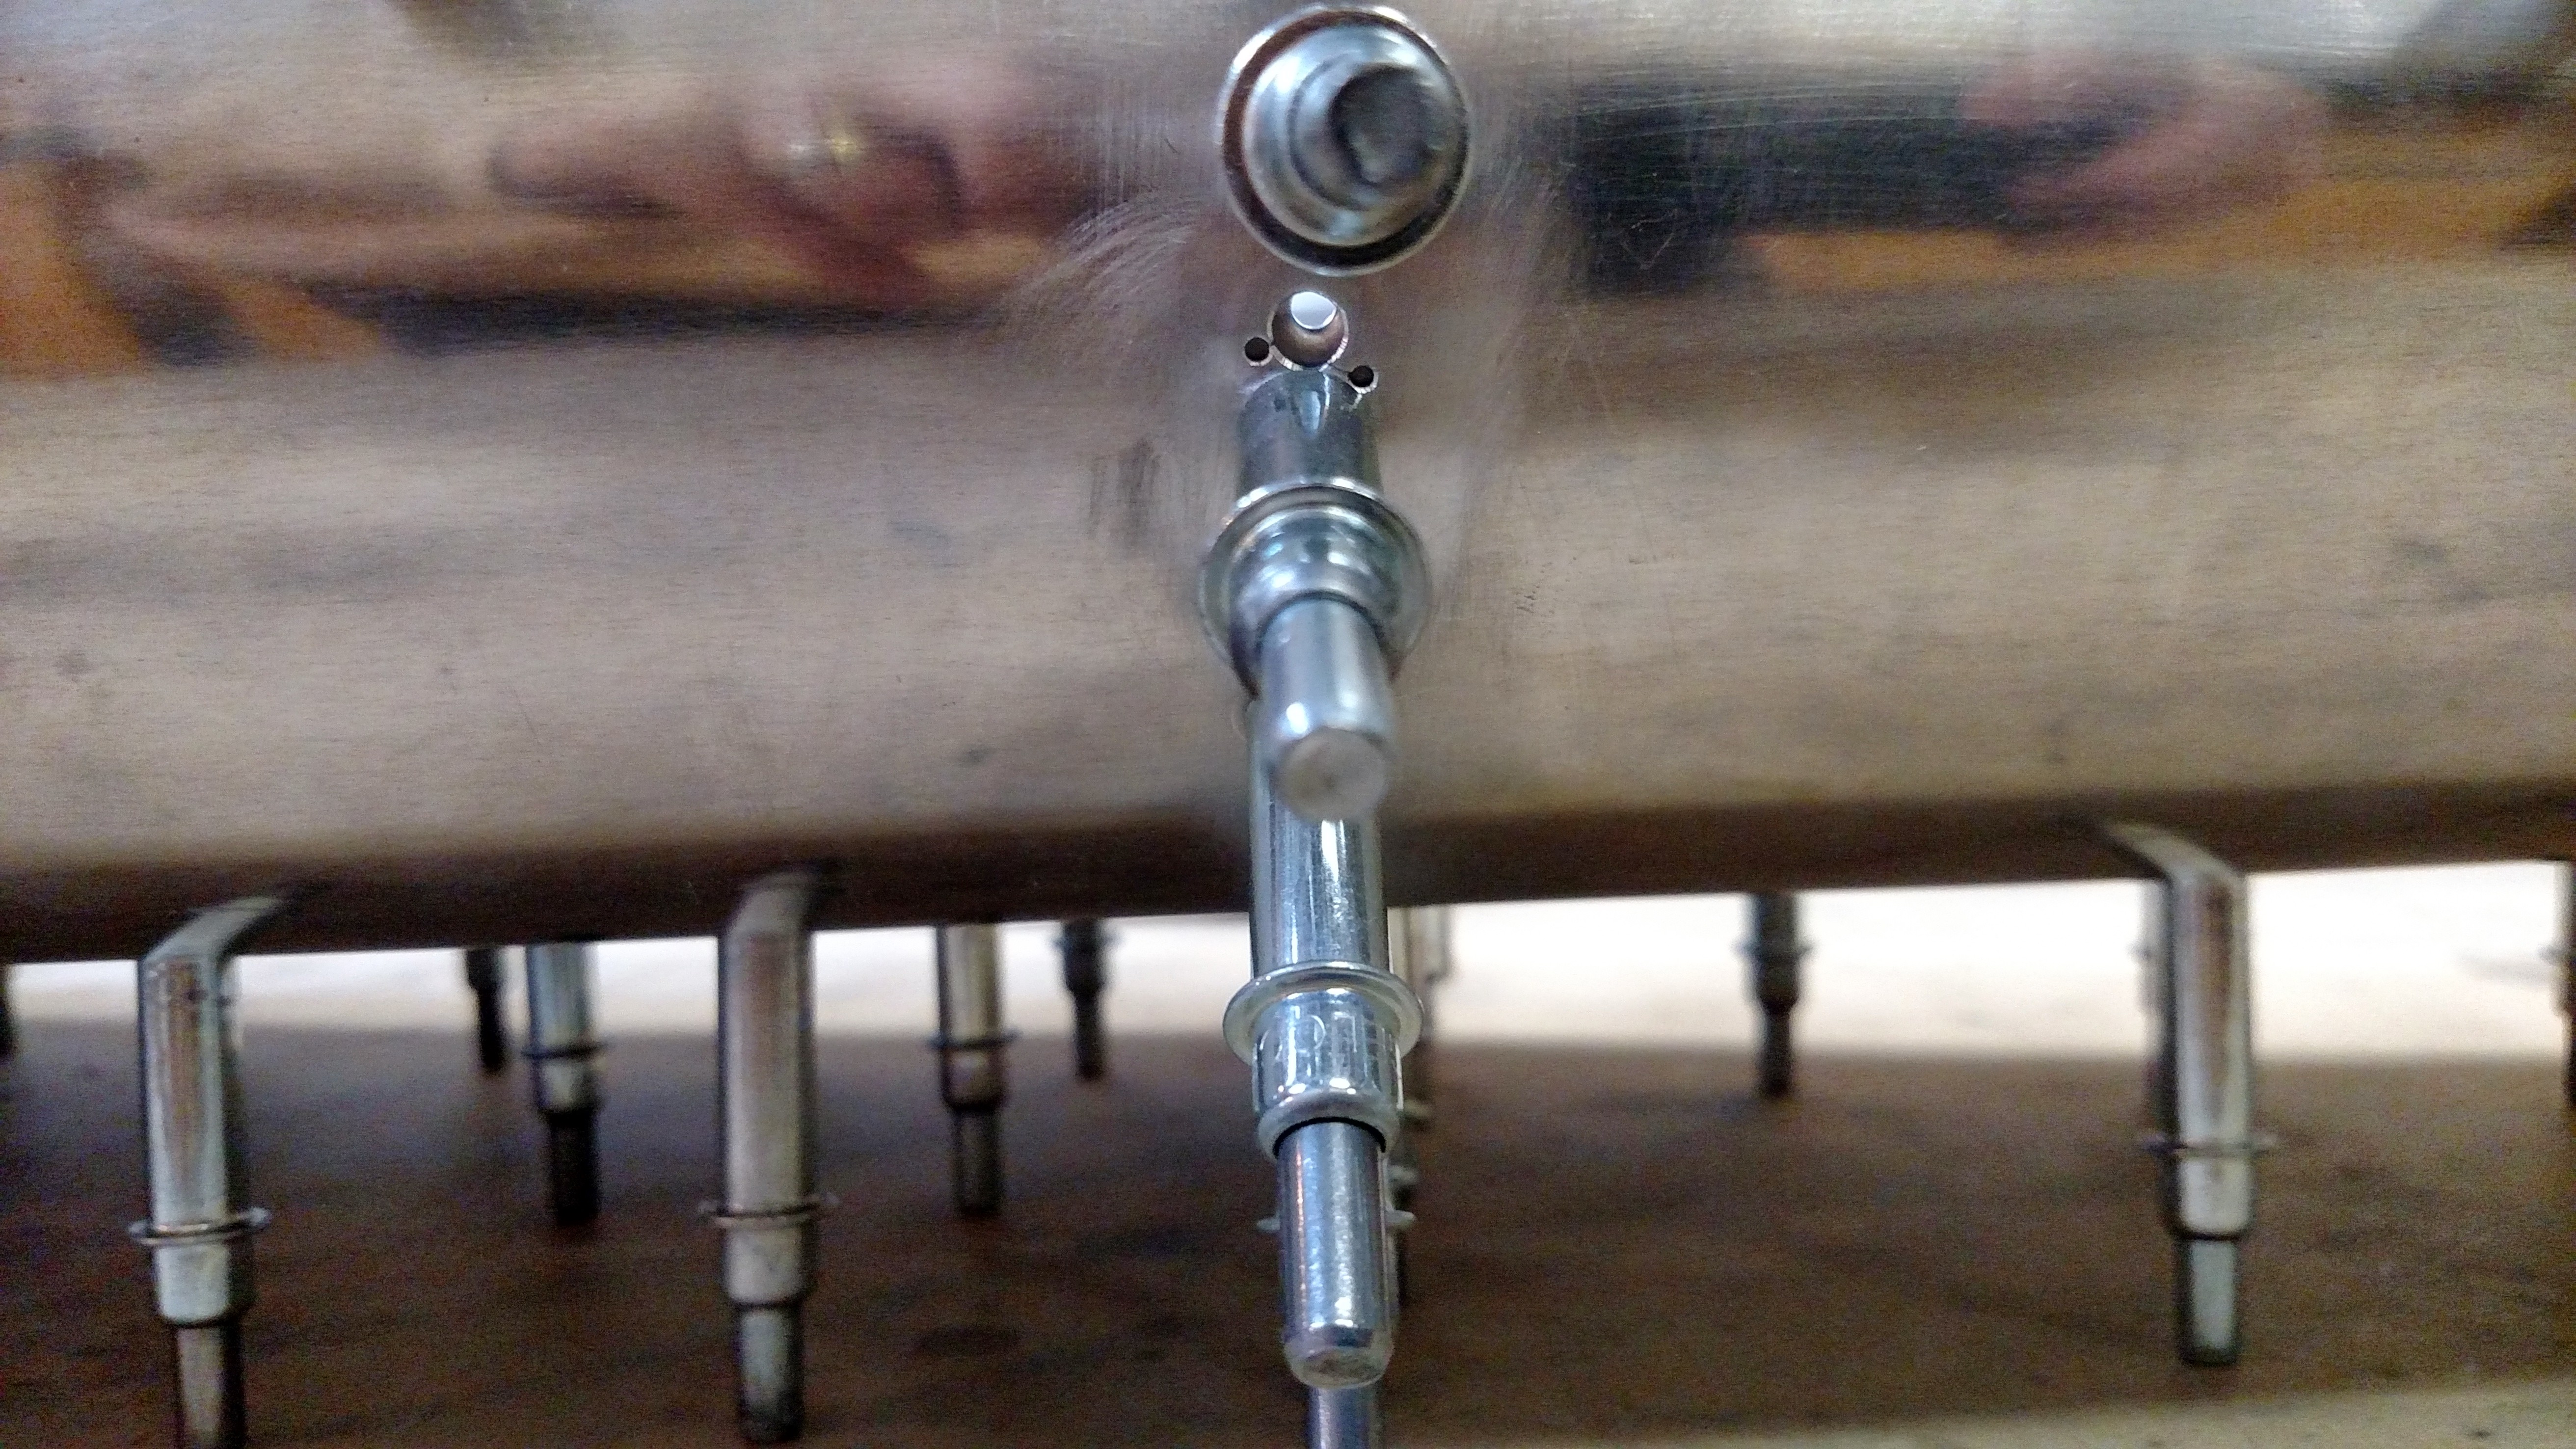
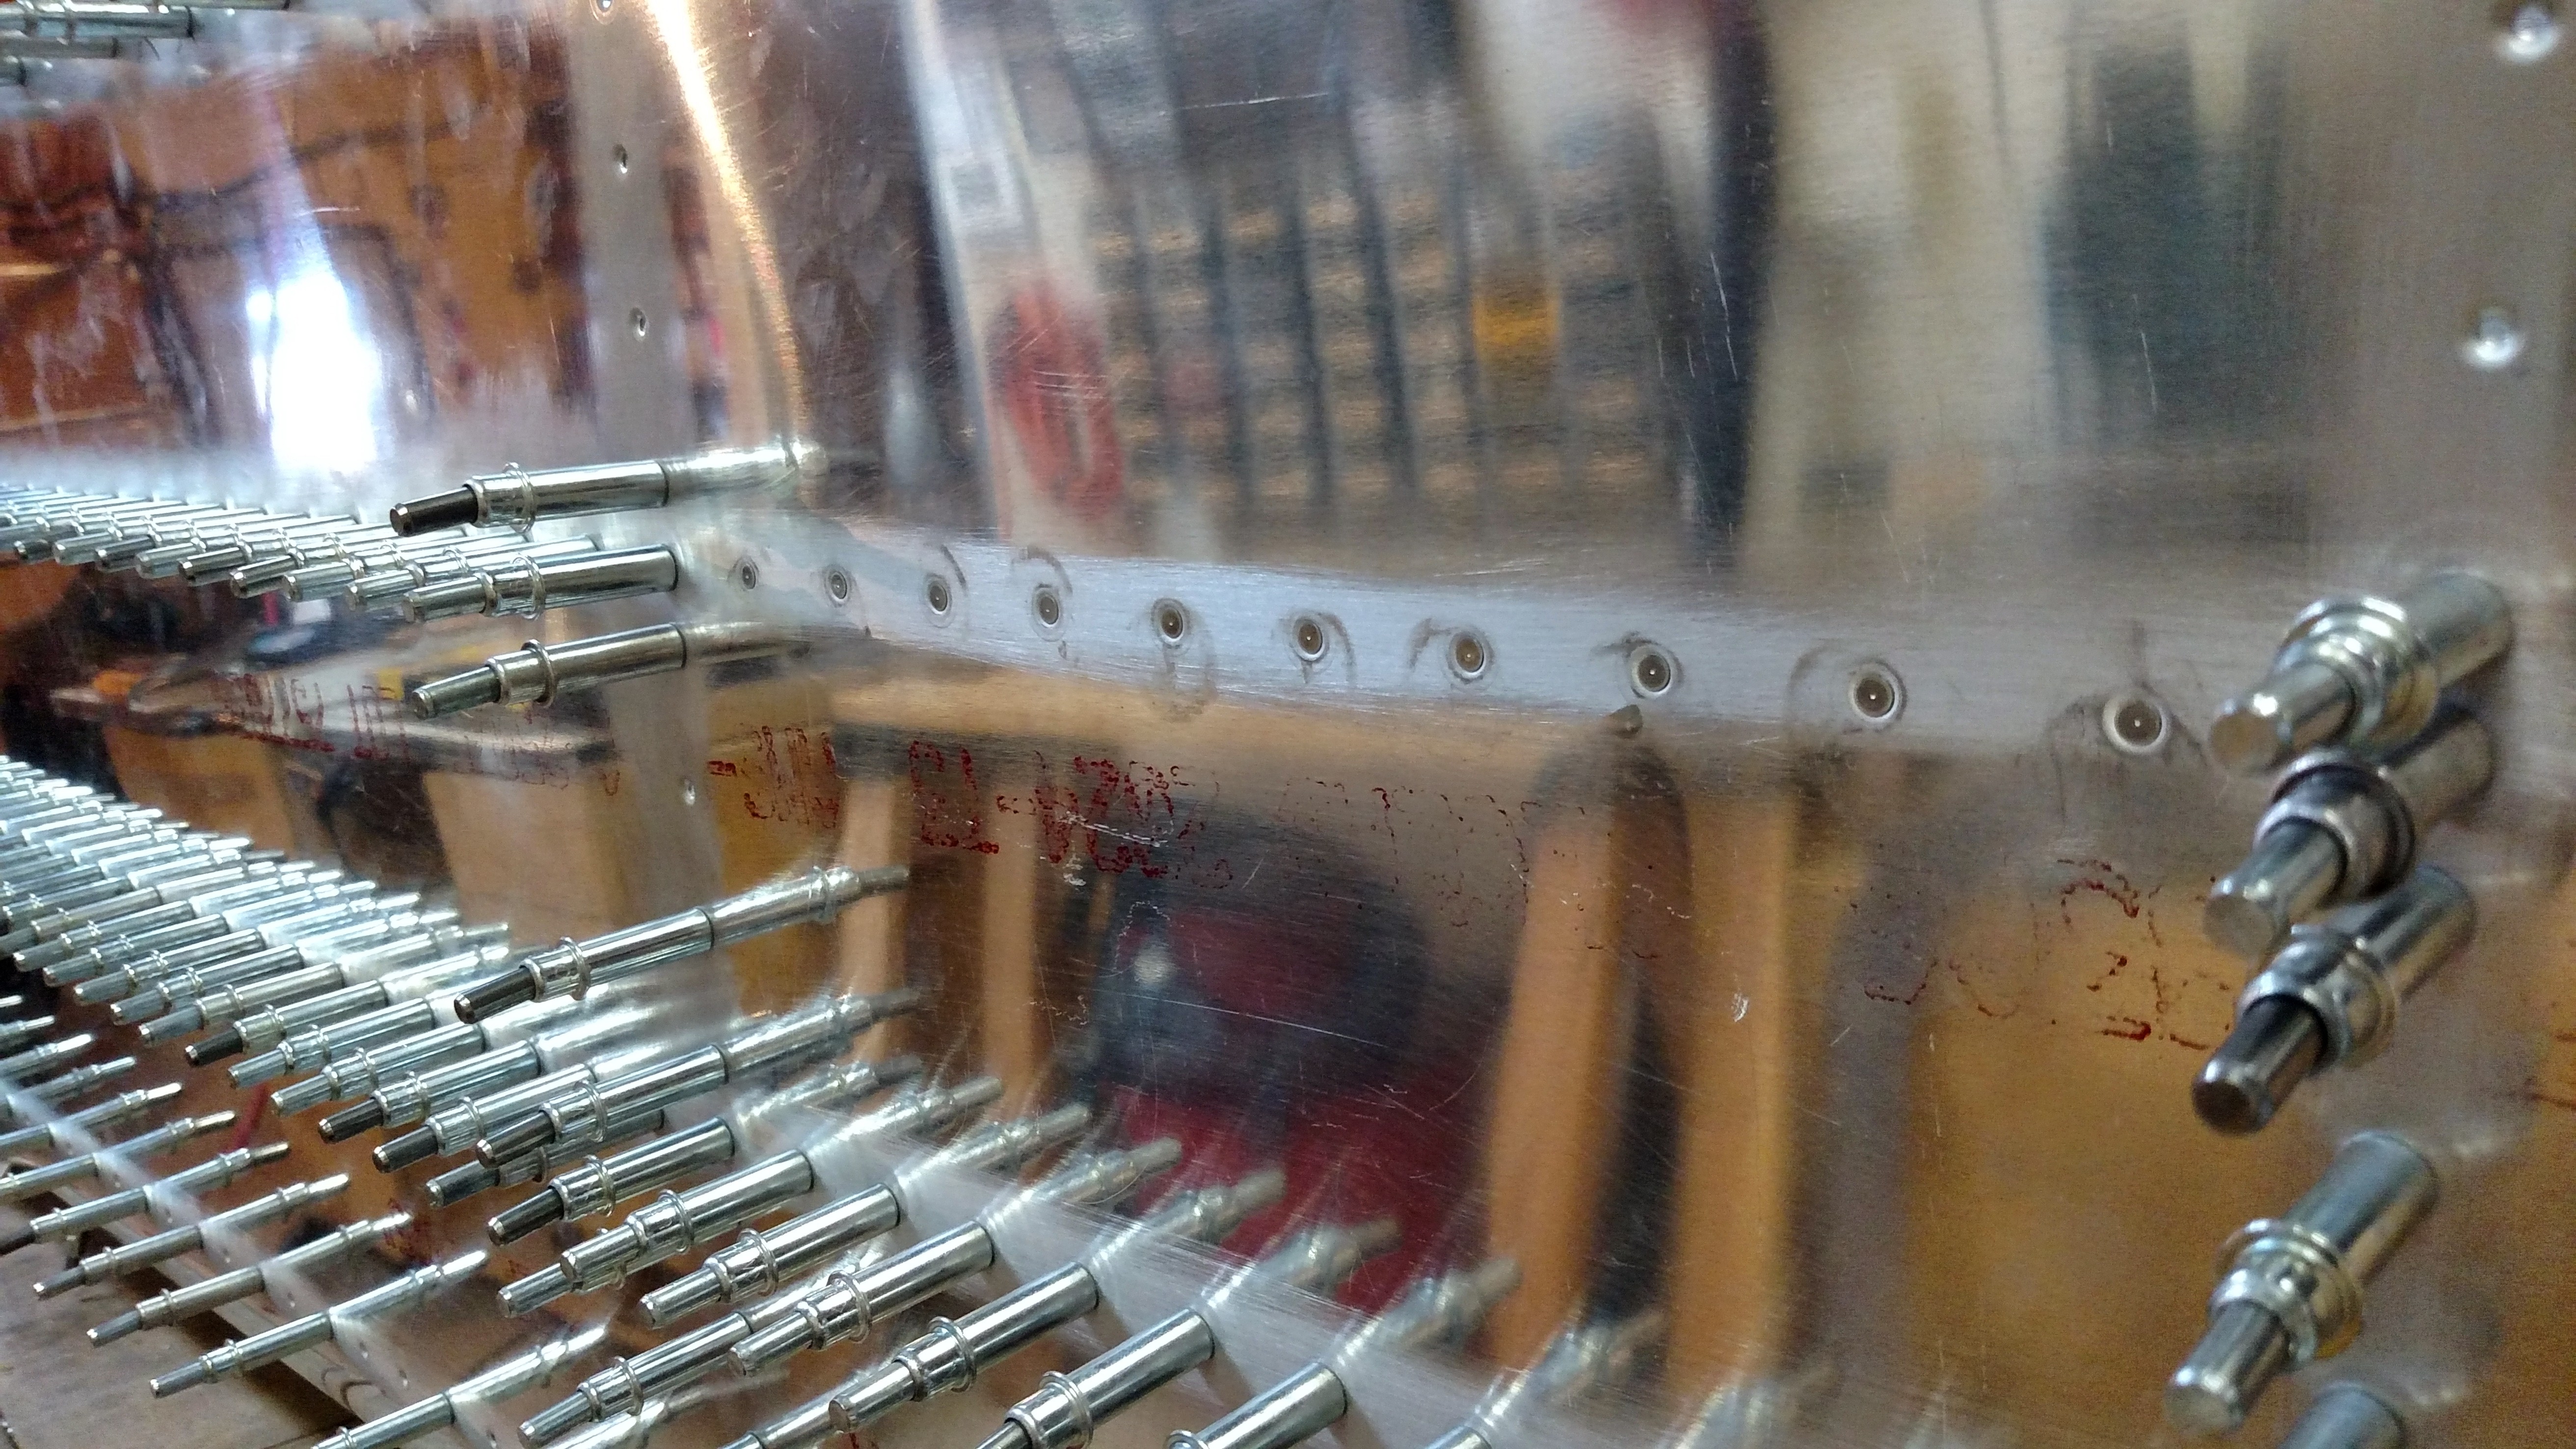
What happens when you drop a bucking bar inside:IMG_20150111_173753219_HDR

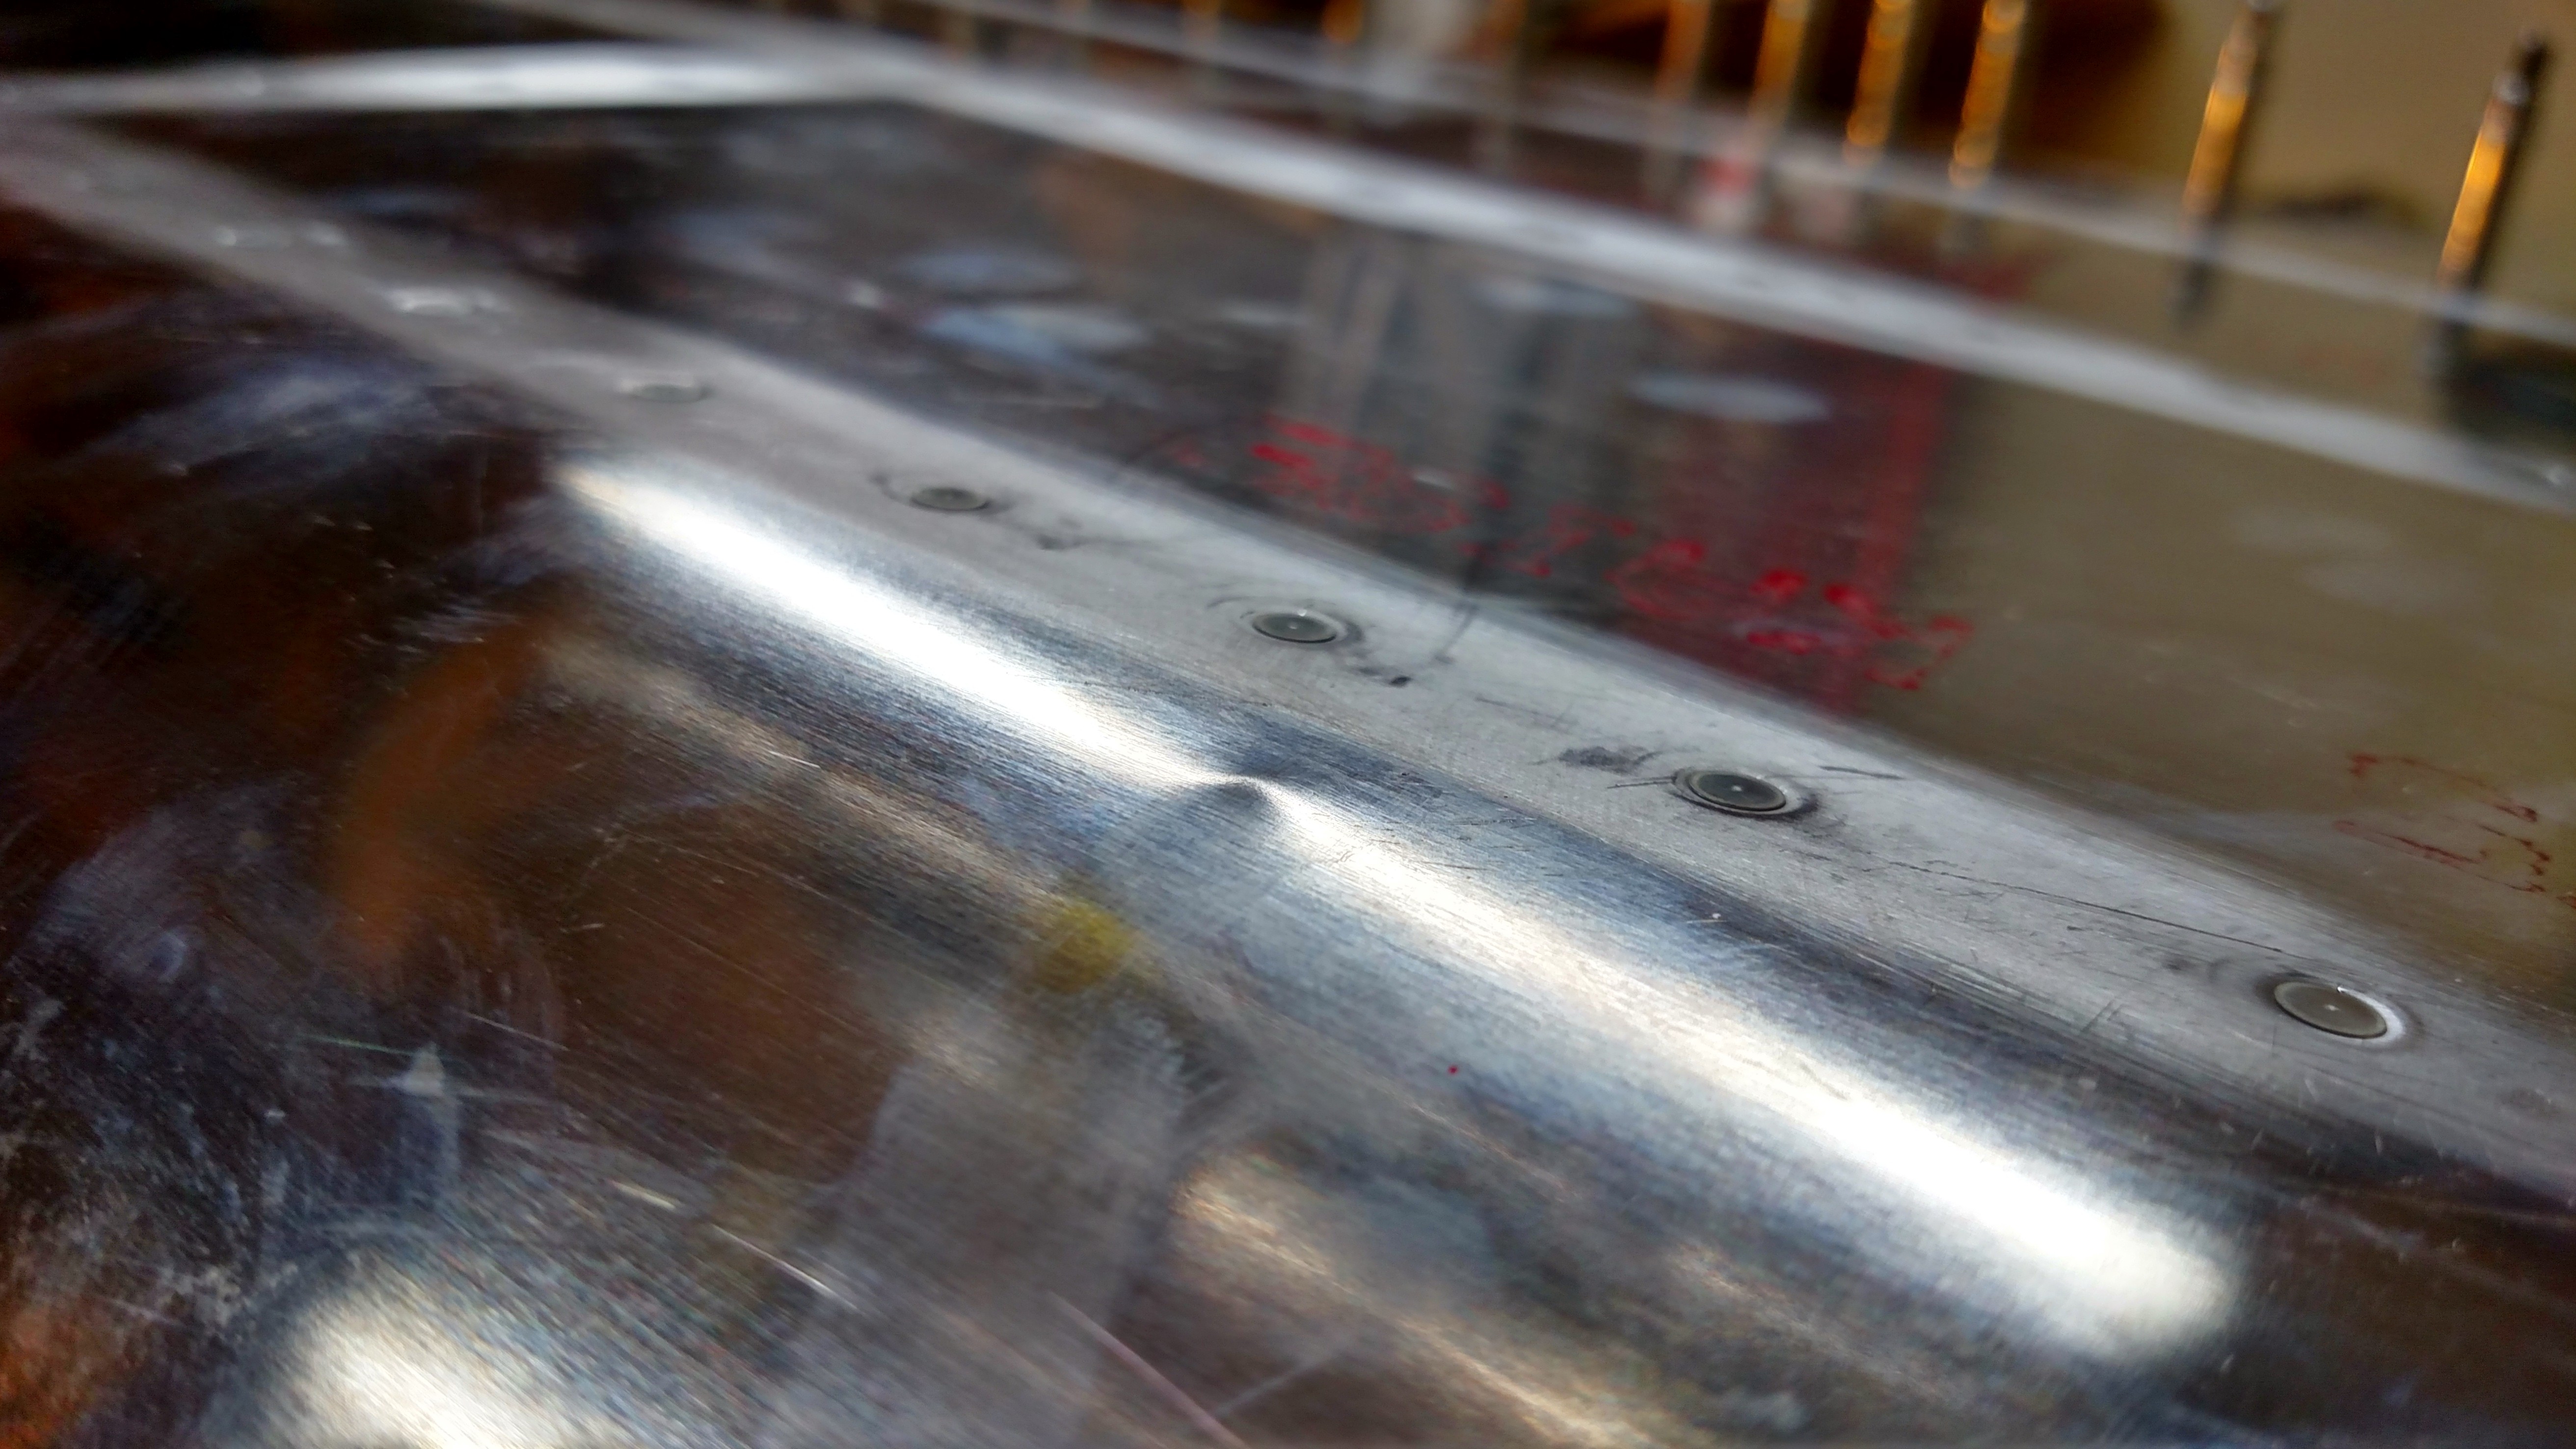
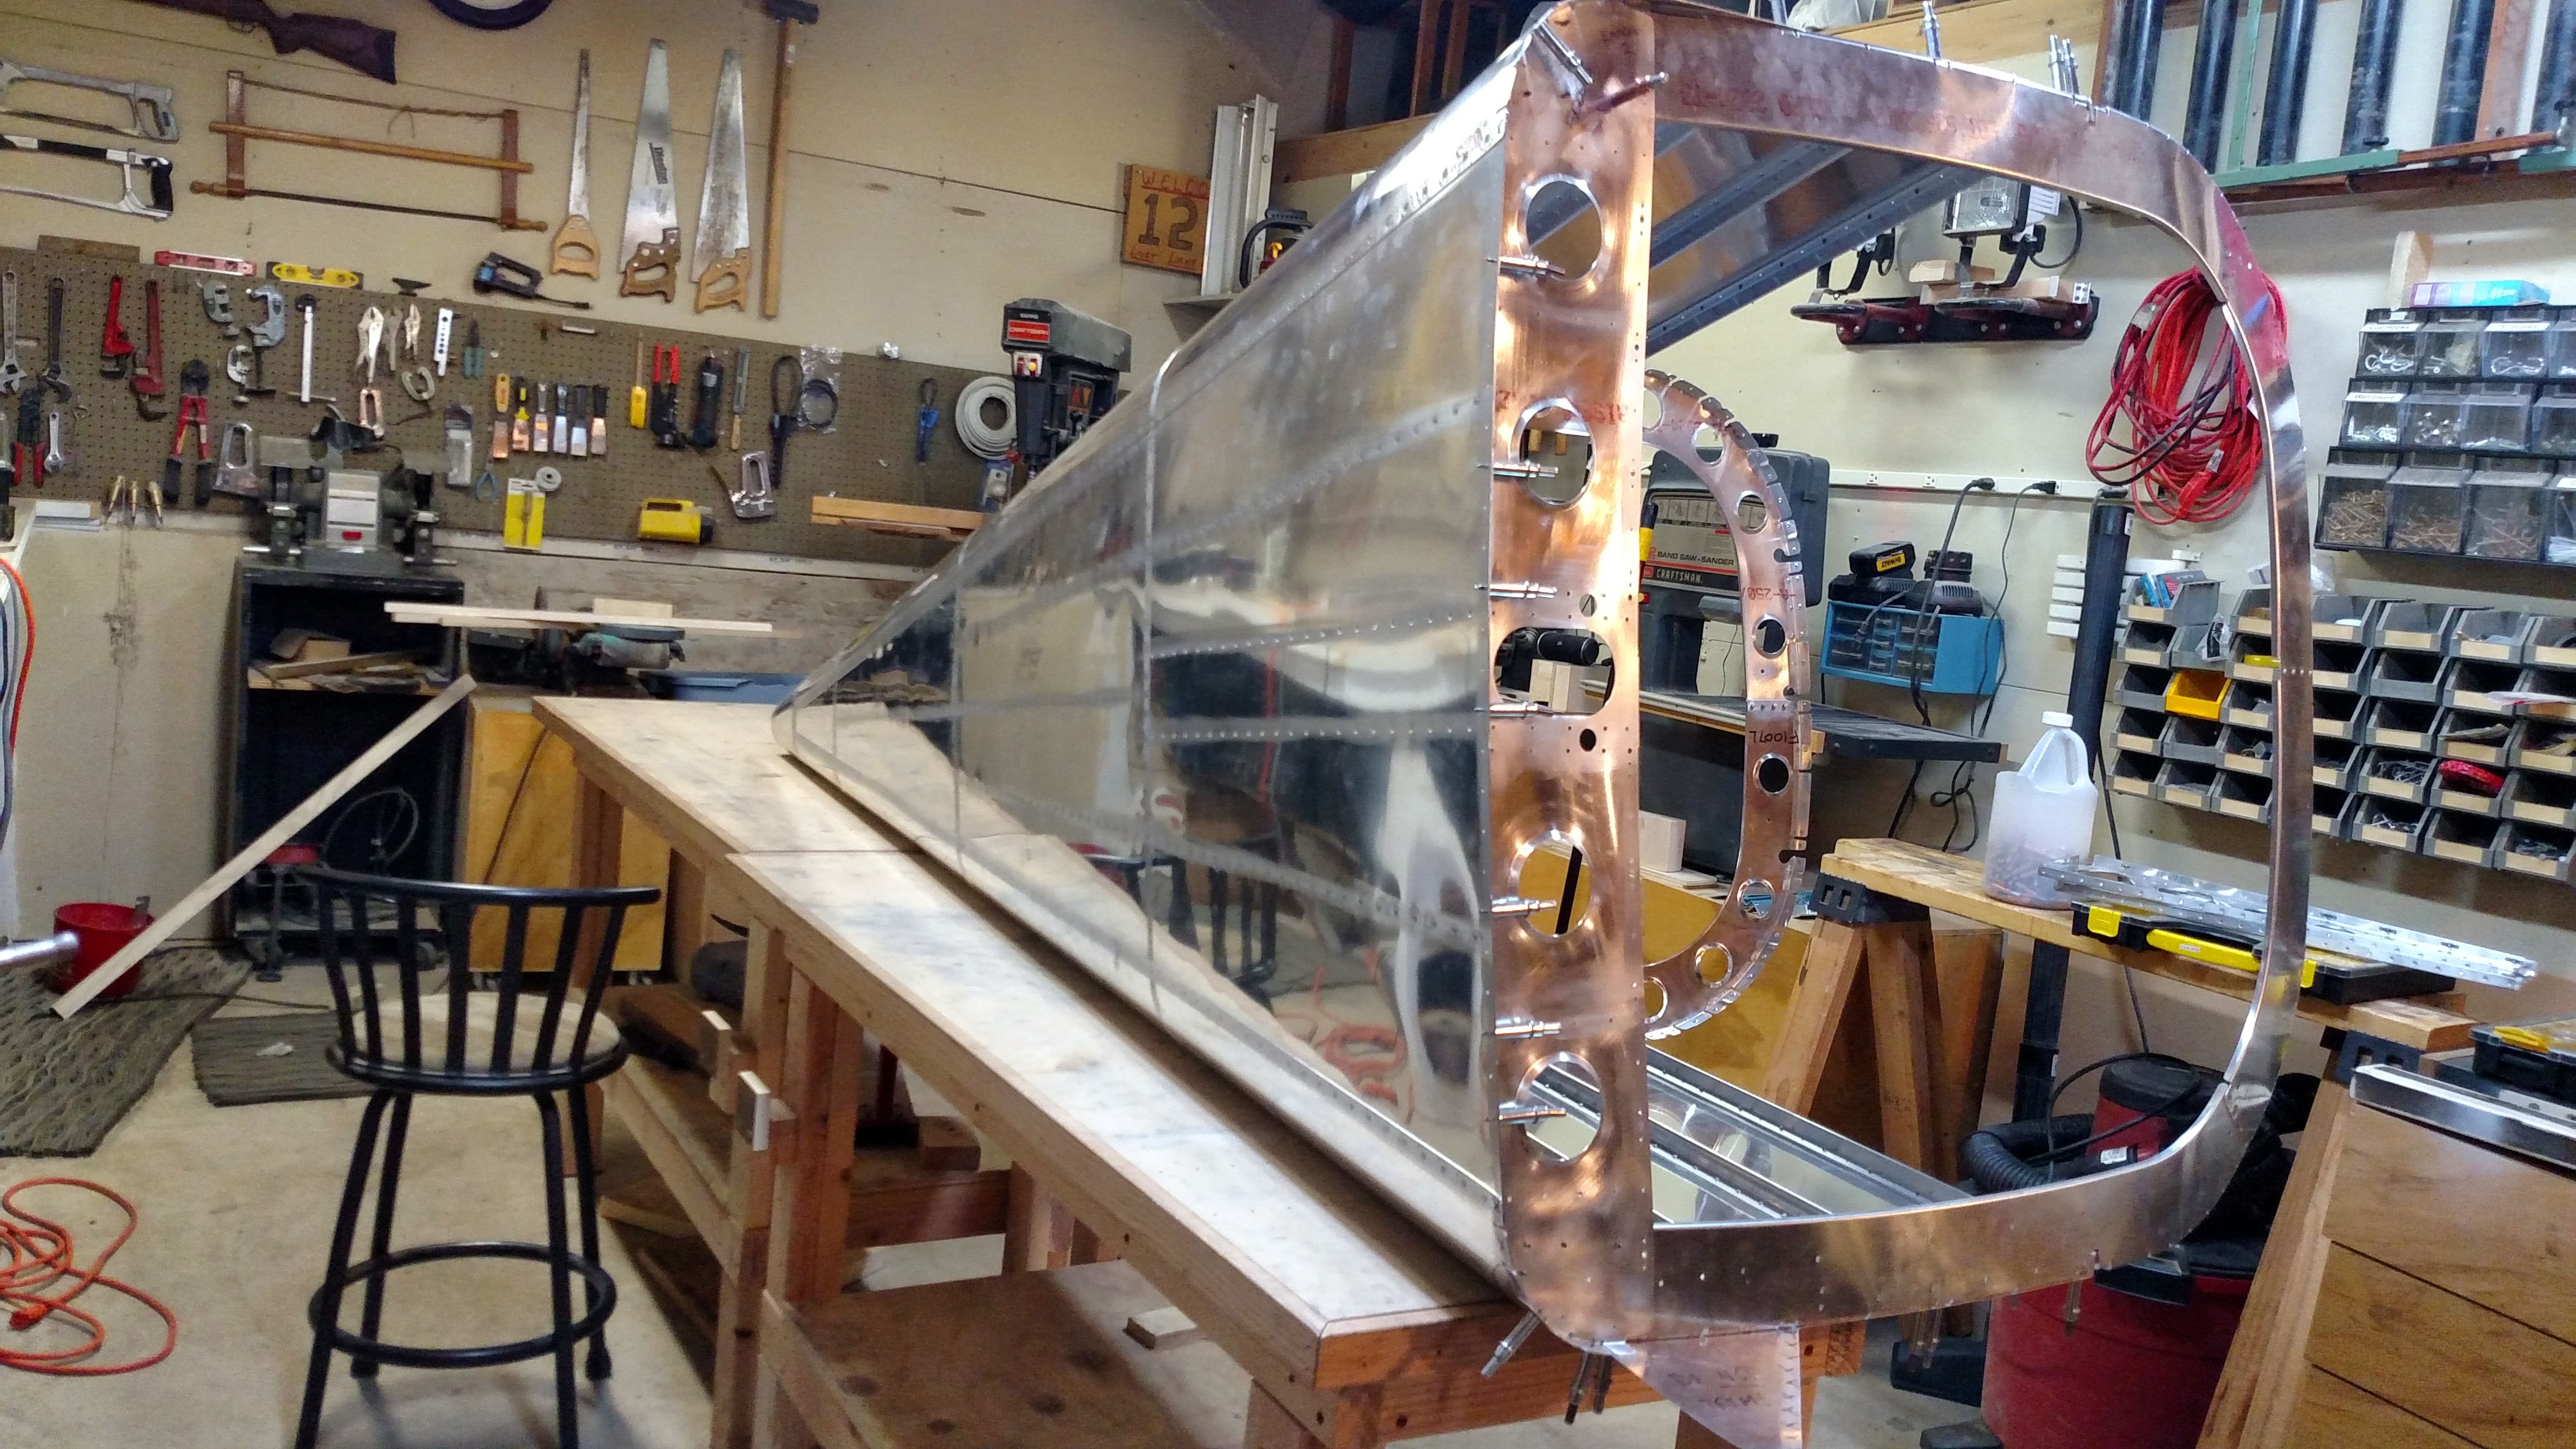
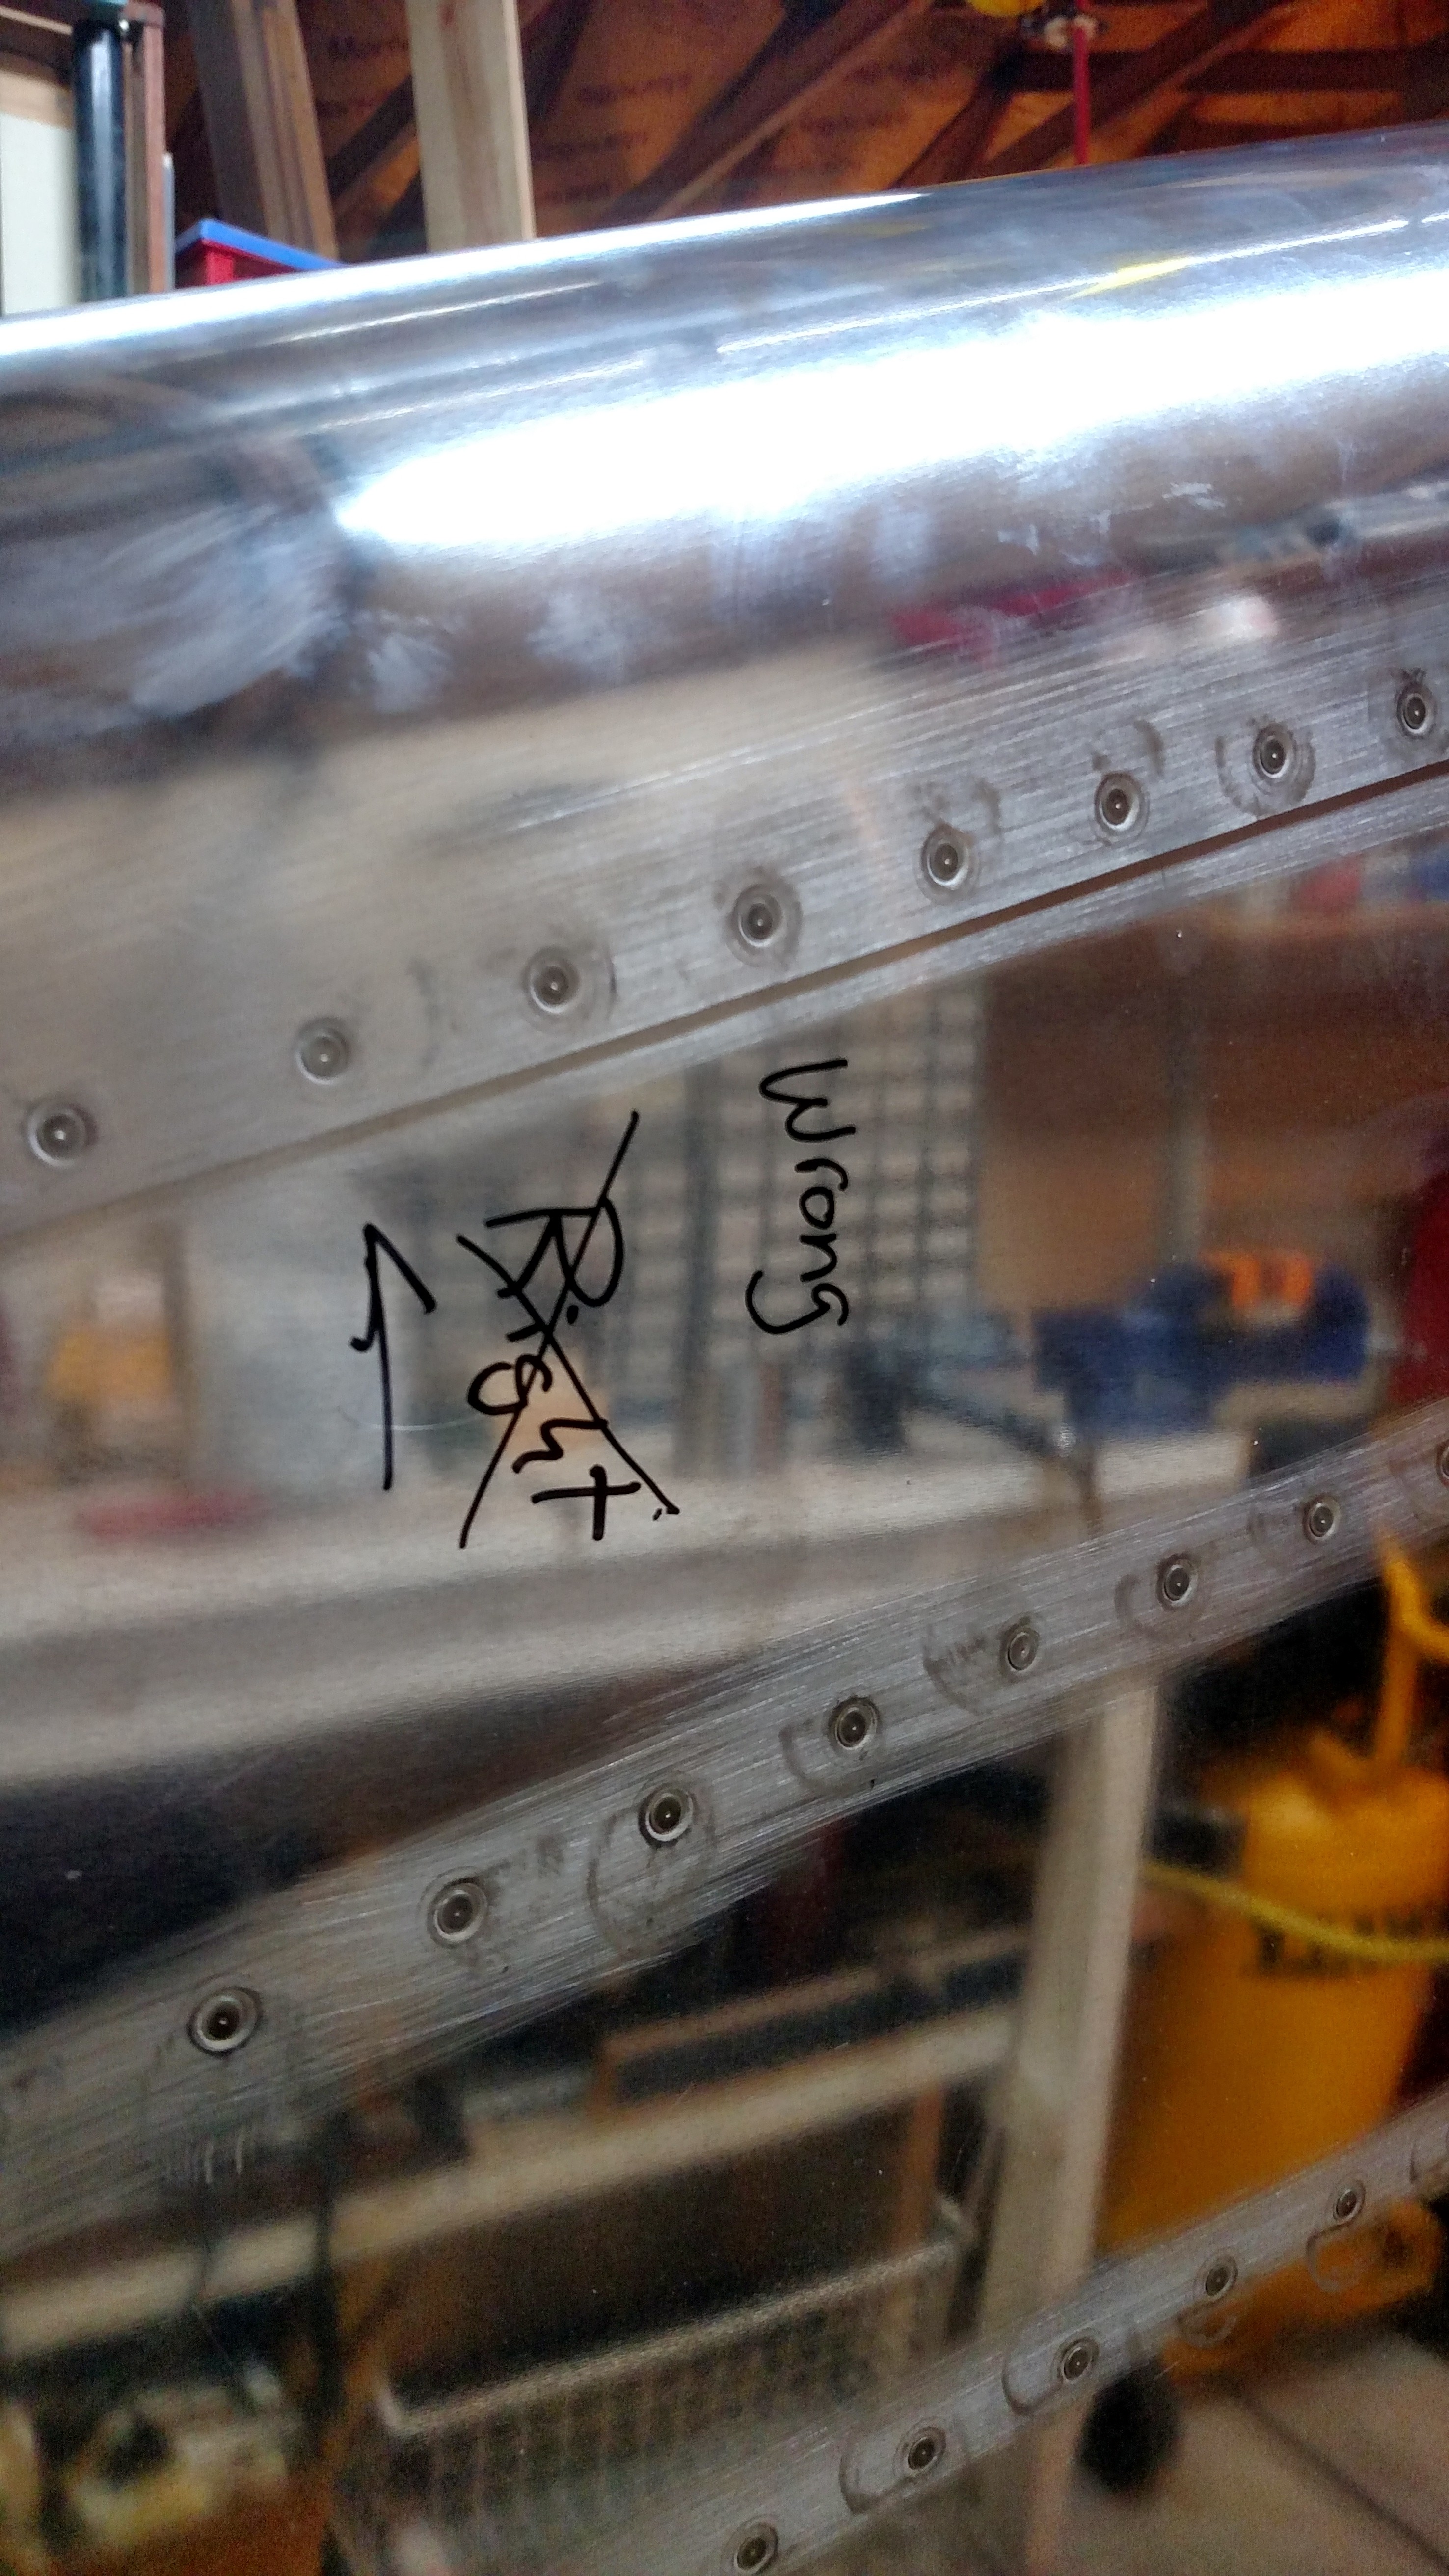
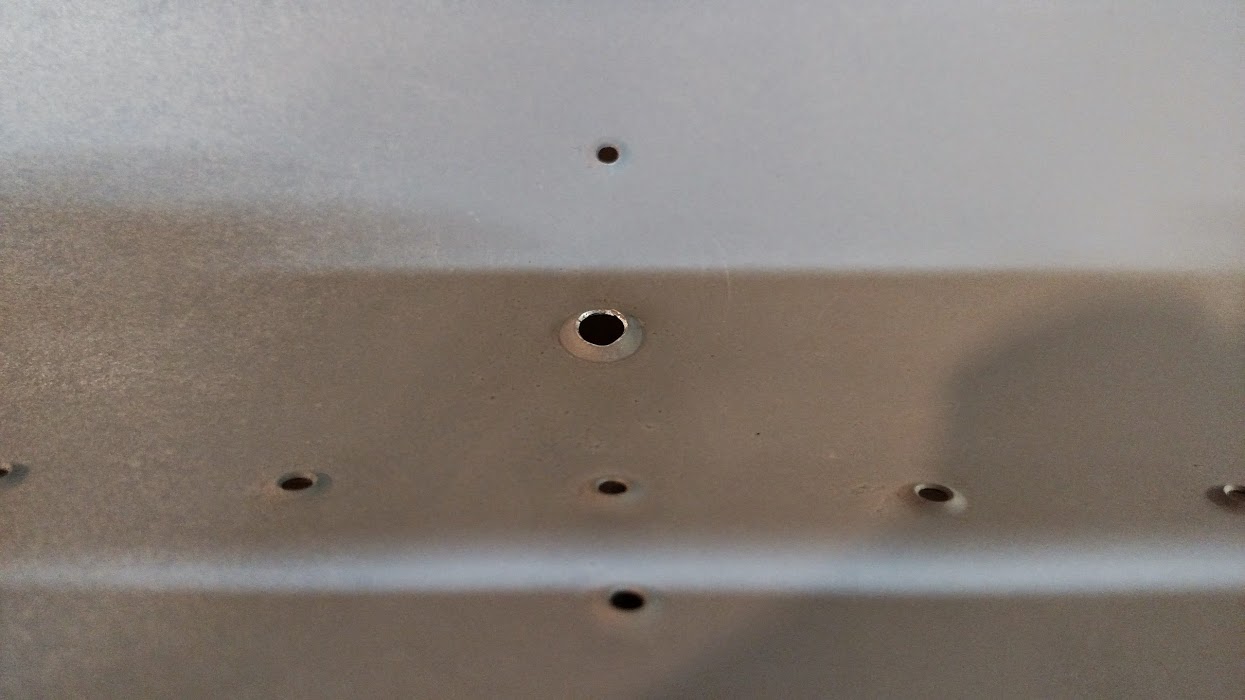
The mistake, close up. The only thing I’m worried about is the proximity of the bottom extra hole to the messed up hole, but I don’t think it’s close enough to cause us major problems.IMG_20150111_184725811

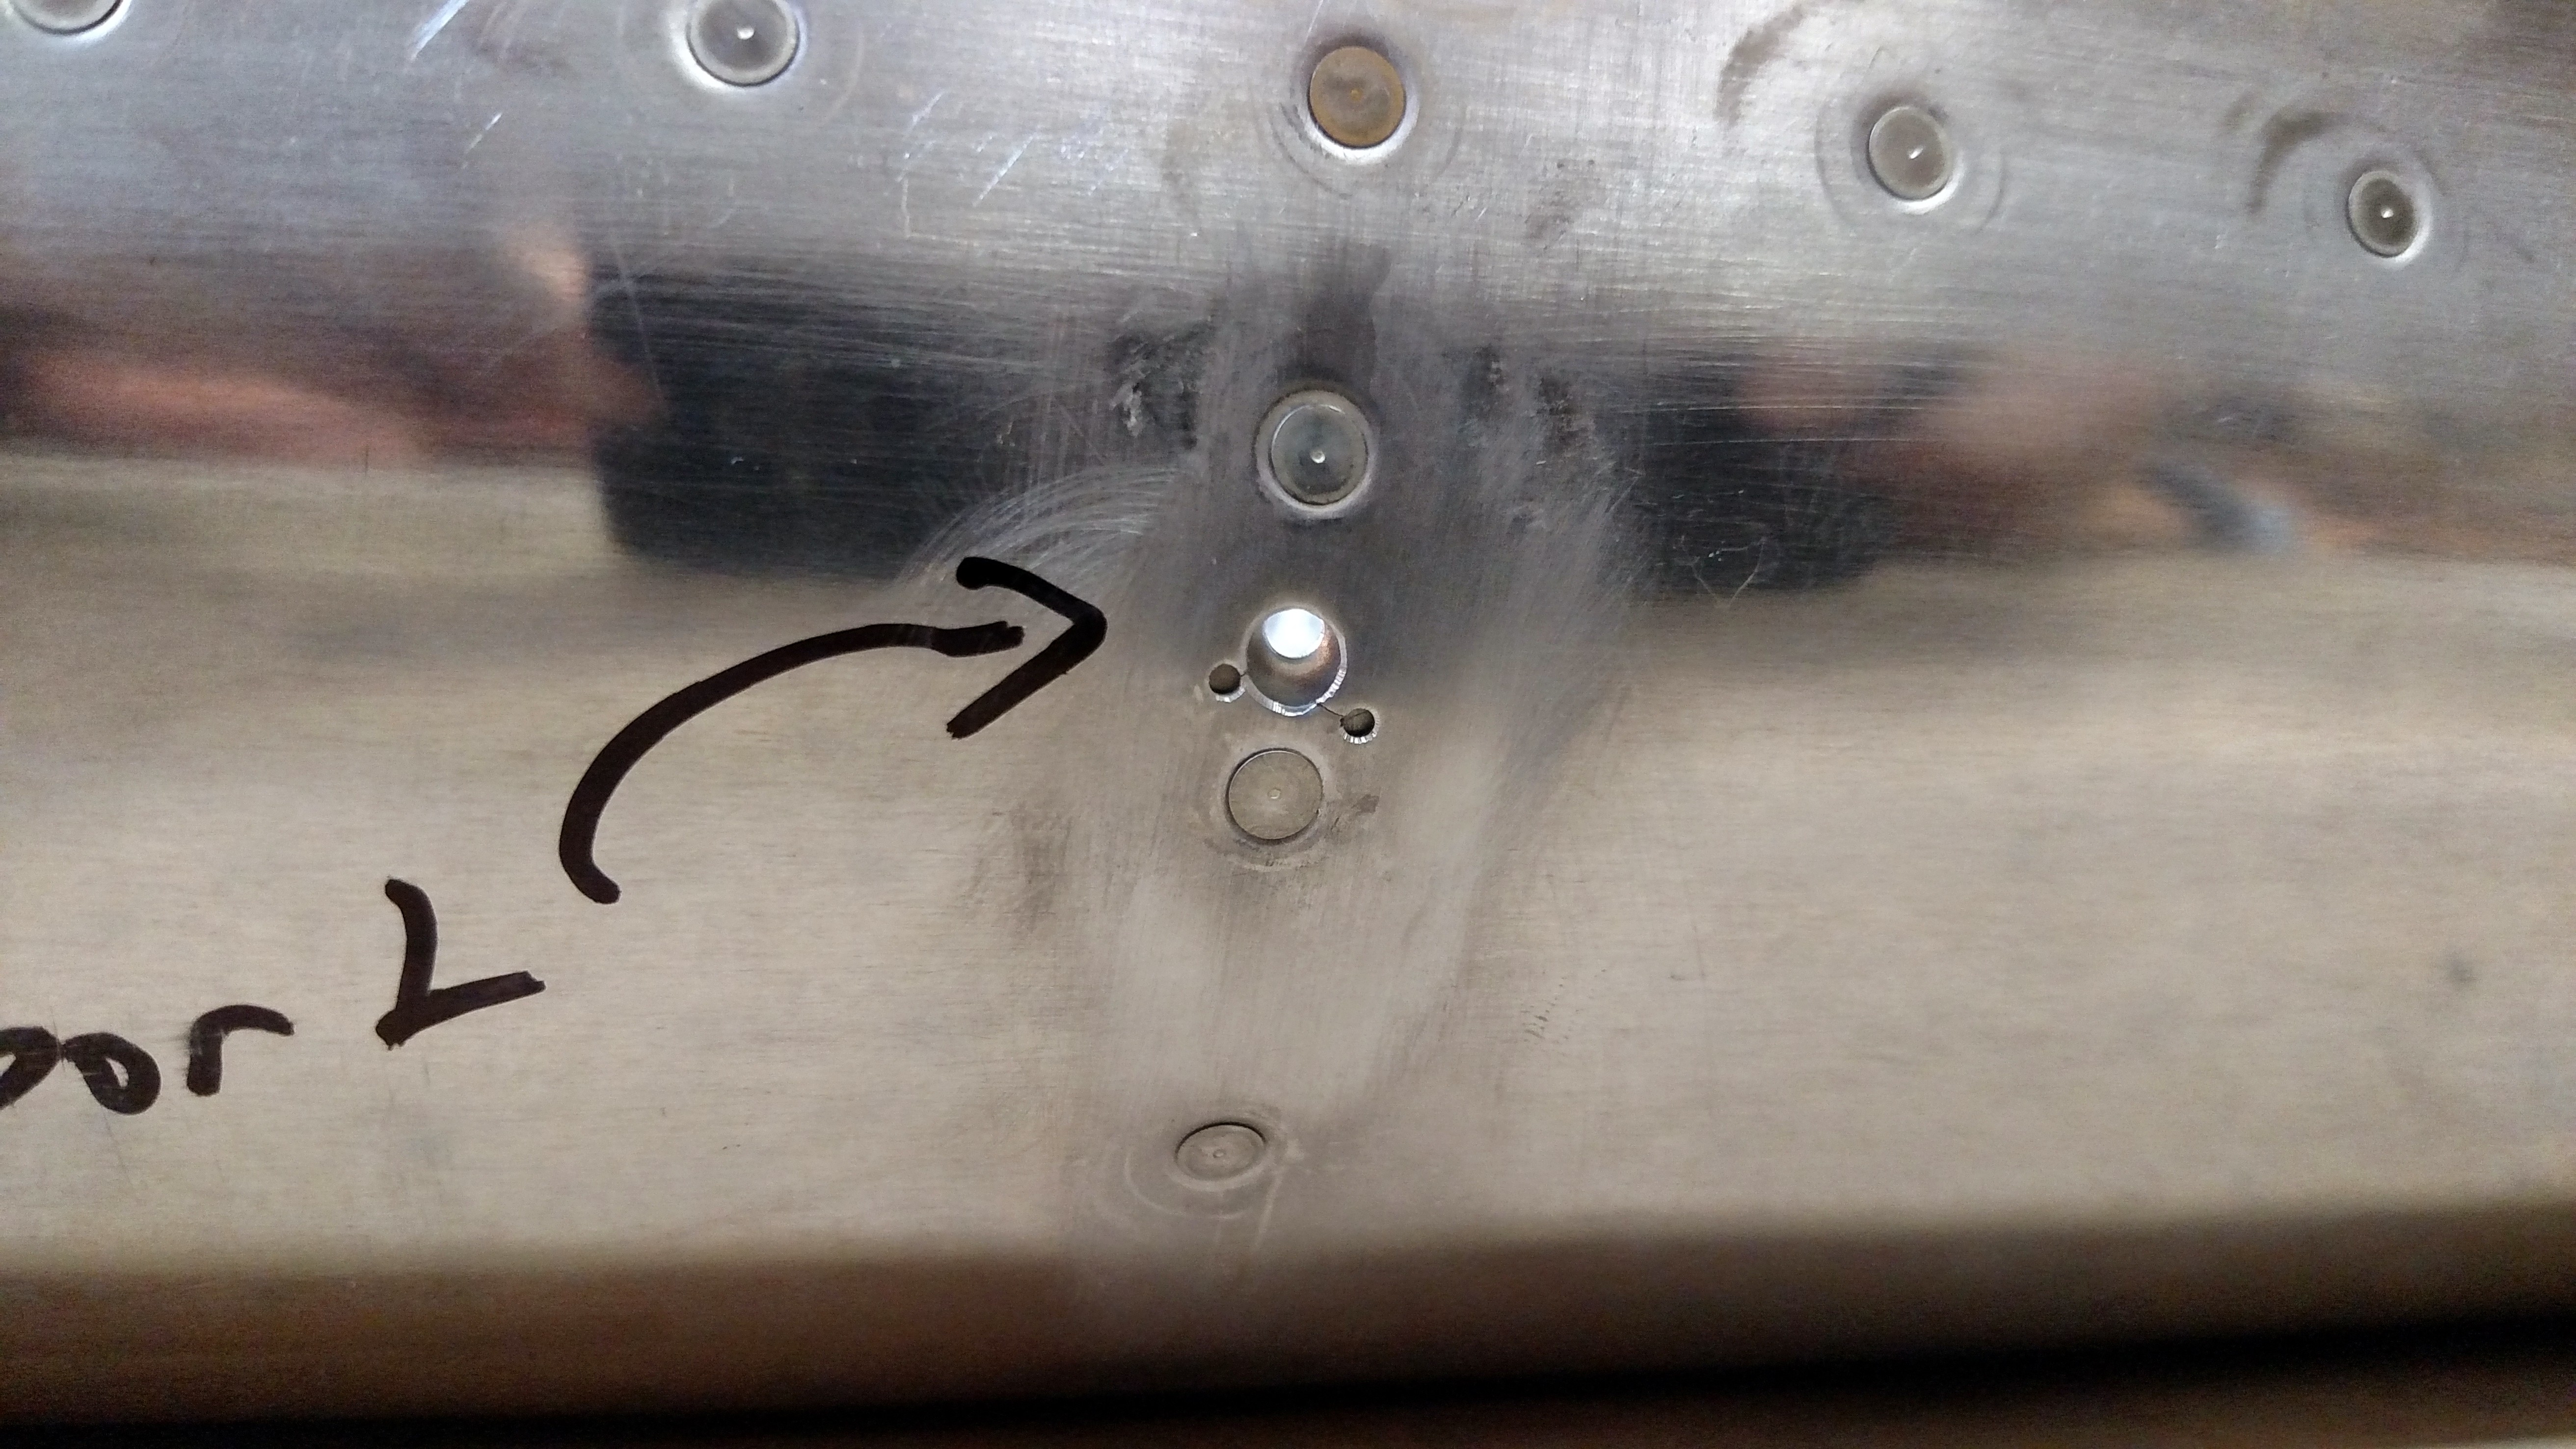
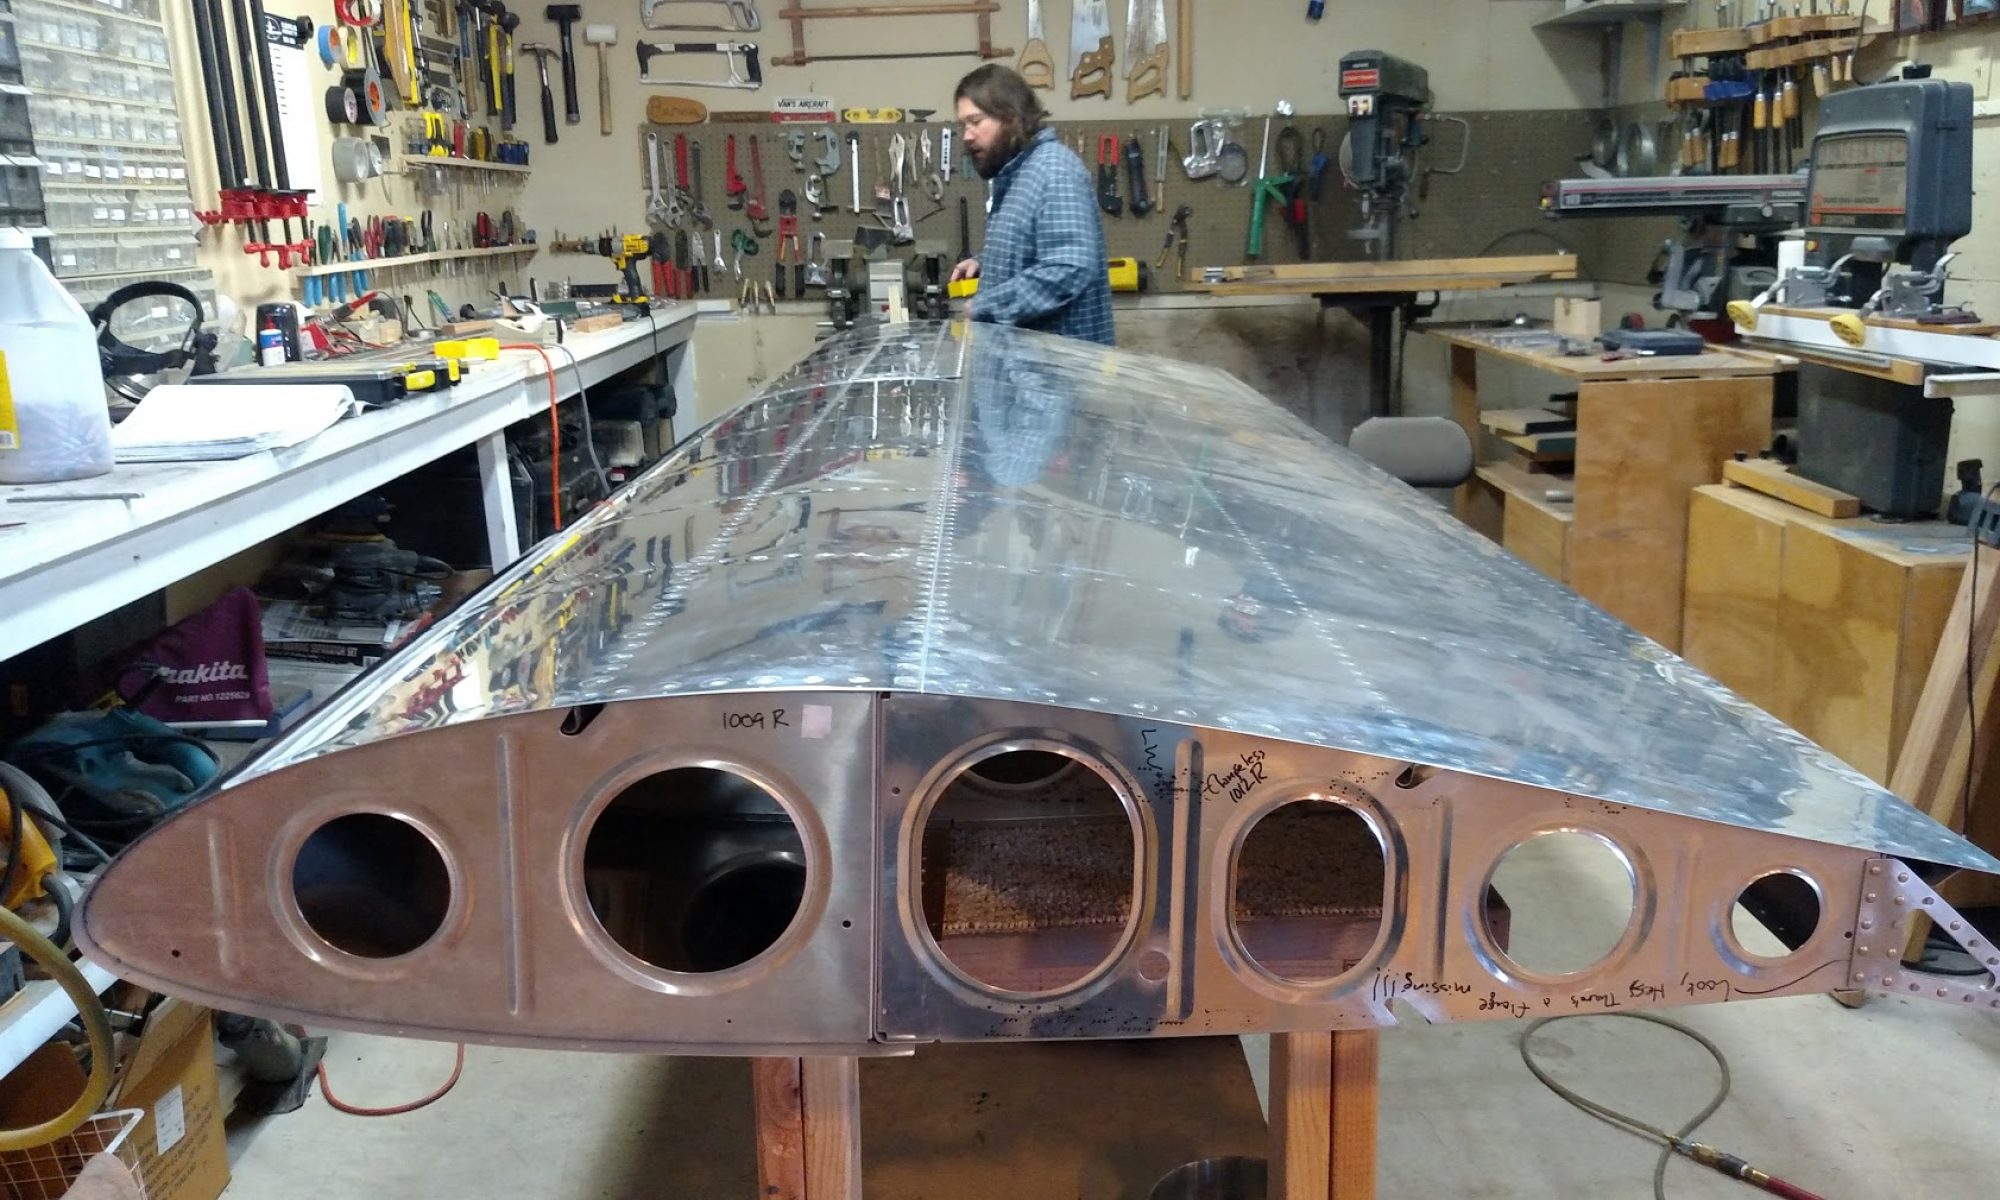
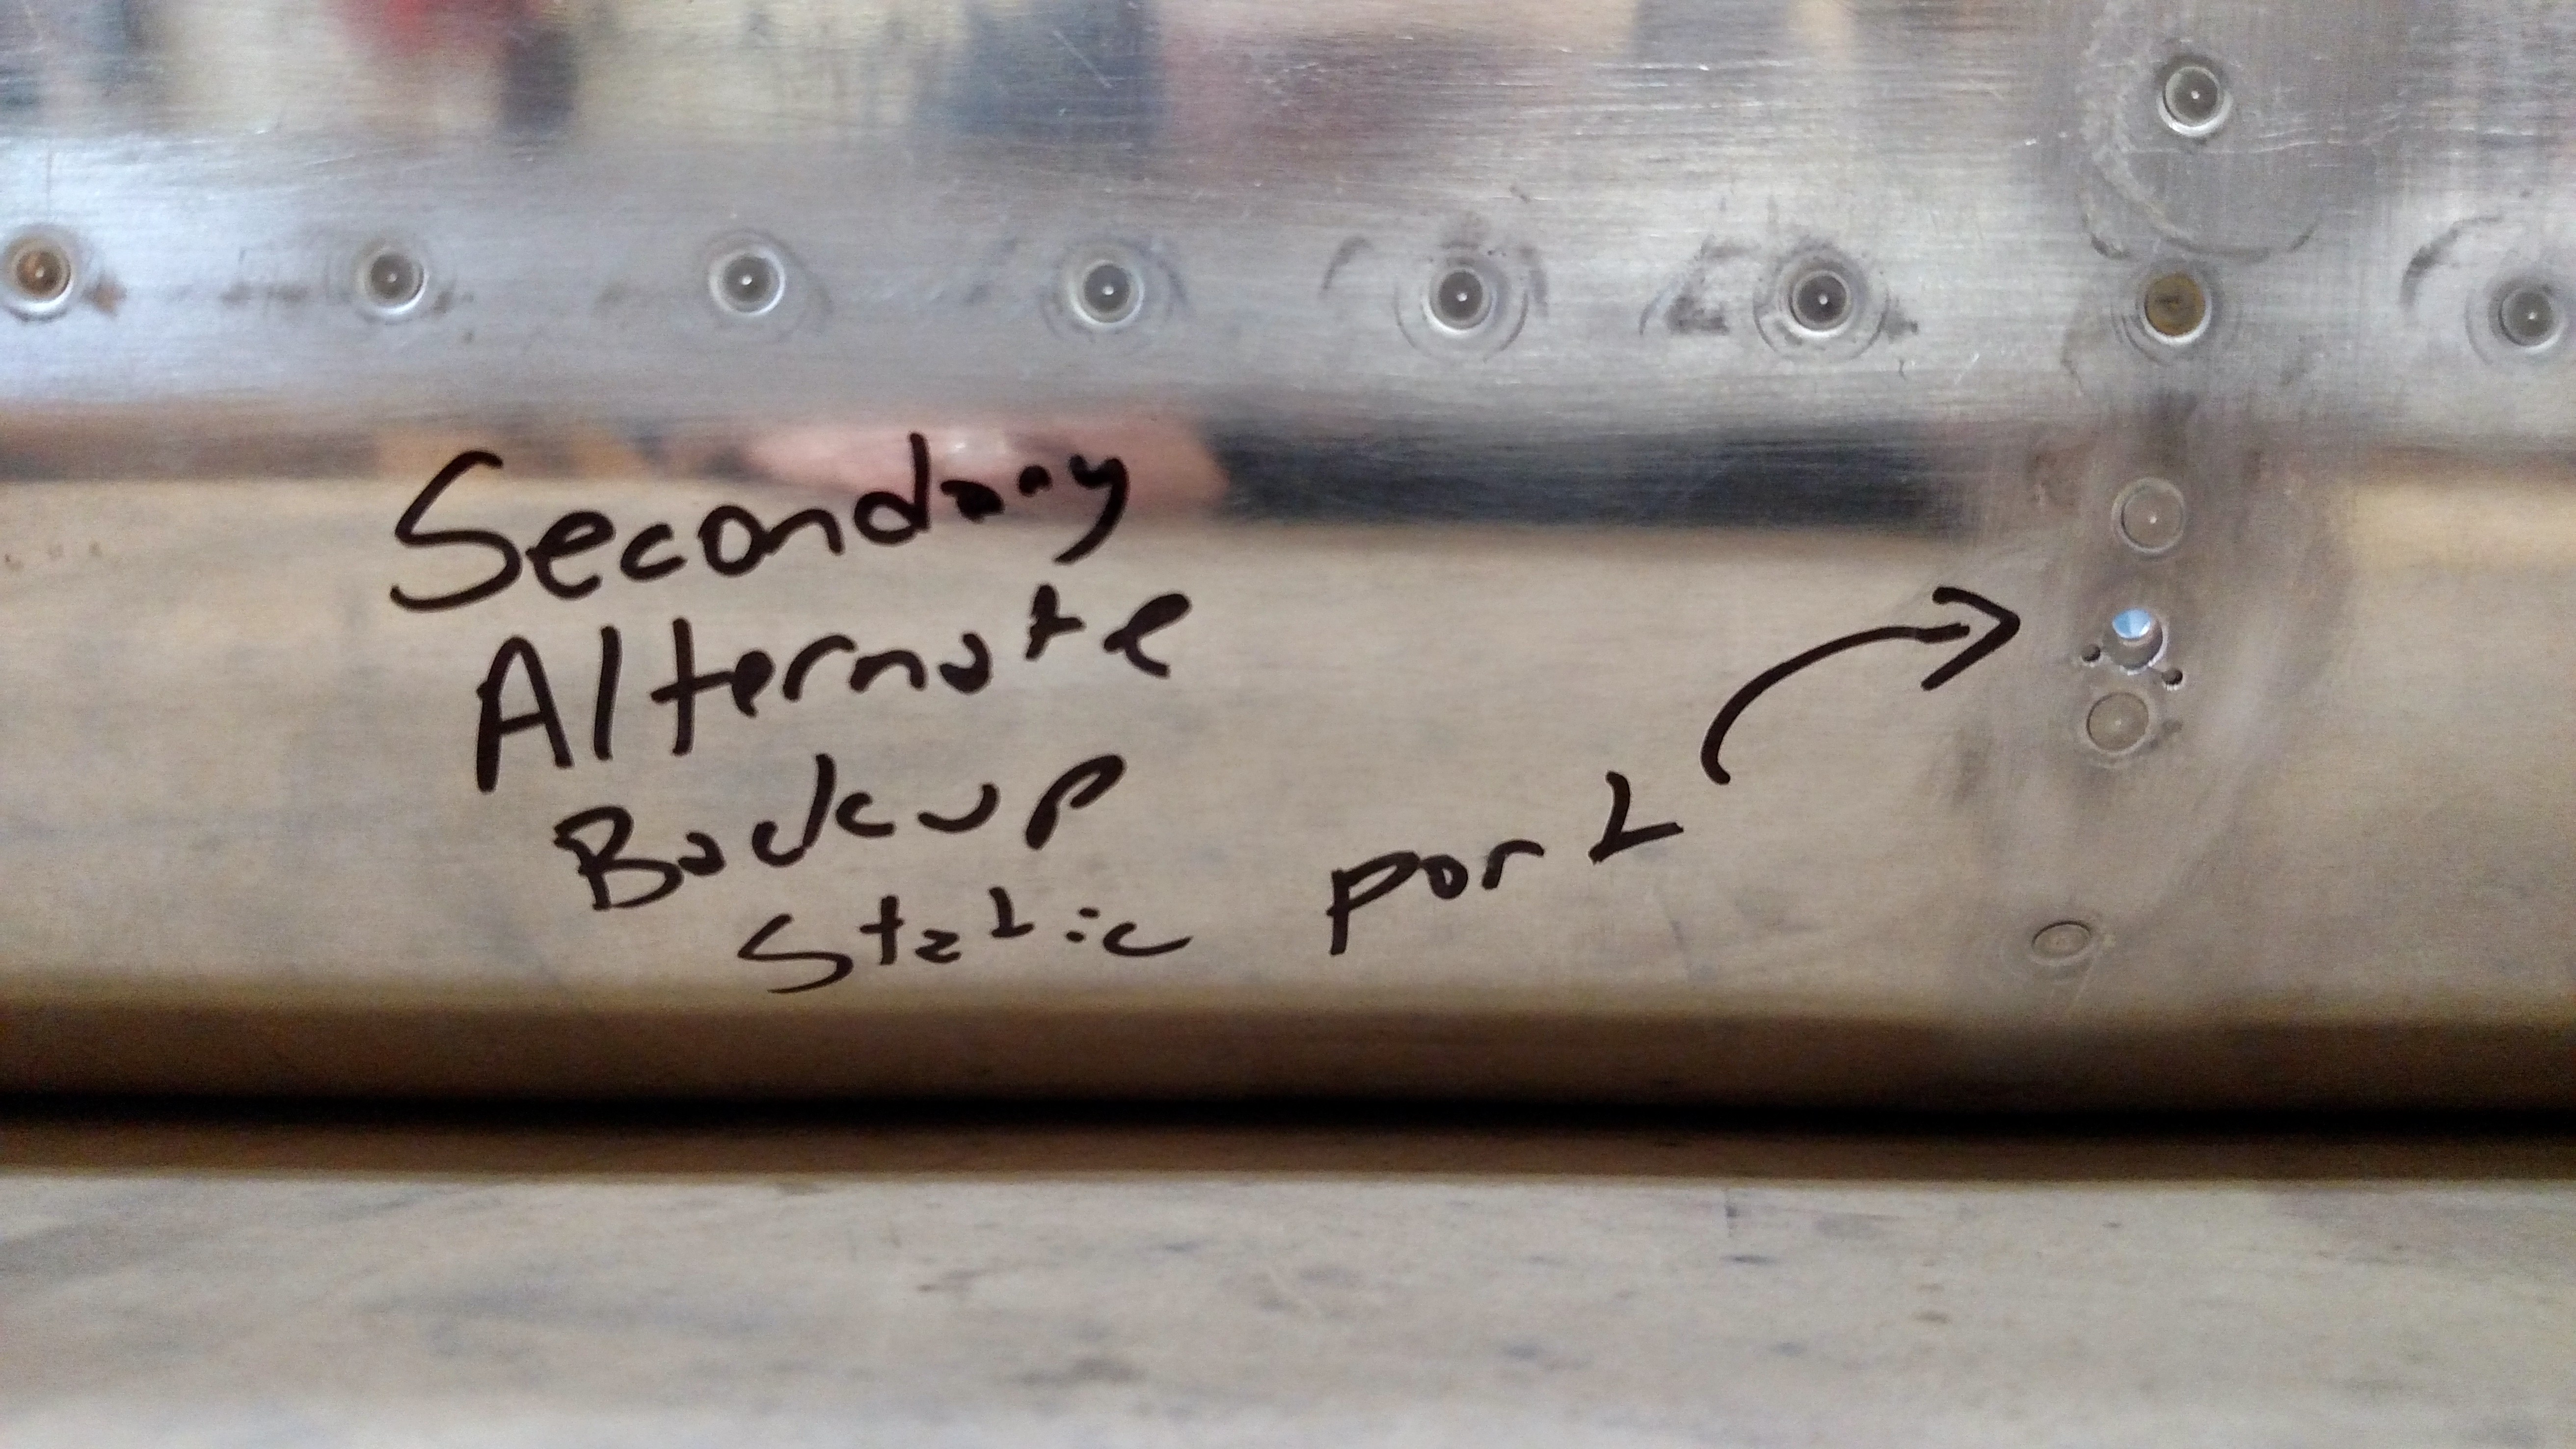
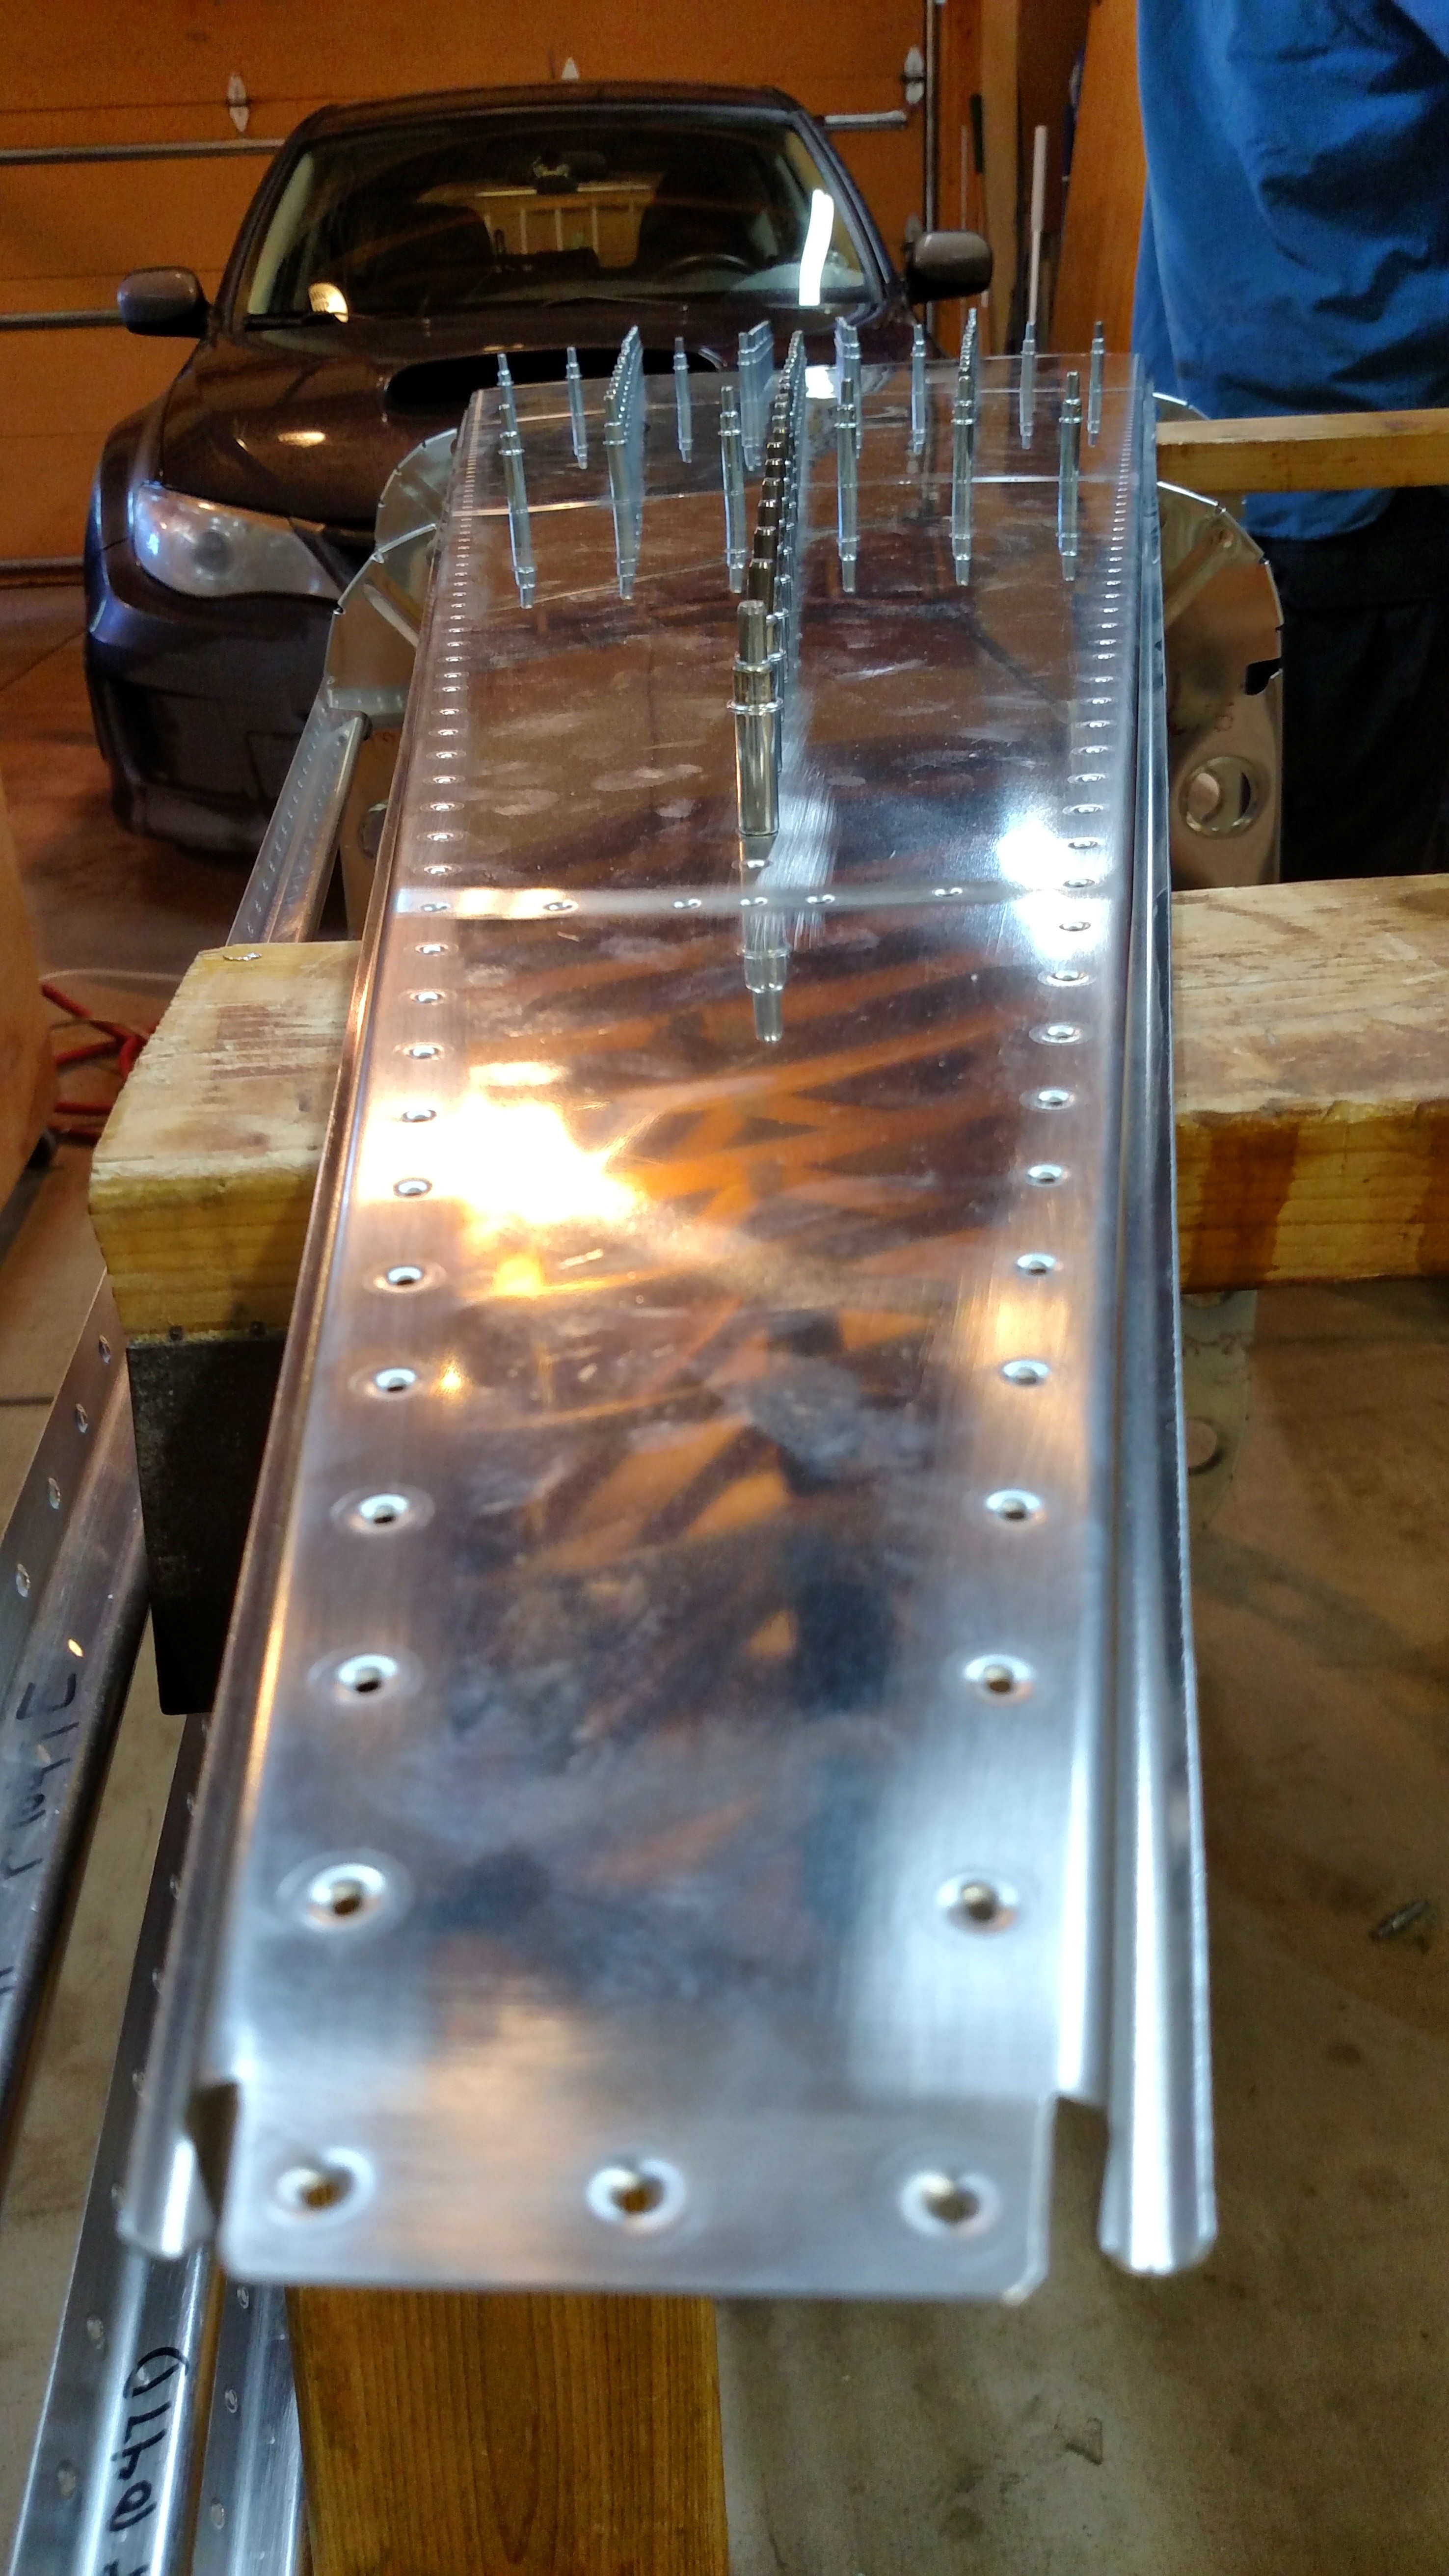
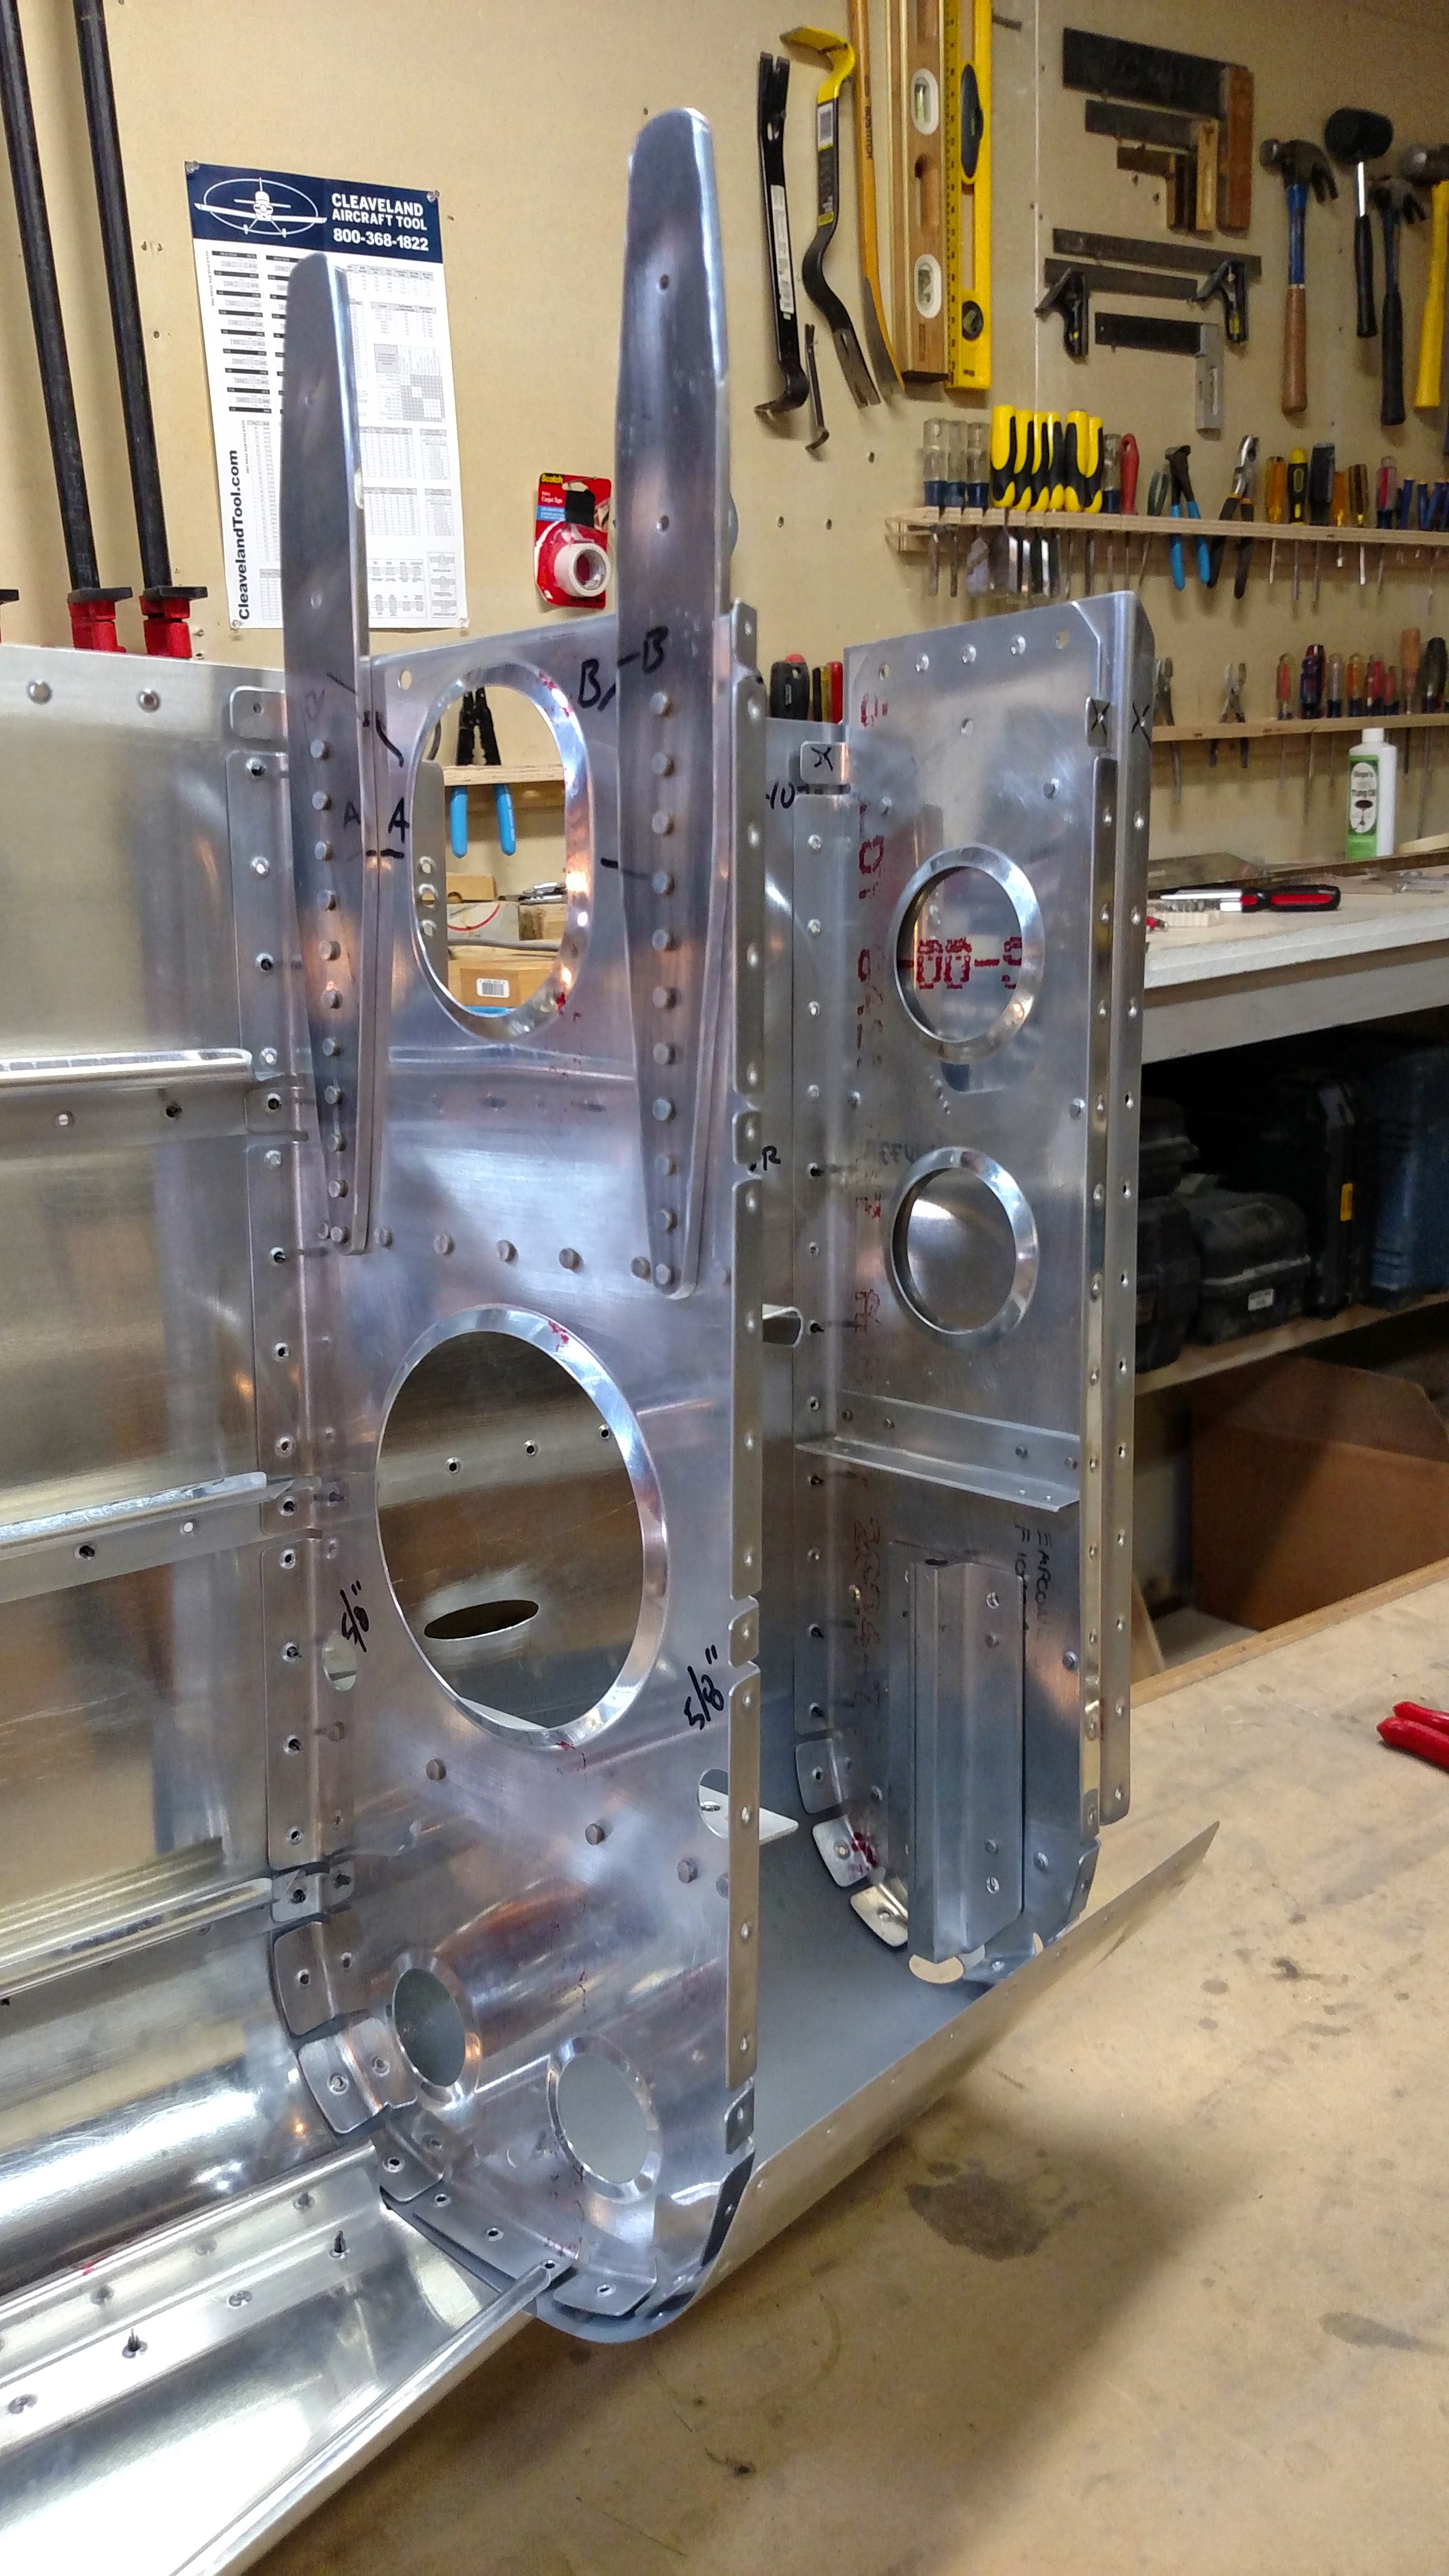
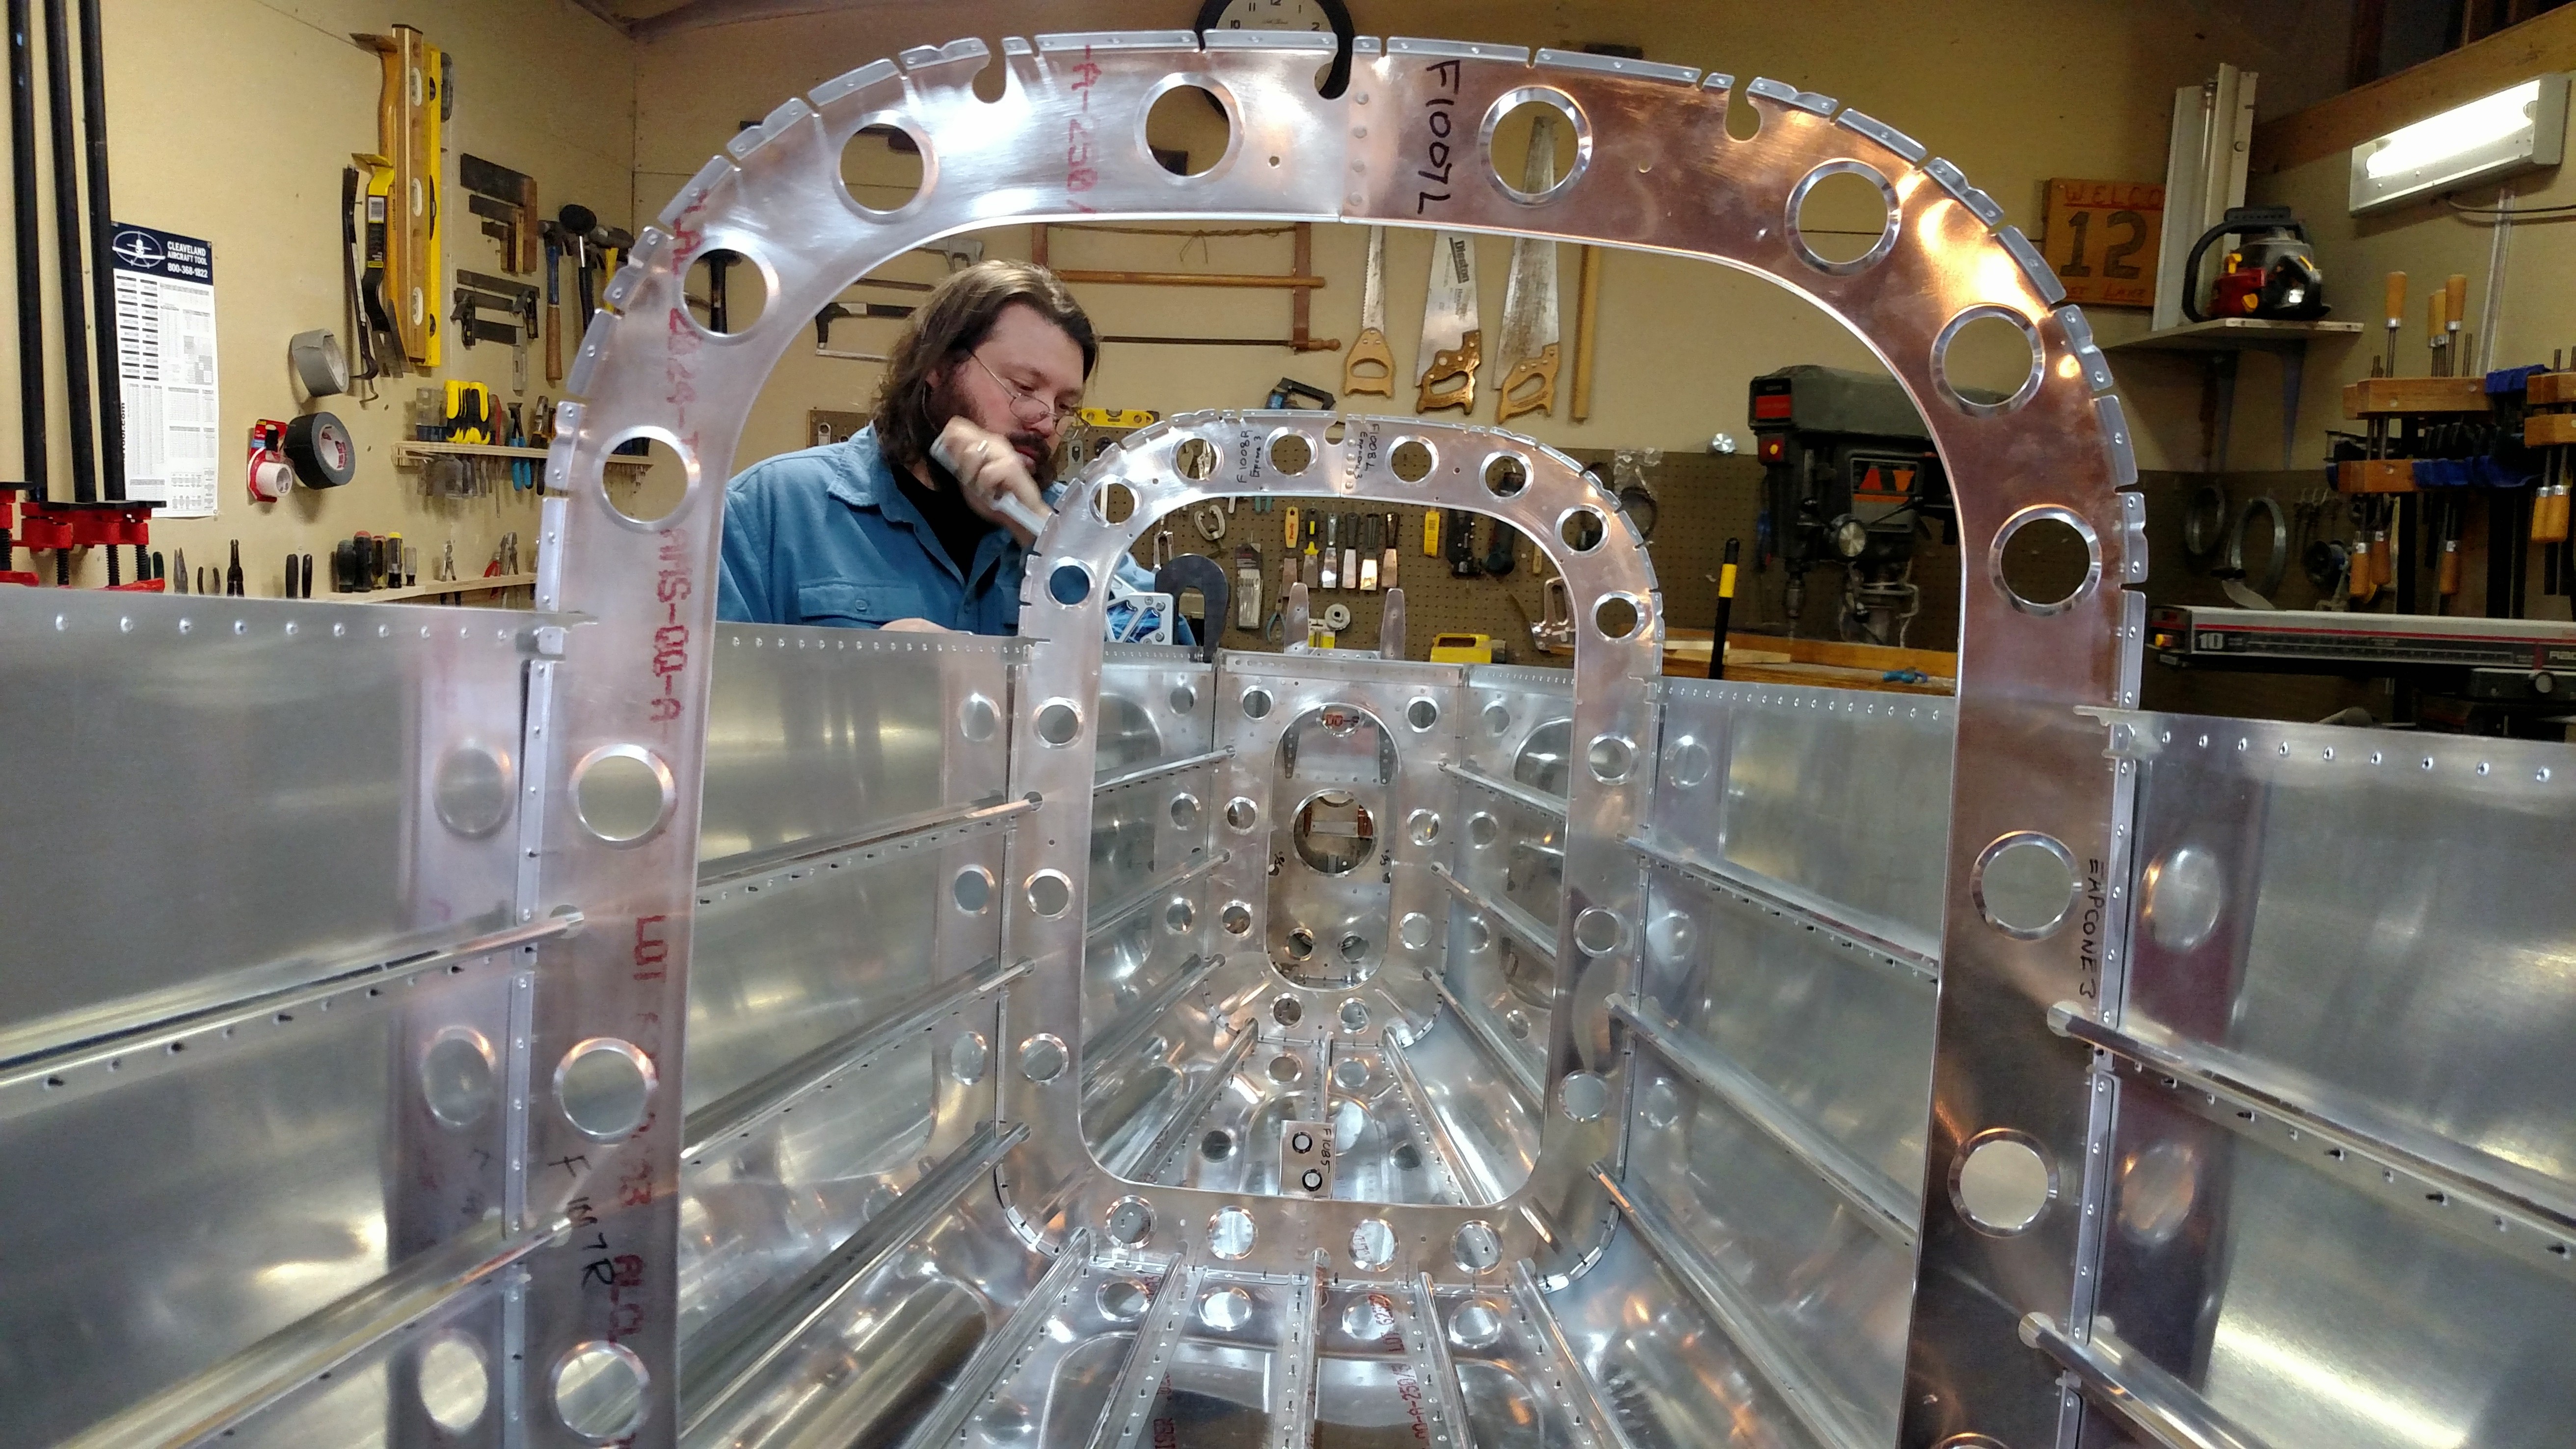
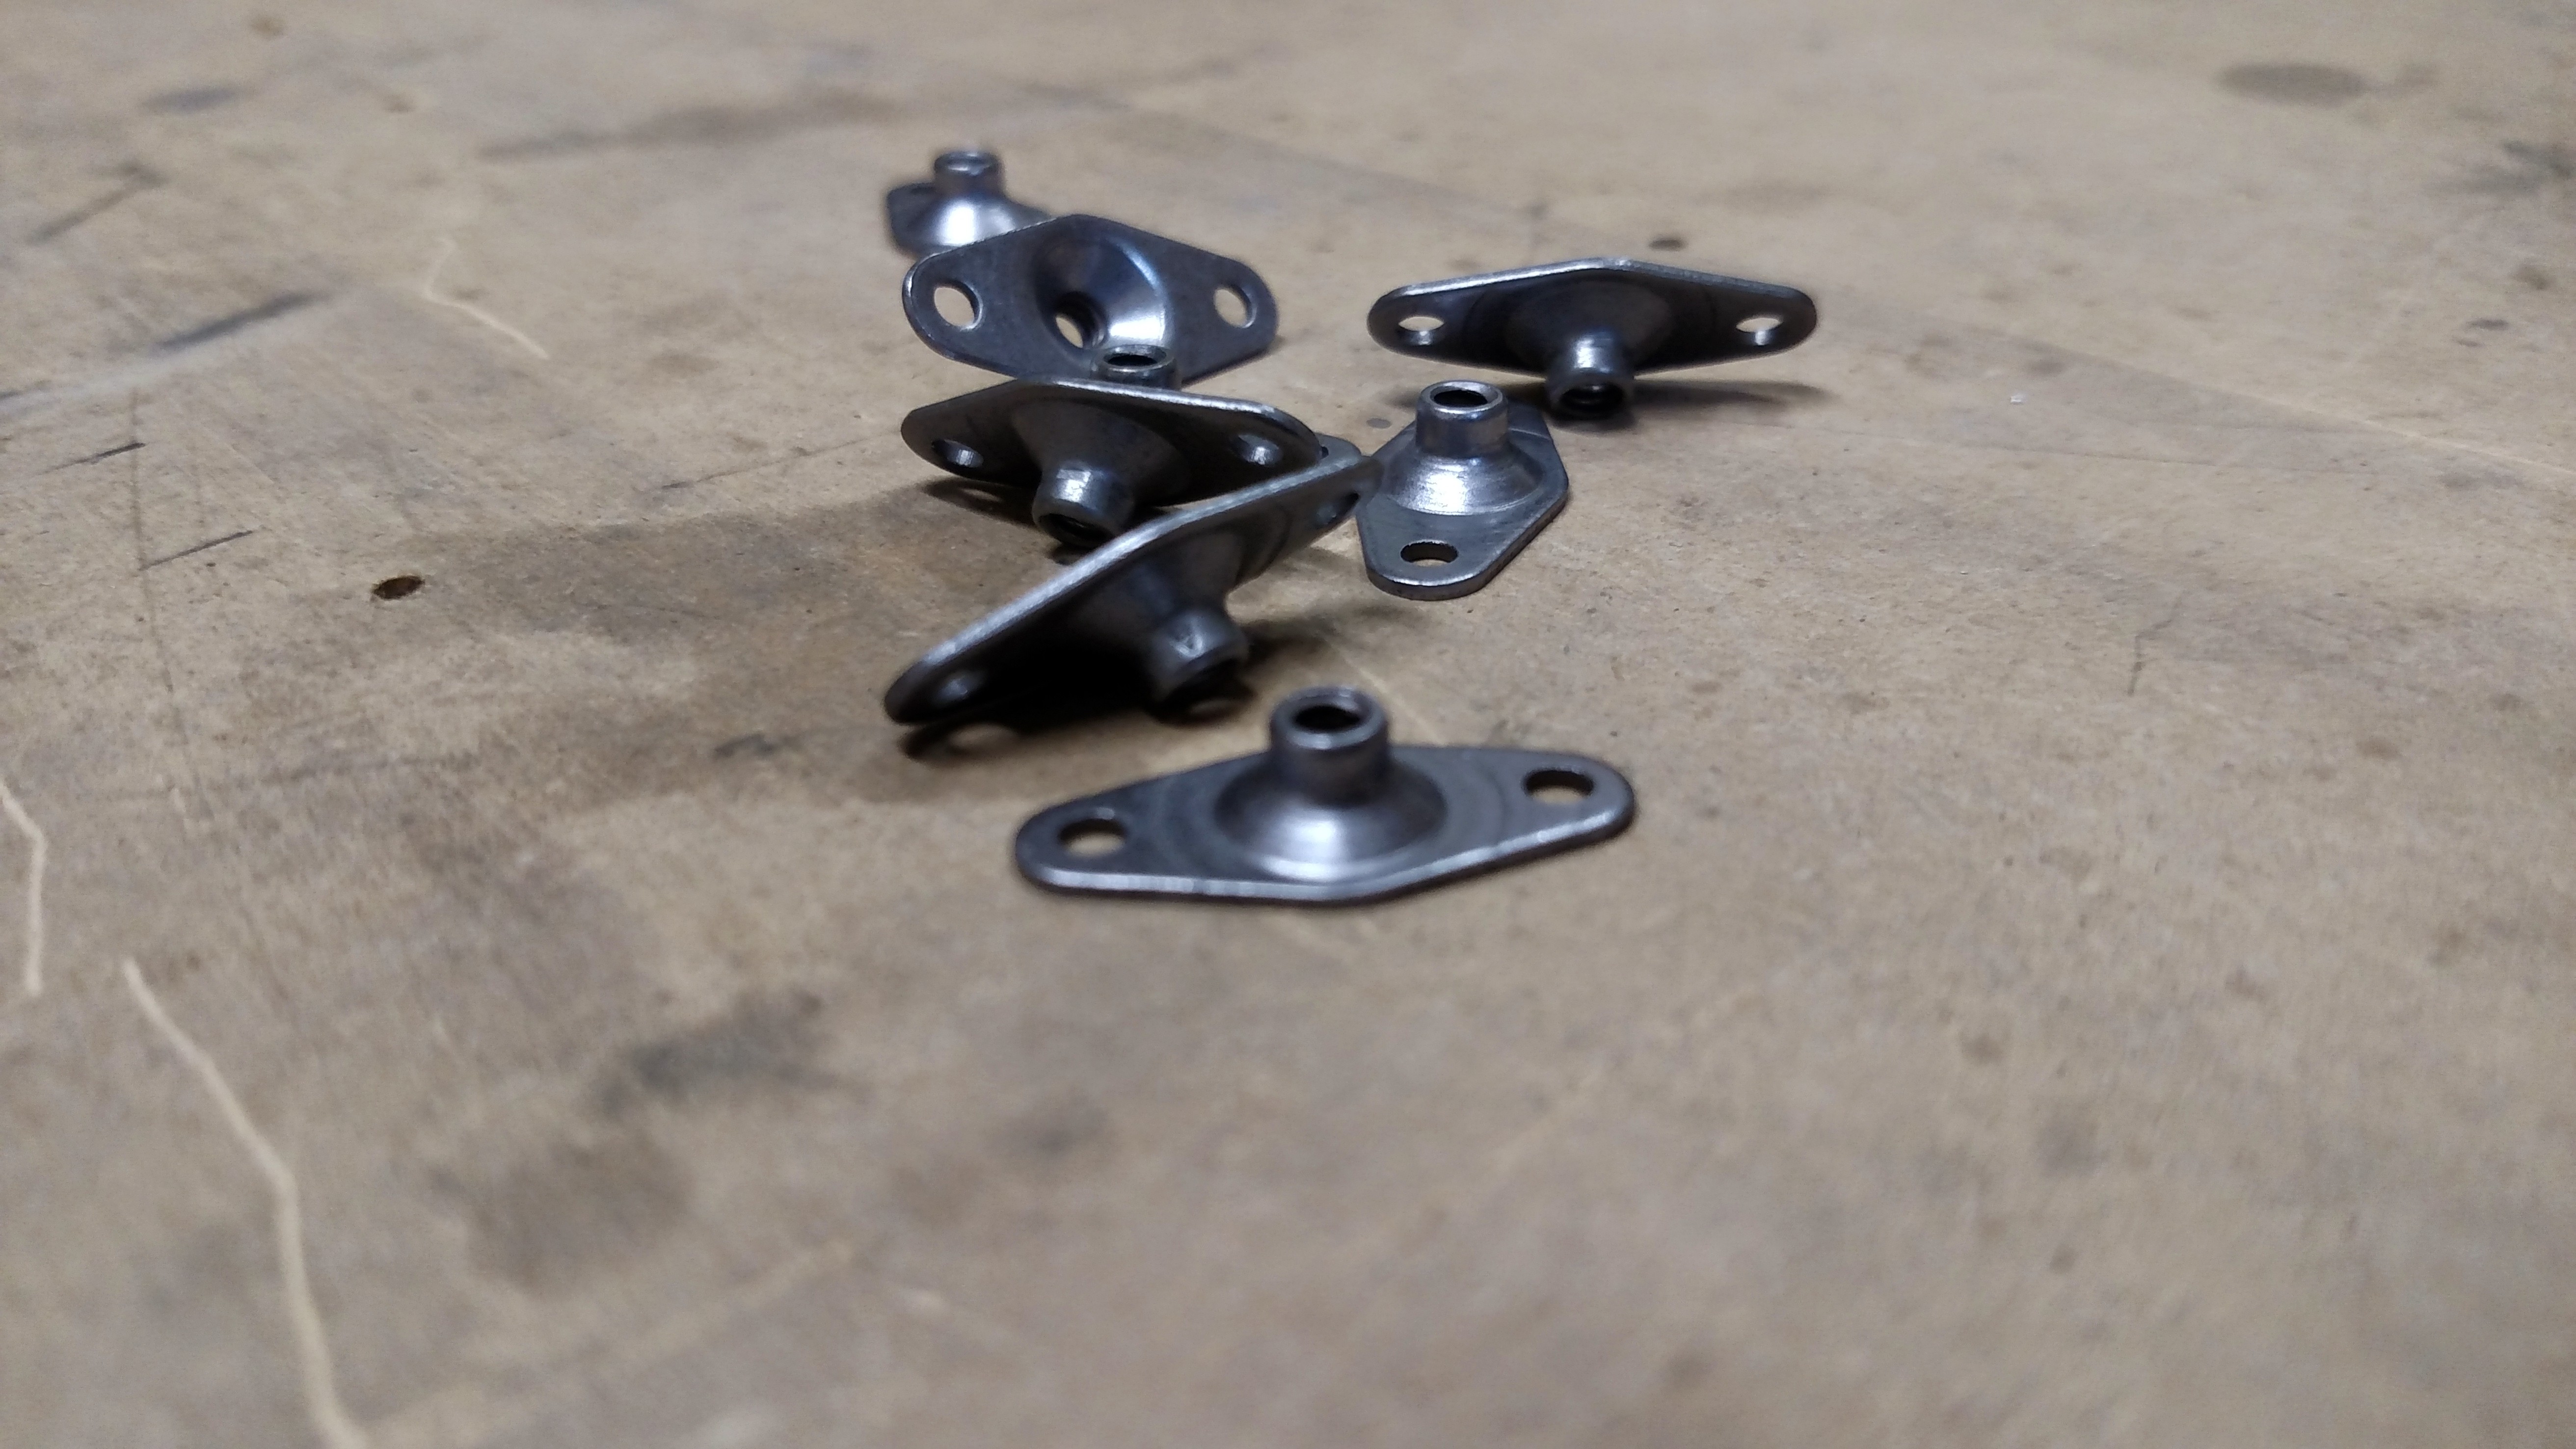
Randy’s helpful labeling:

IMG_20150111_175855132

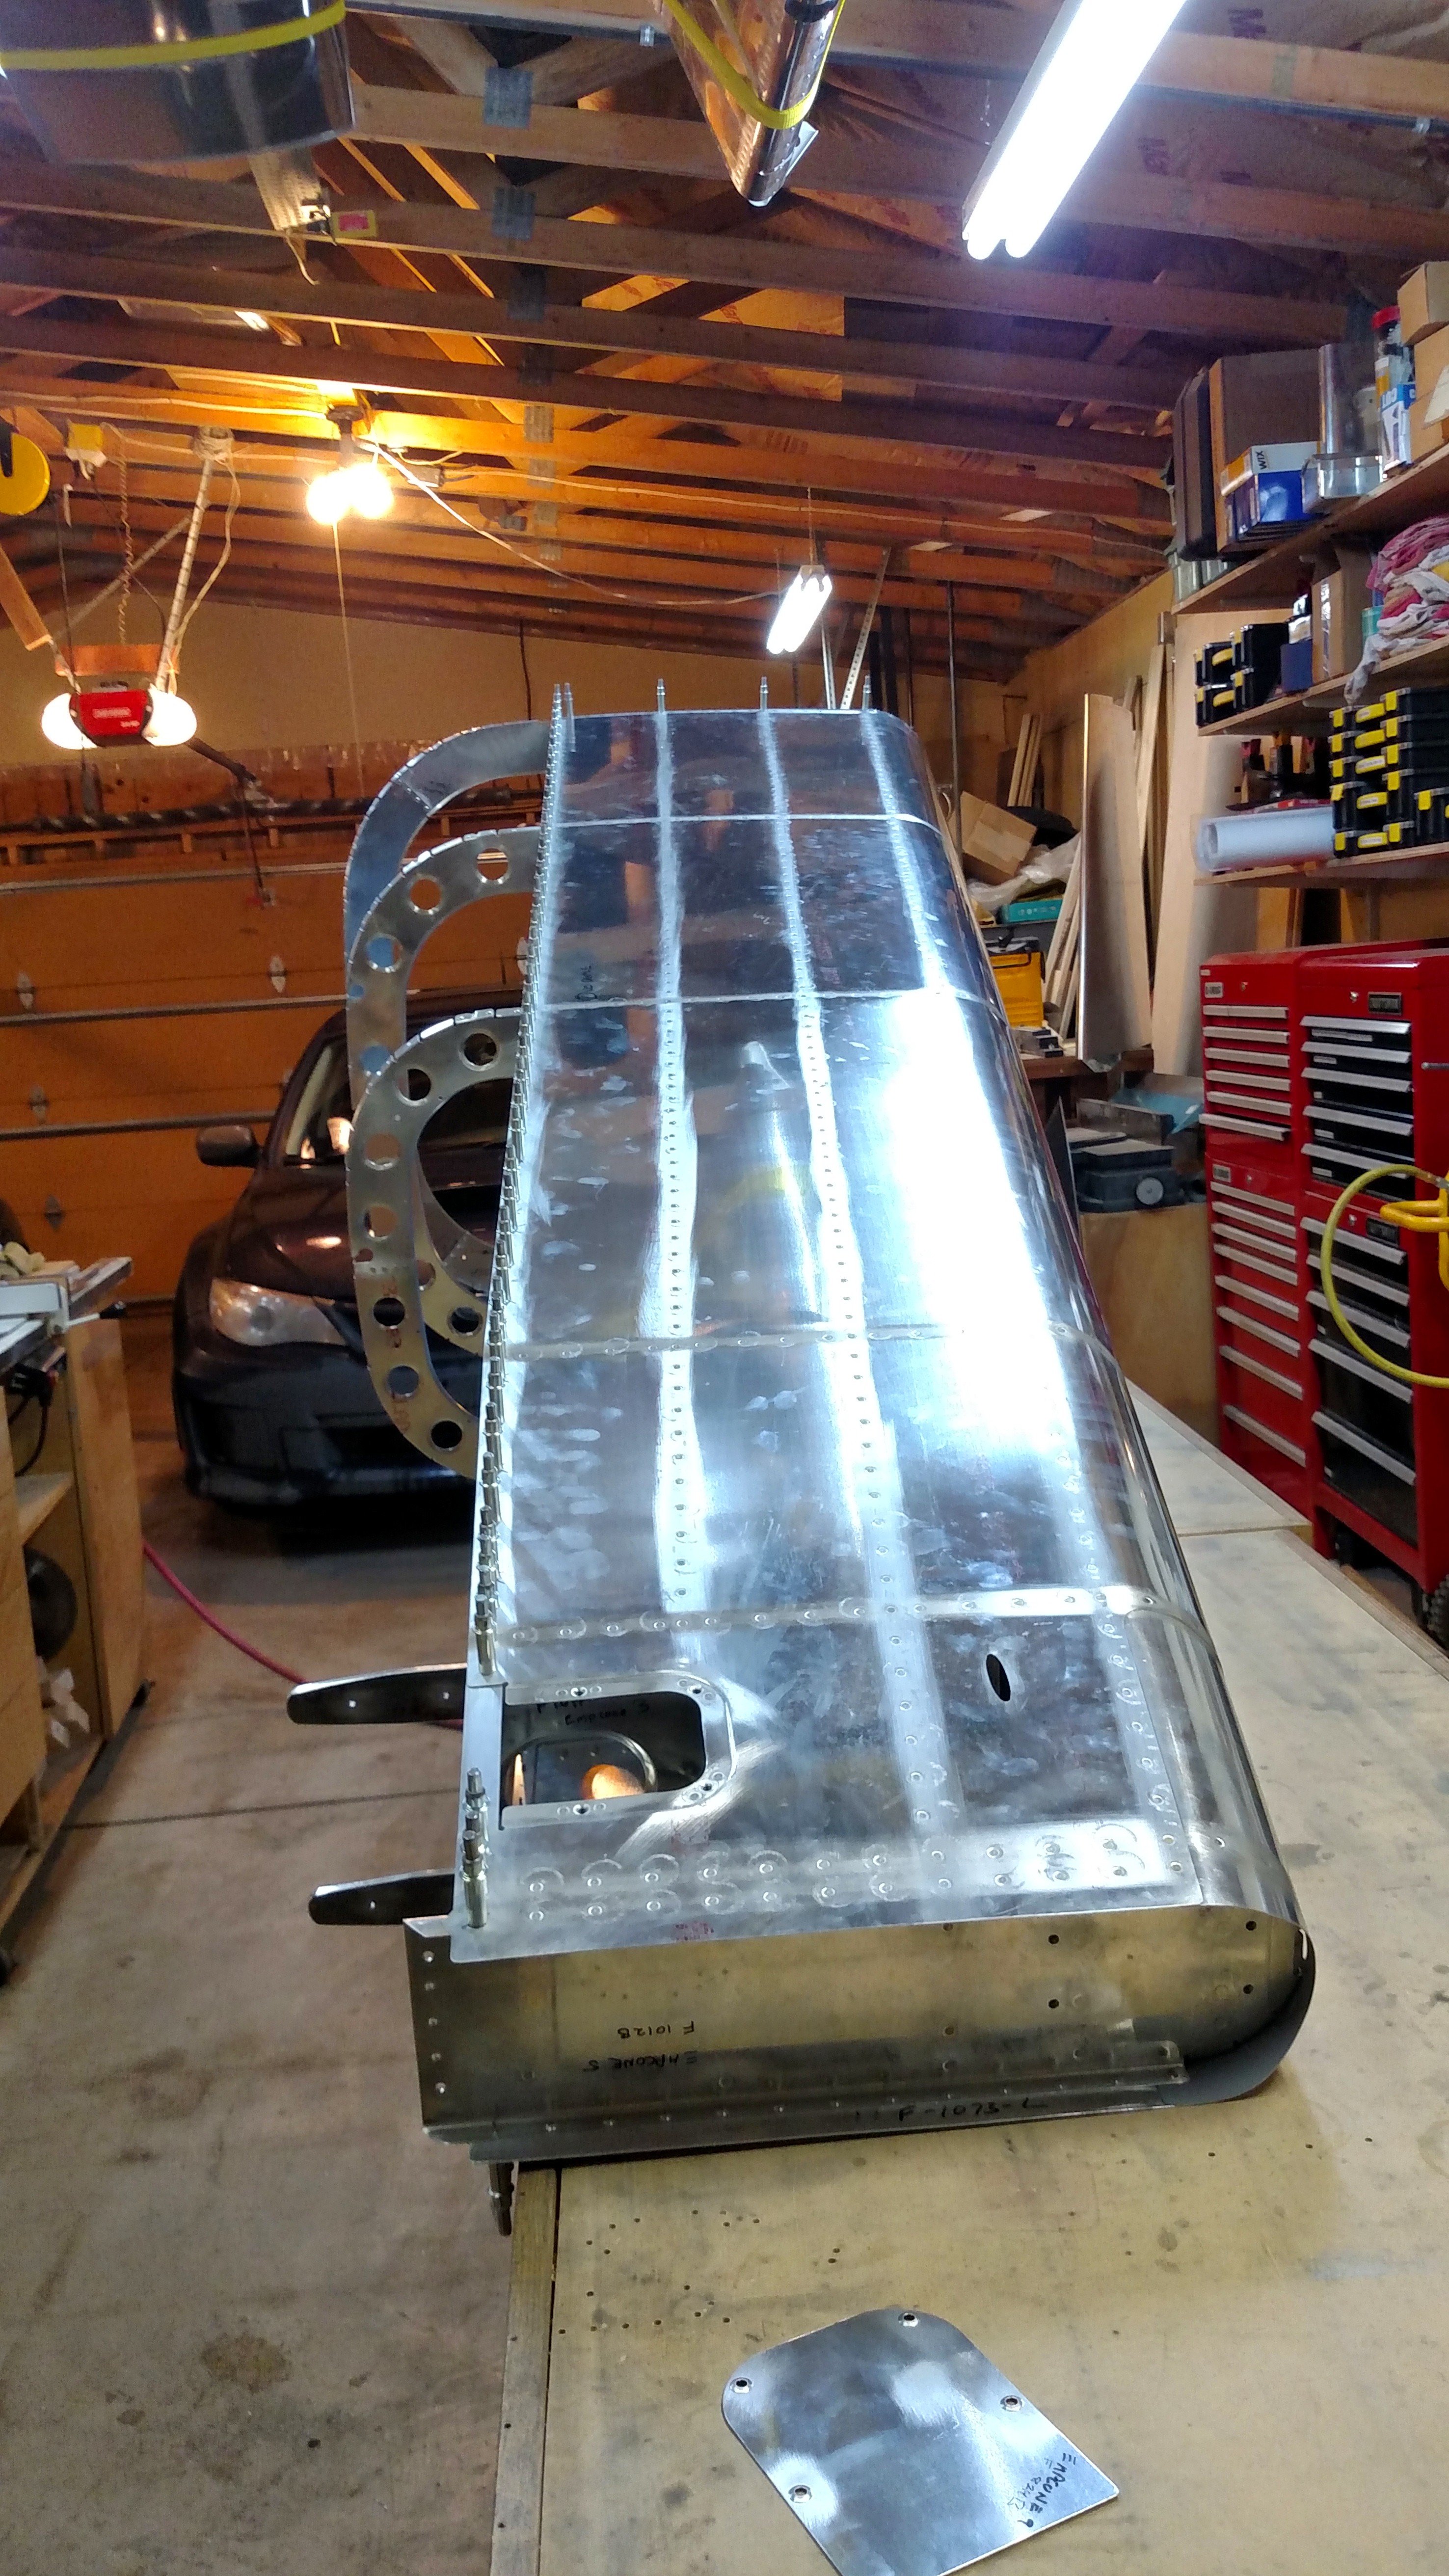
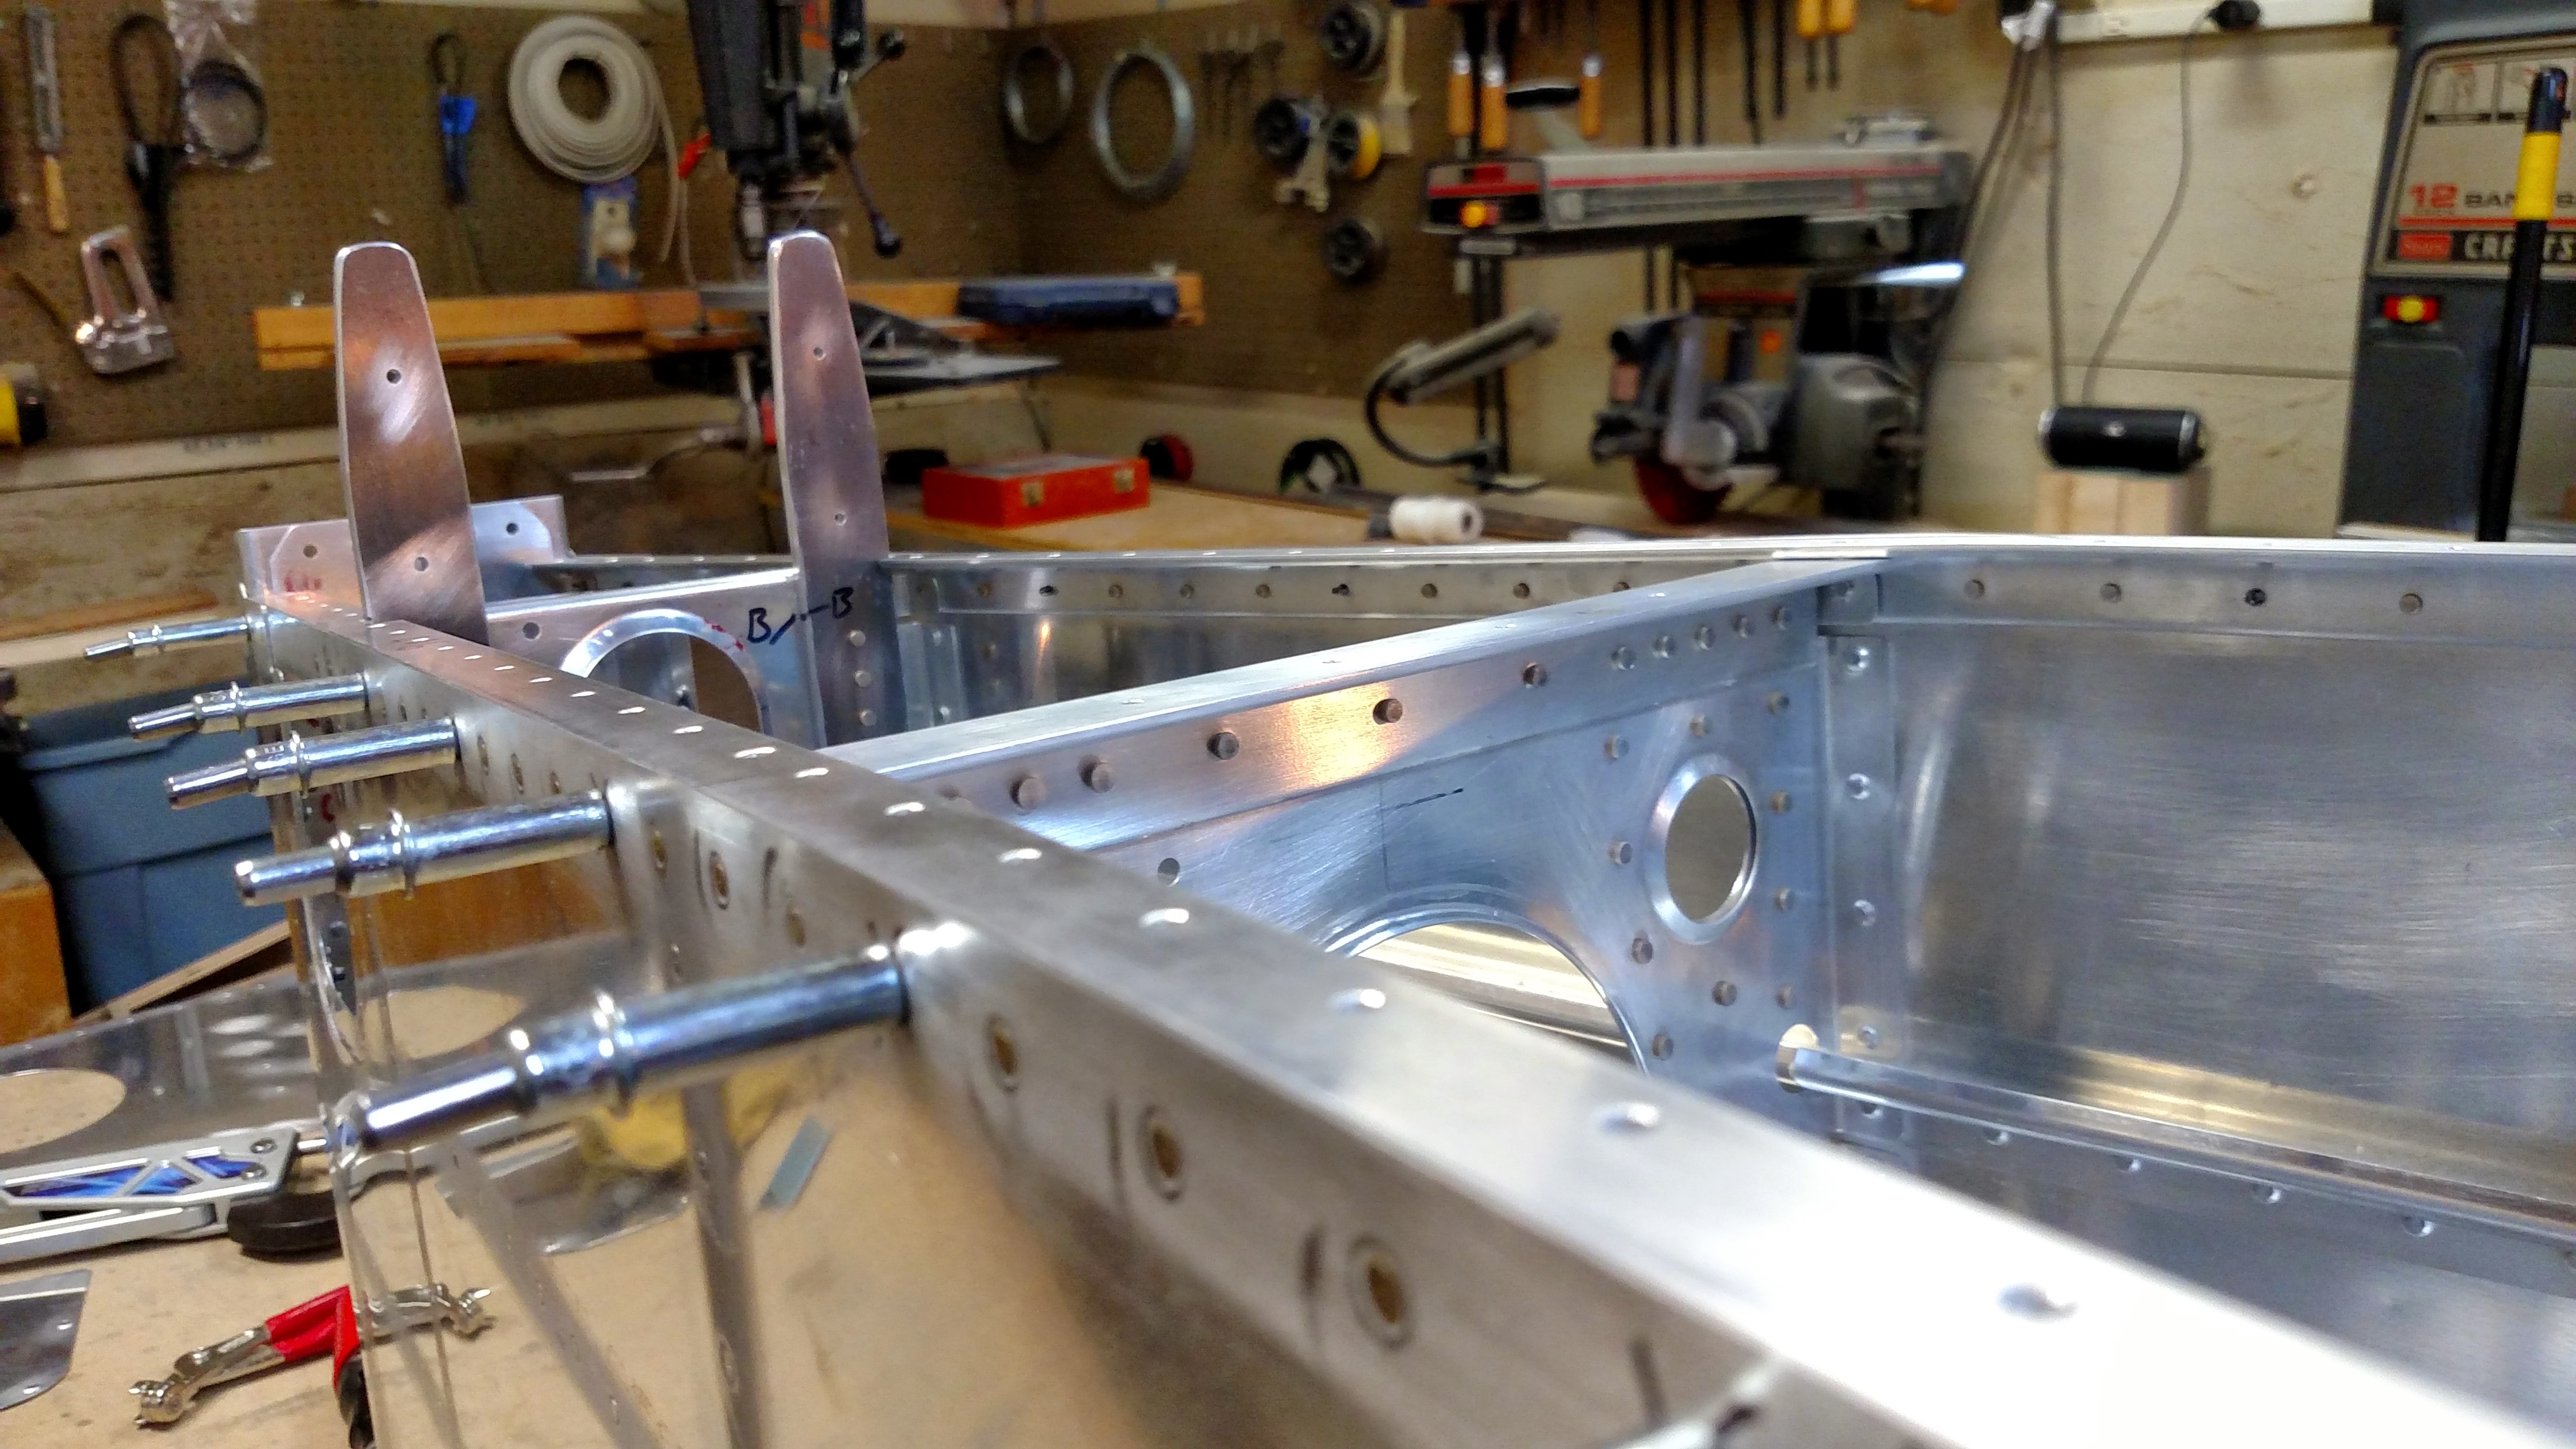
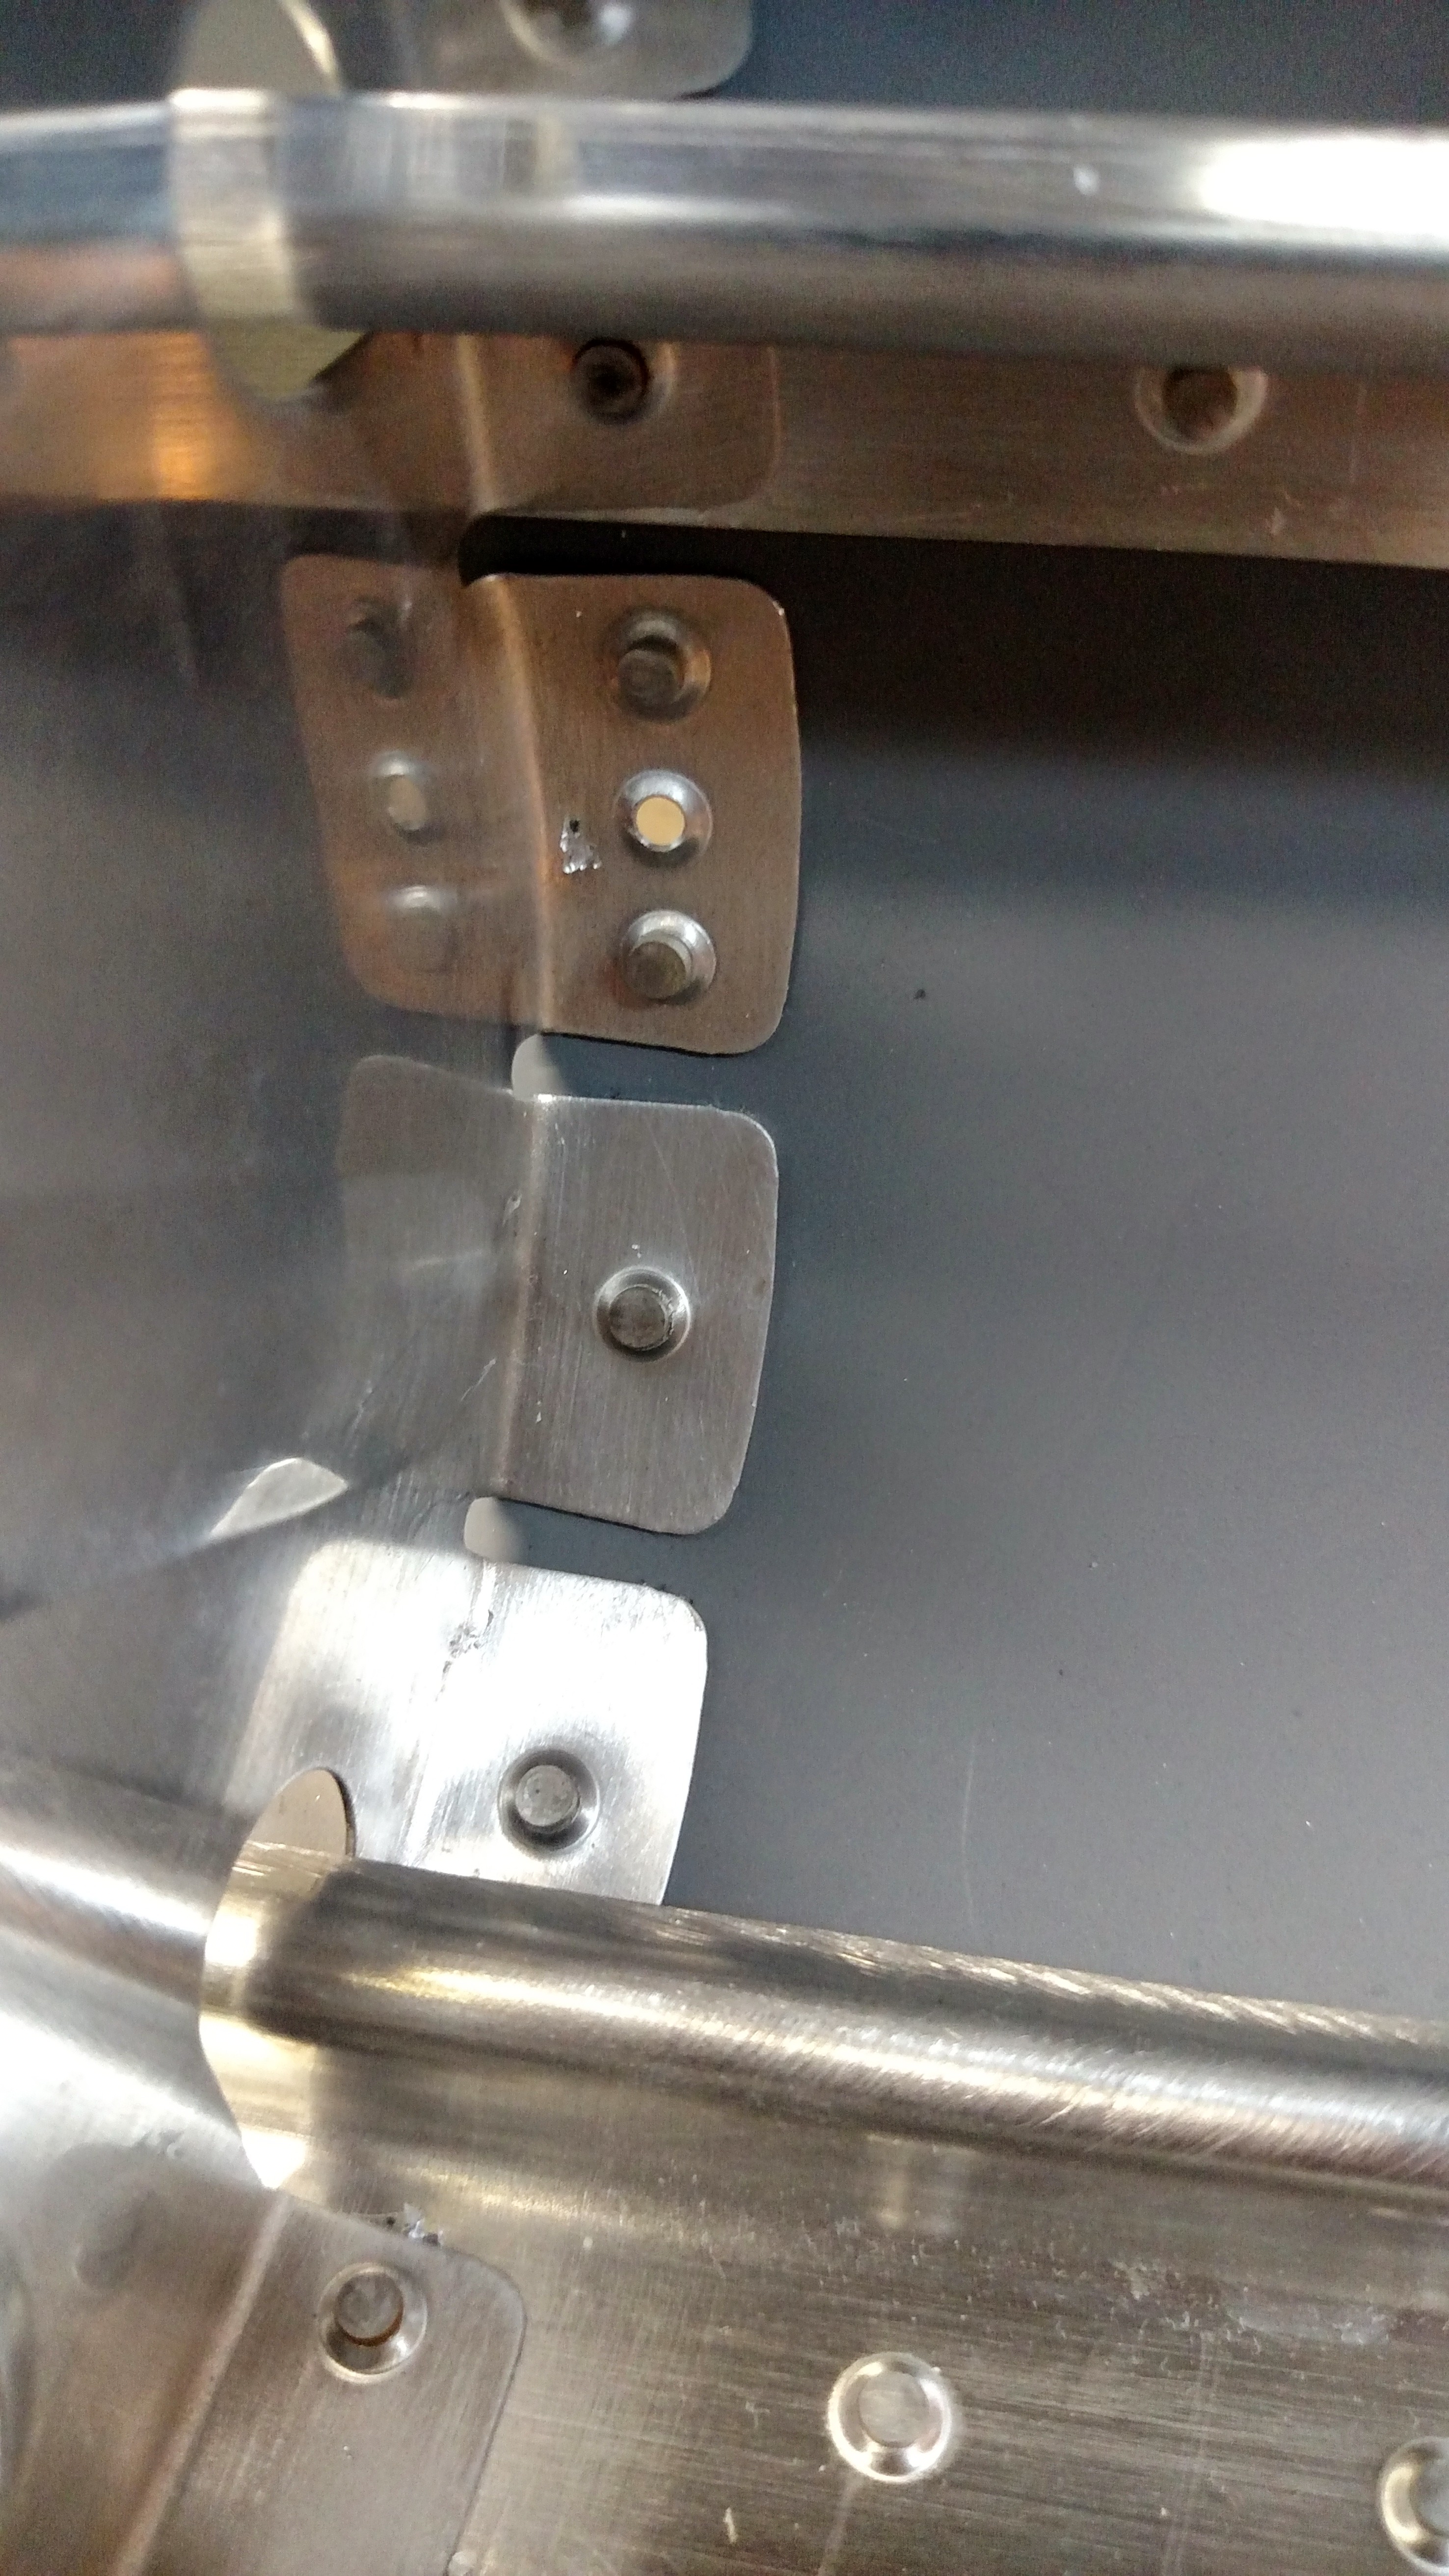
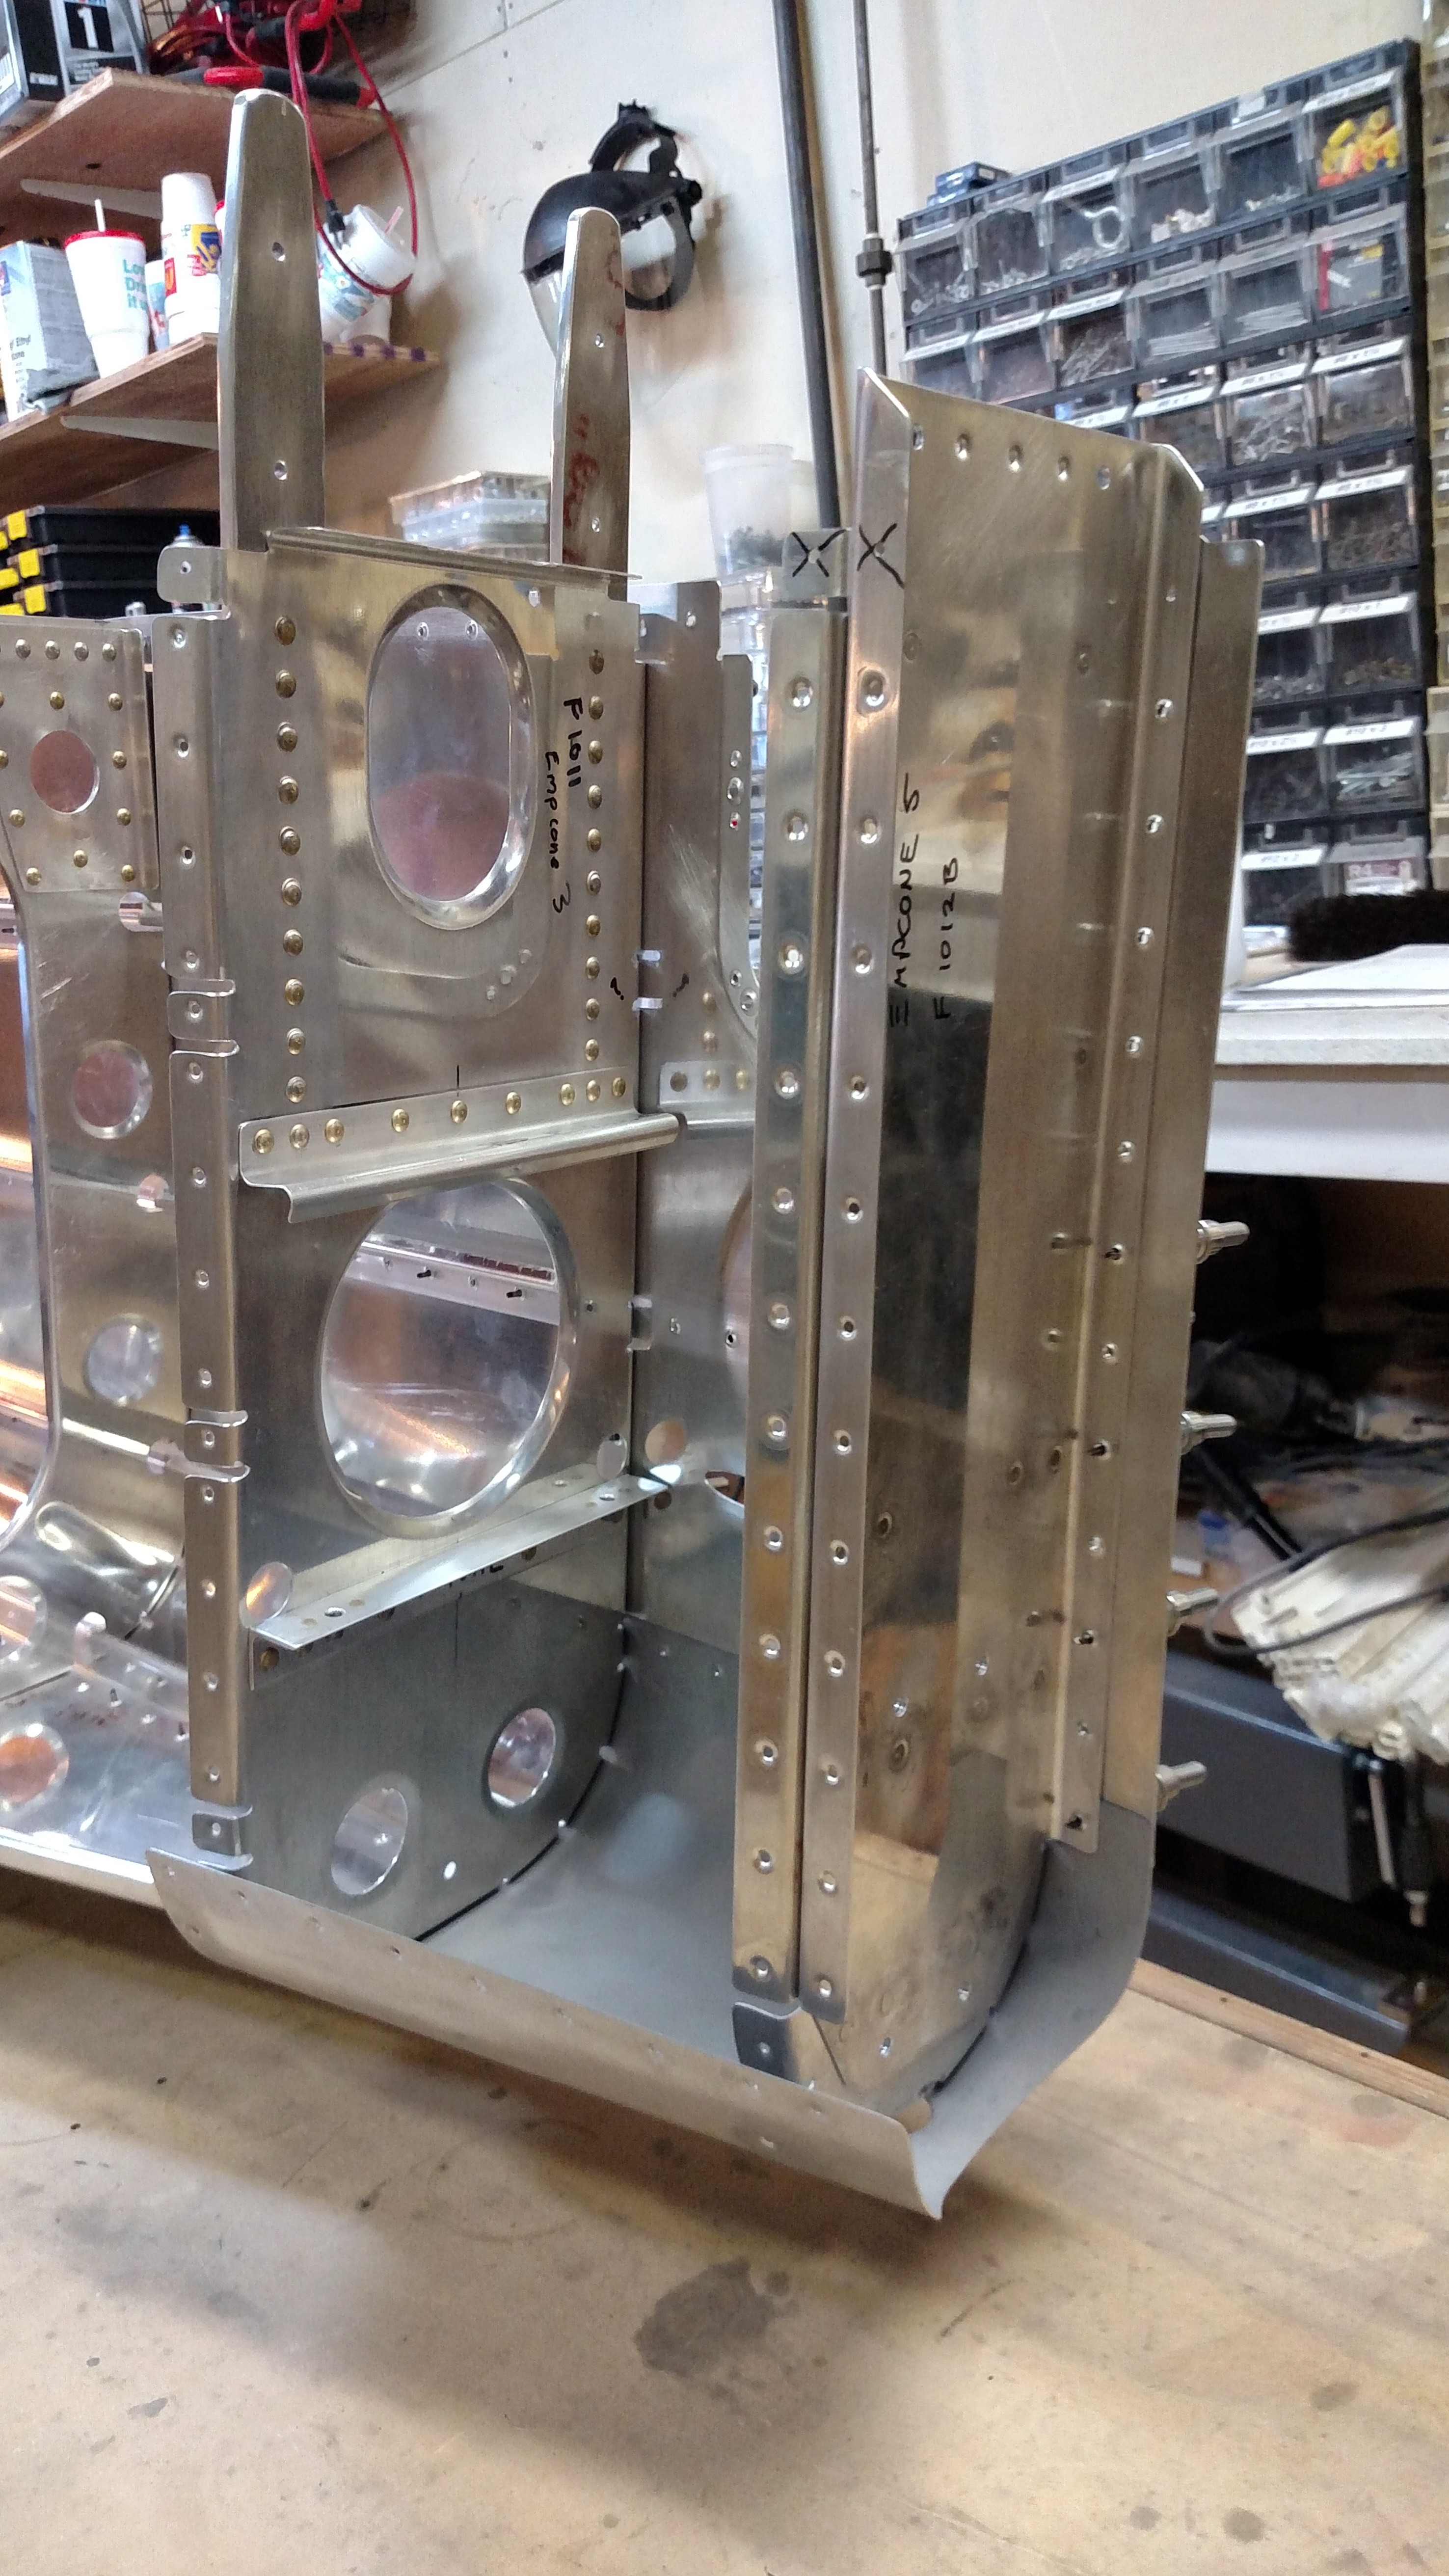
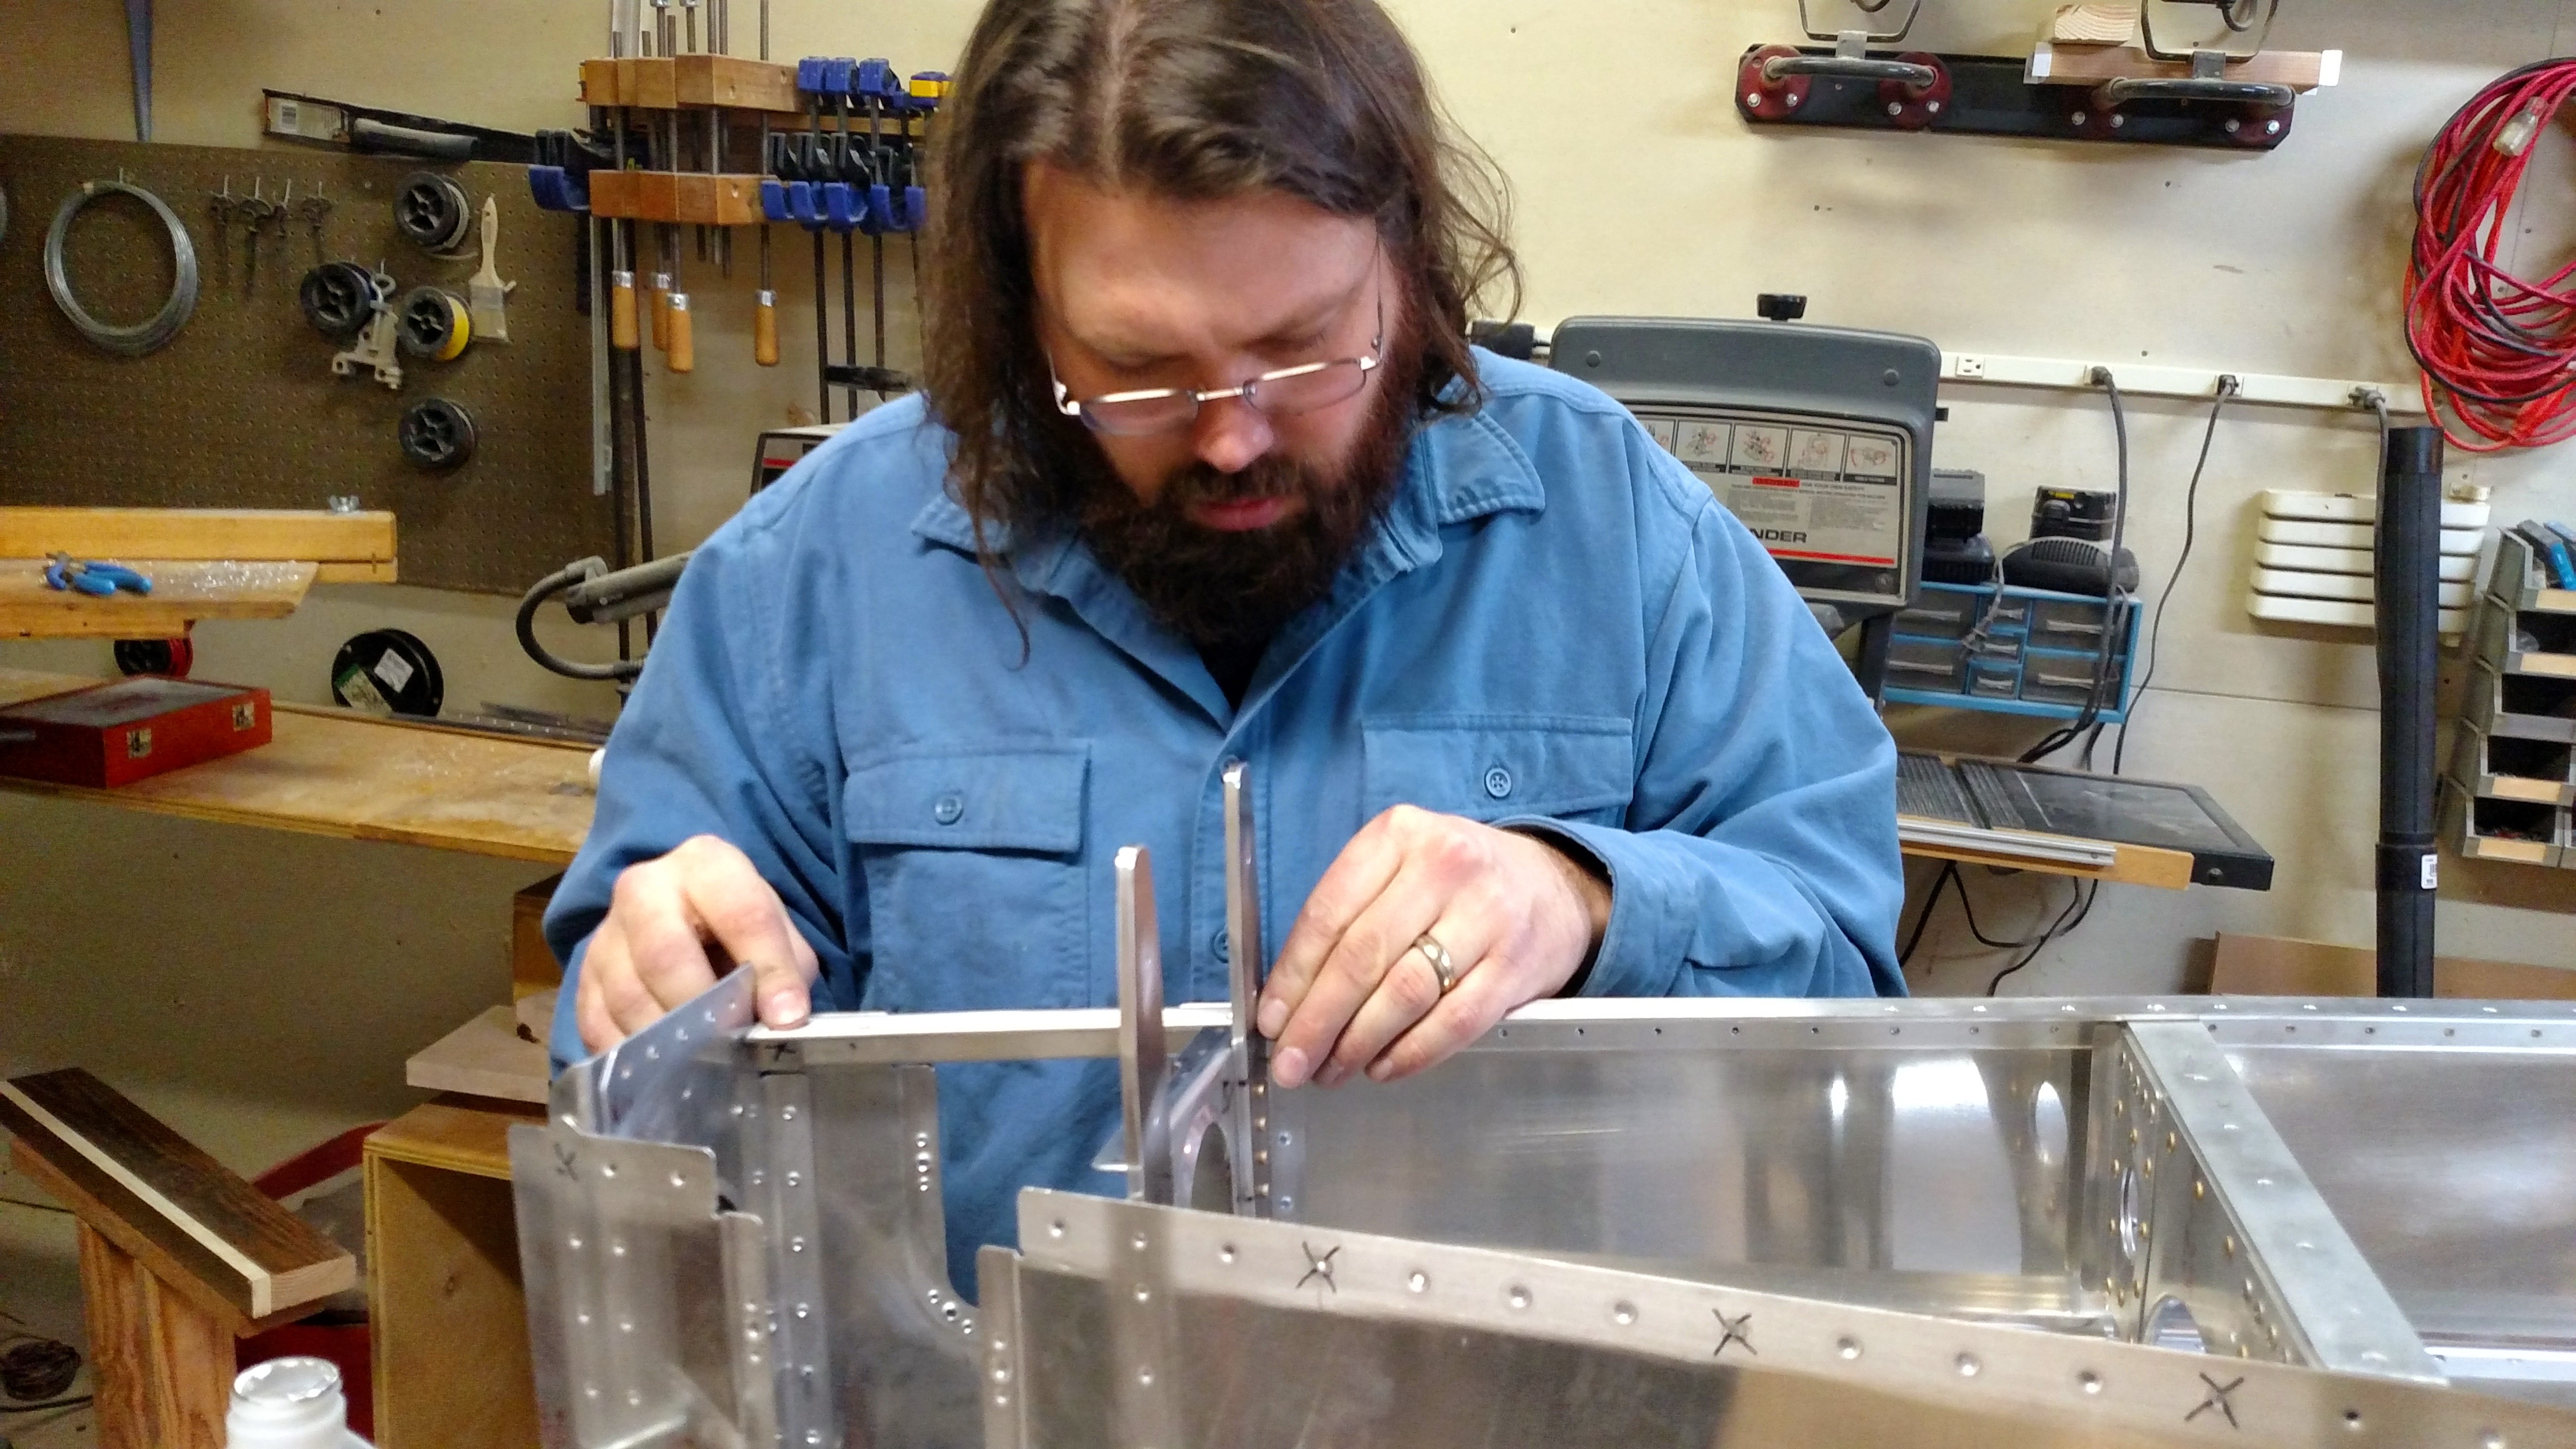
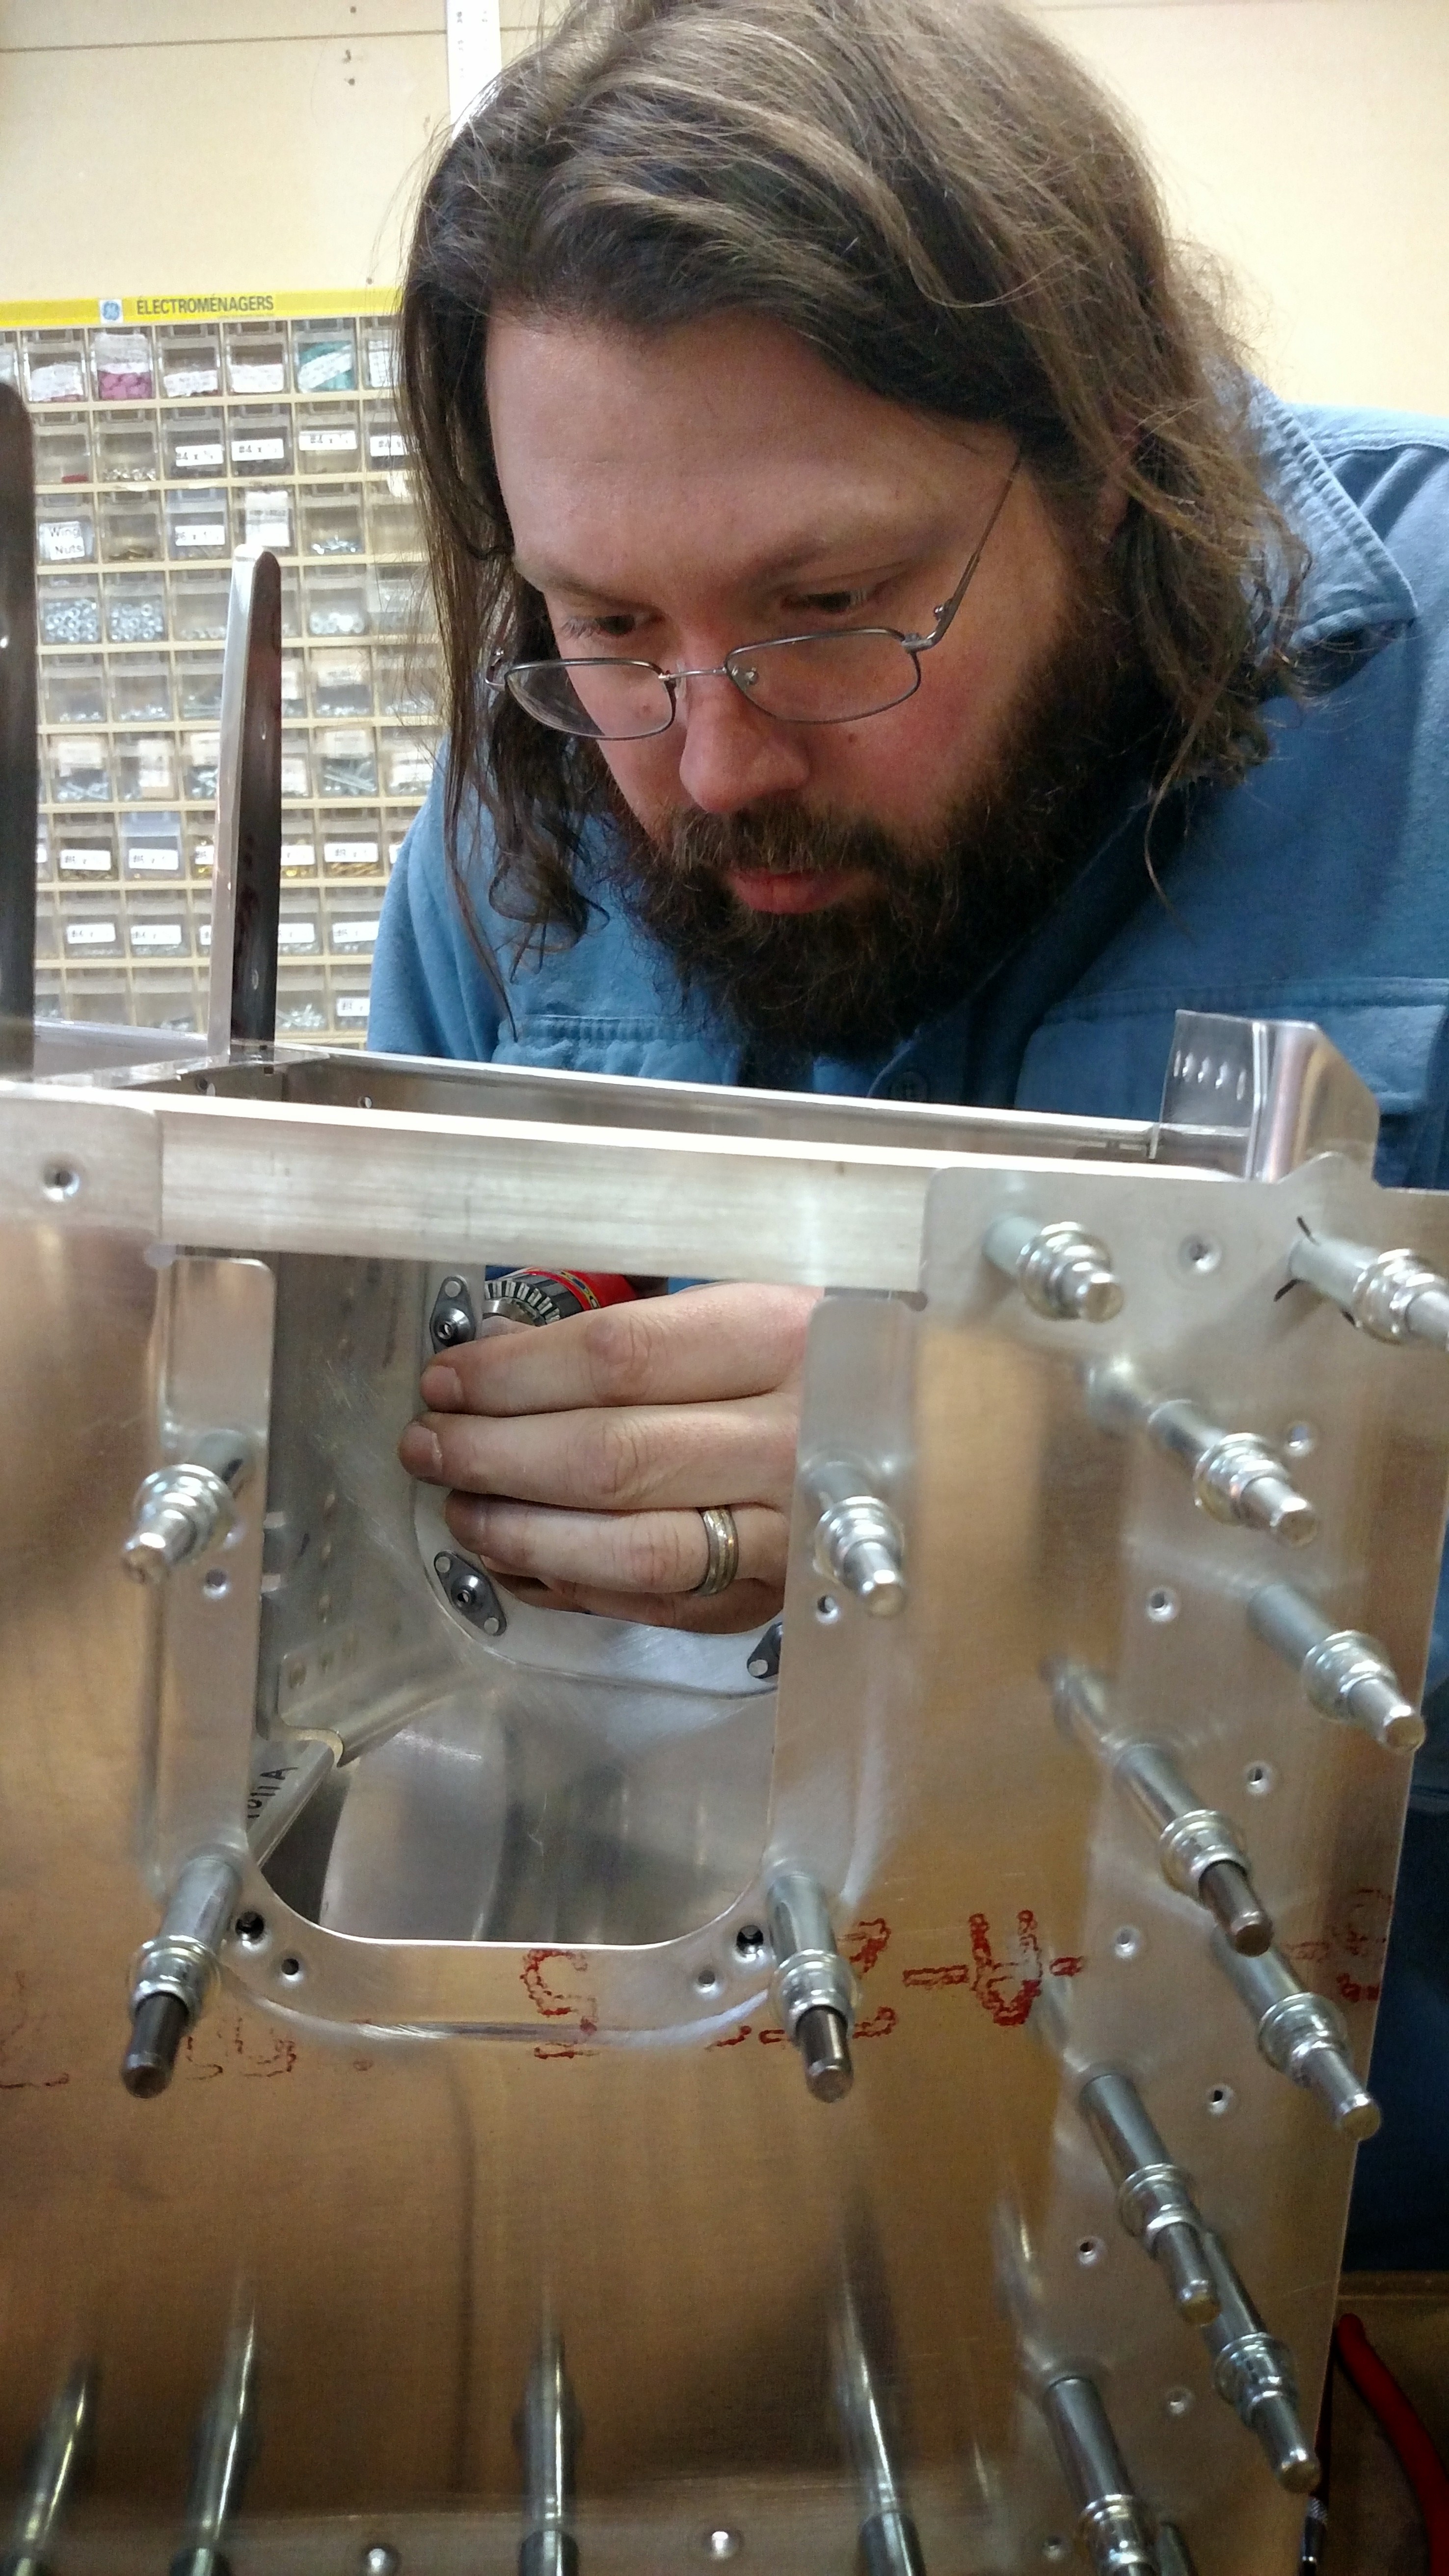
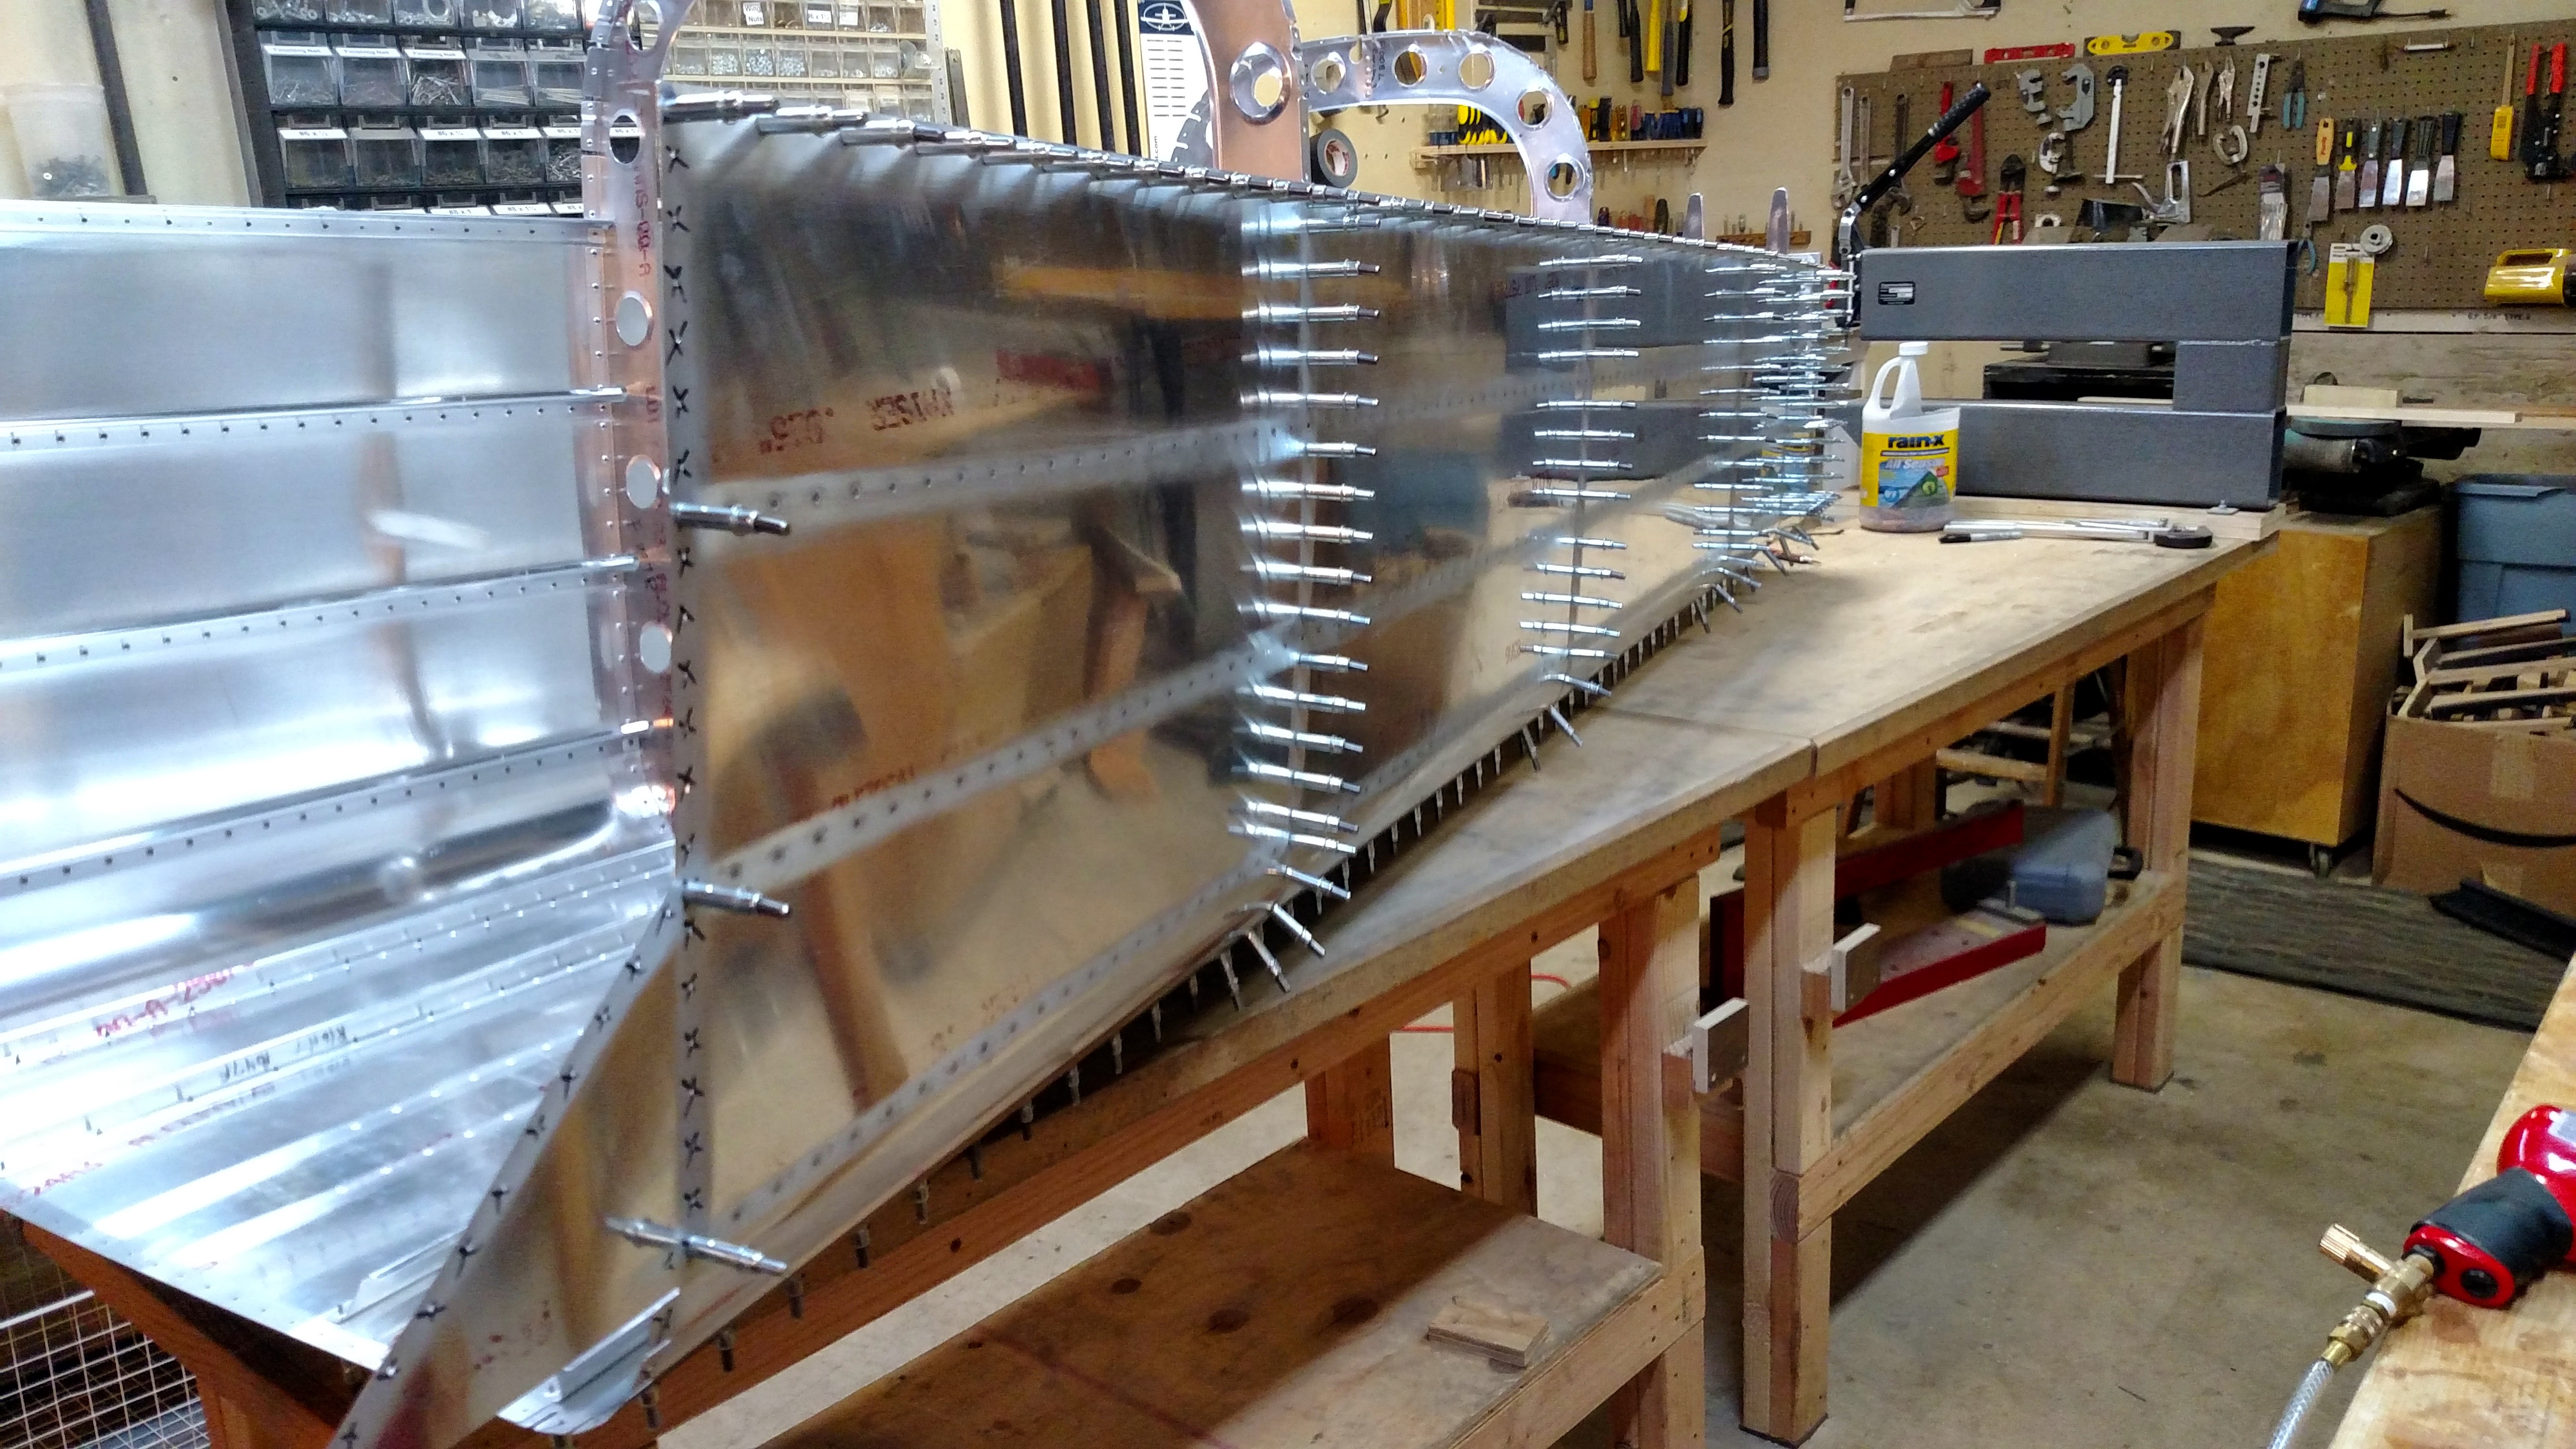
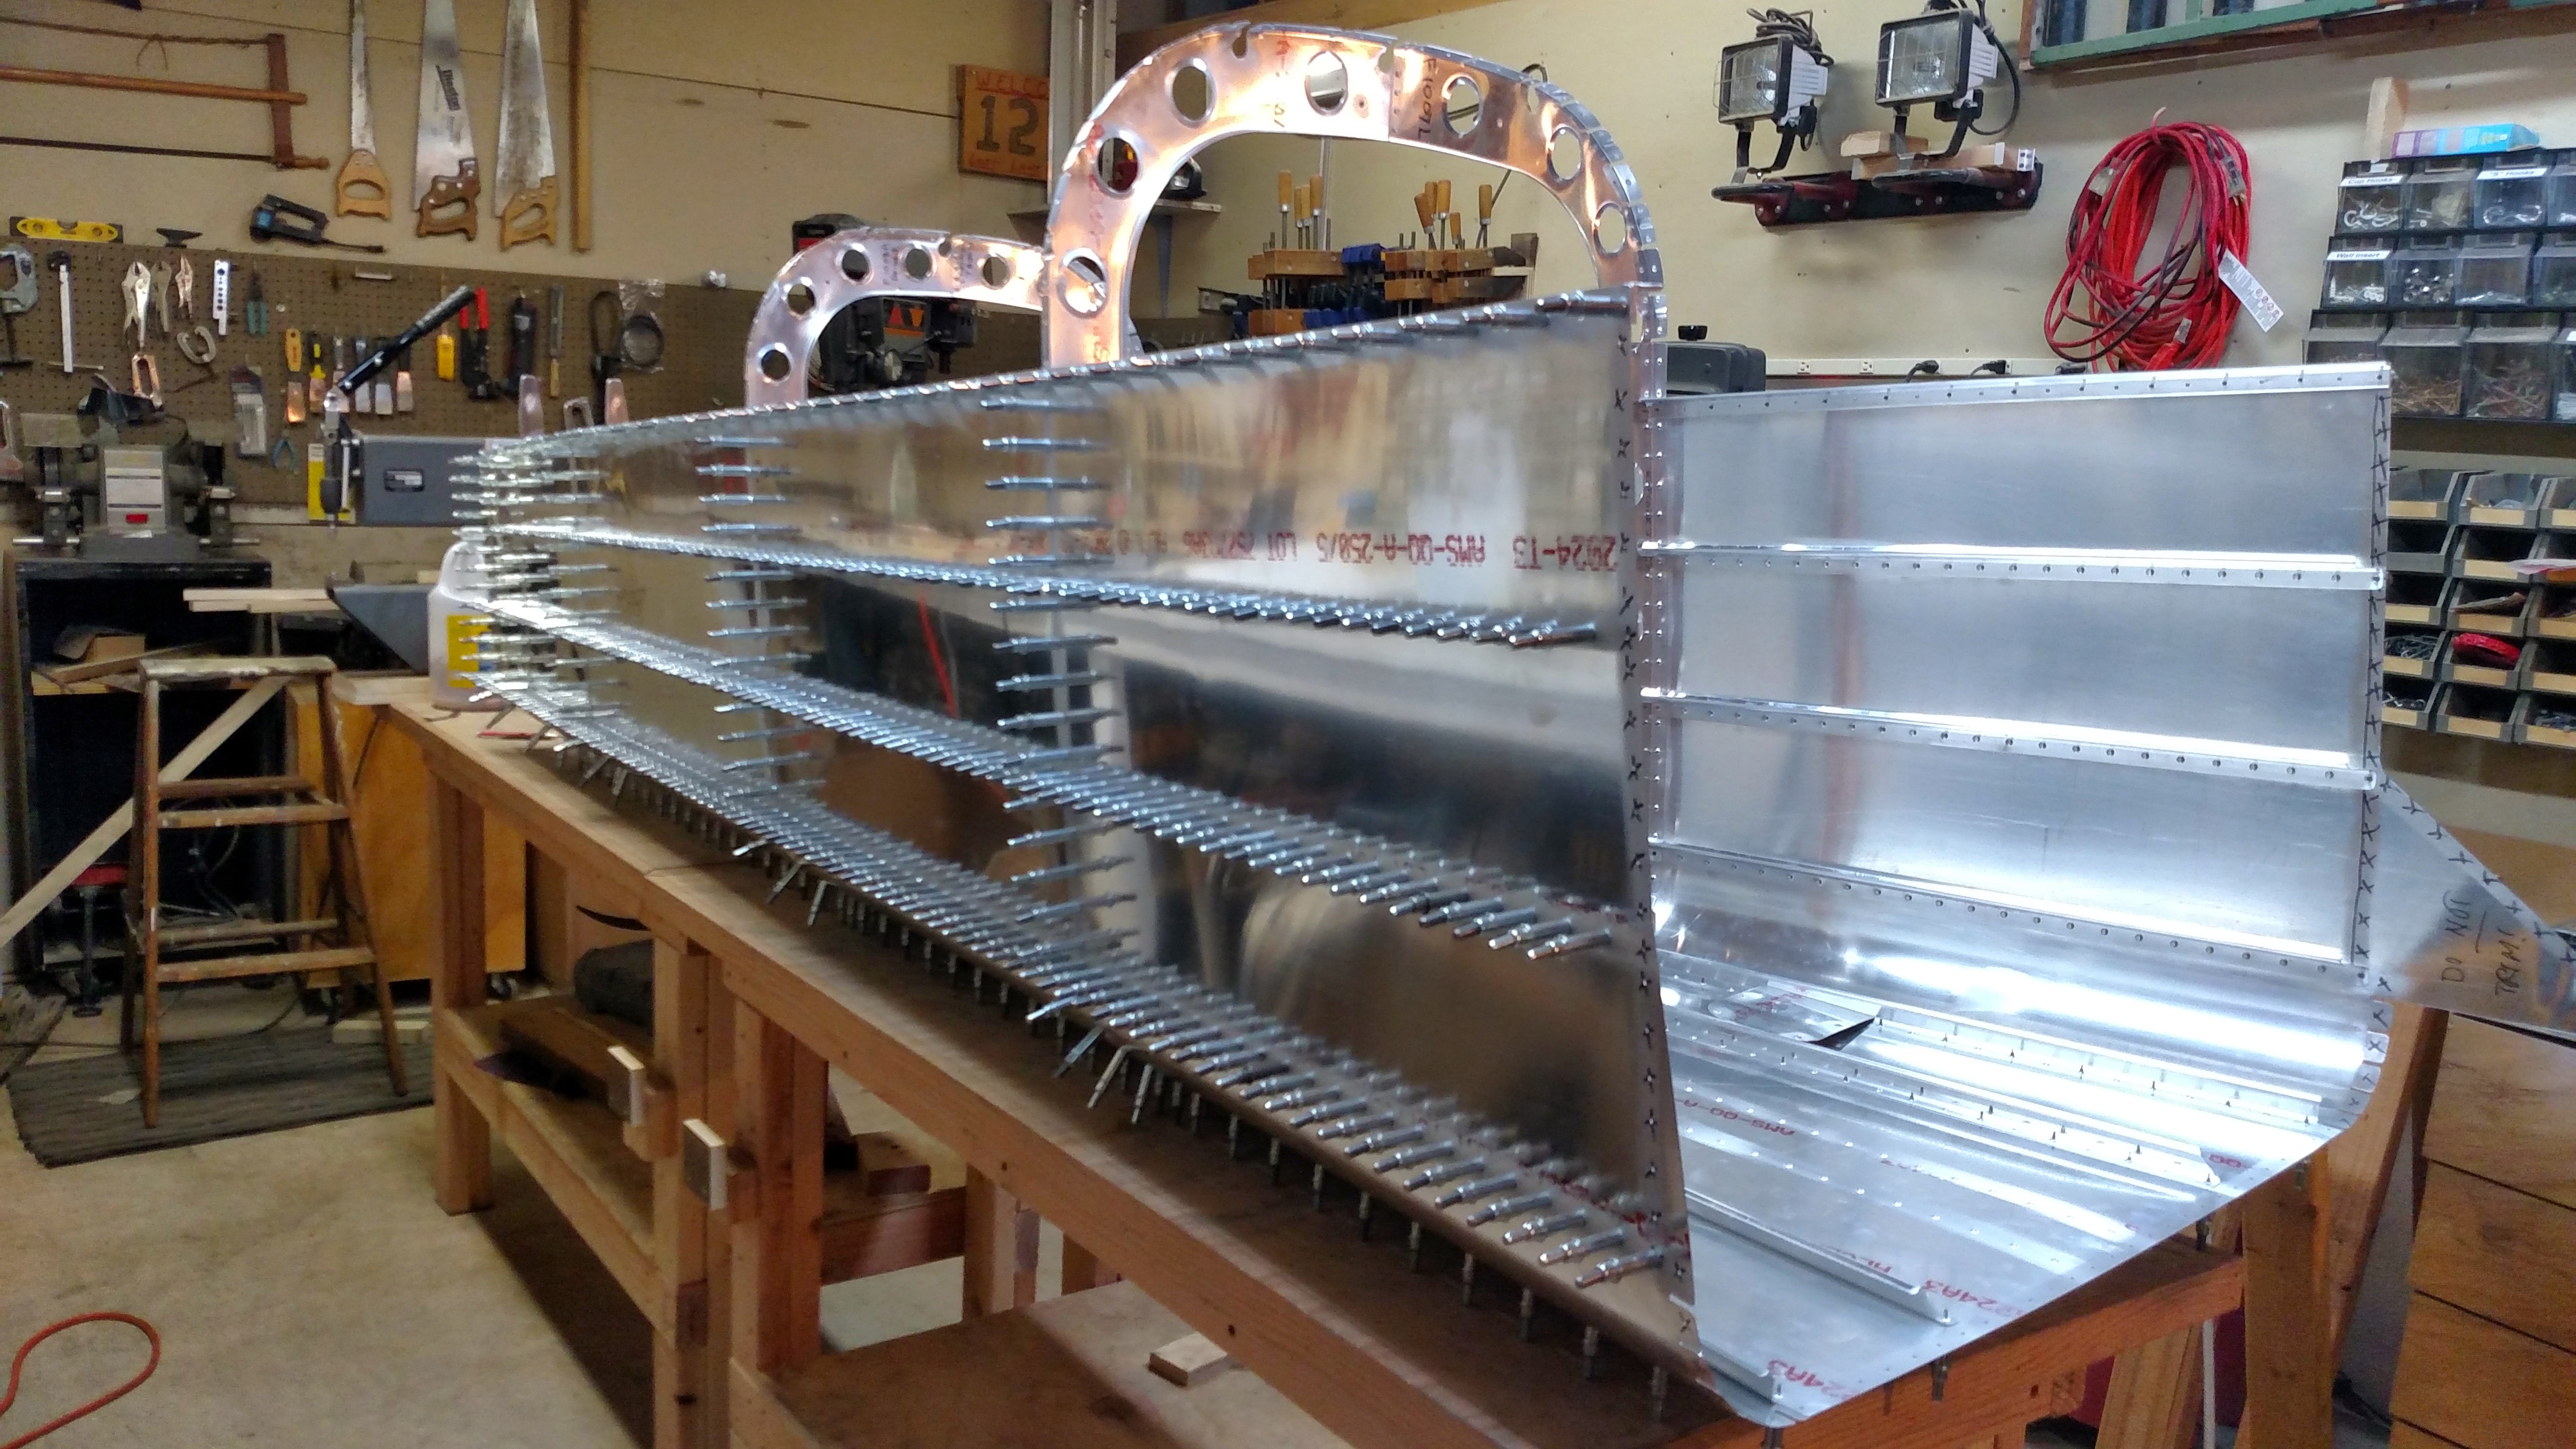
Here’s the backside:

IMG_20150111_184814375

IMG_20150111_184202936

Berck: 9 hours, Randy: 6 hours, Tracey: 6 hours, Jonah: 1 hour

Tailcone assembly starts in earnest.

Berck used his hose clamp tool to attach the rubber sleeve on the cleco pliers.  It had been continually coming off.  He’s so clever!

IMG_20150110_130149316

Van’s said to drill new rivet holes on either side of the bad hole and “build on.”  So we did.  There’s also some little holes to stop drill the cracks.  Better picture tomorrow.IMG_20150110_131505
IMG_20150110_130542632 IMG_20150110_131859804 IMG_20150110_133334512 IMG_20150110_135433092 IMG_20150110_135449560 IMG_20150110_135955263 IMG_20150110_142836211 IMG_20150110_143145498 IMG_20150110_143156280 IMG_20150110_143229296 IMG_20150110_144615970 IMG_20150110_150437529

We realized after riveting in all the nut plates for one of the inspection portals that, despite the instructions never having said to do so, we needed to dimple the nut plates. So those rivets had to all be drilled out.IMG_20150110_151308821IMG_20150110_144648551

There was much clecoing, and then we got to start riveting.

IMG_20150110_154251803 IMG_20150110_172932462 IMG_20150110_172942992Jonah: 5 hours, Berck: 7 hours.