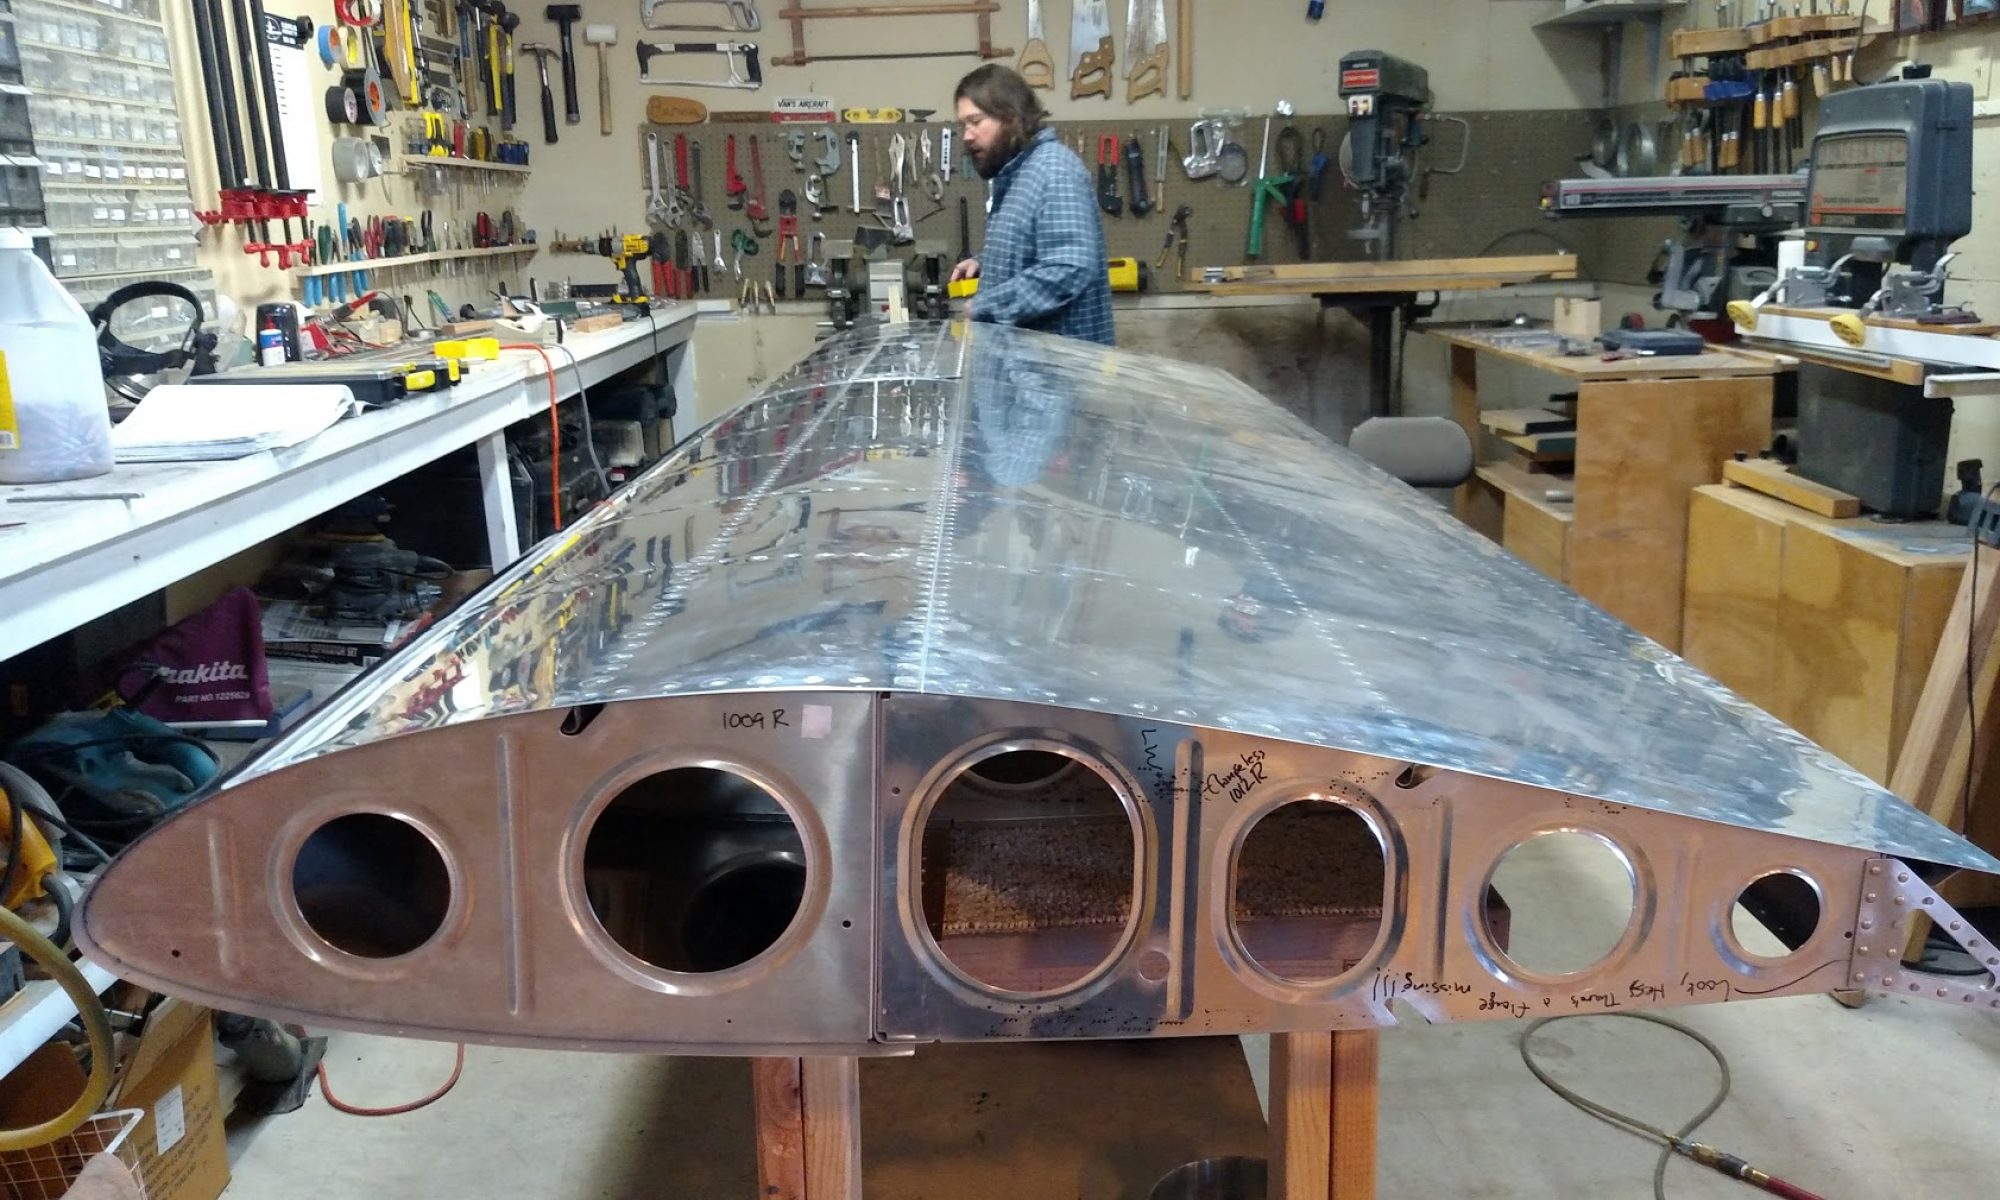
One of the amusing things about putting an aircraft together is that every section gets put together, taken apart, put together again, sometimes multiple times.
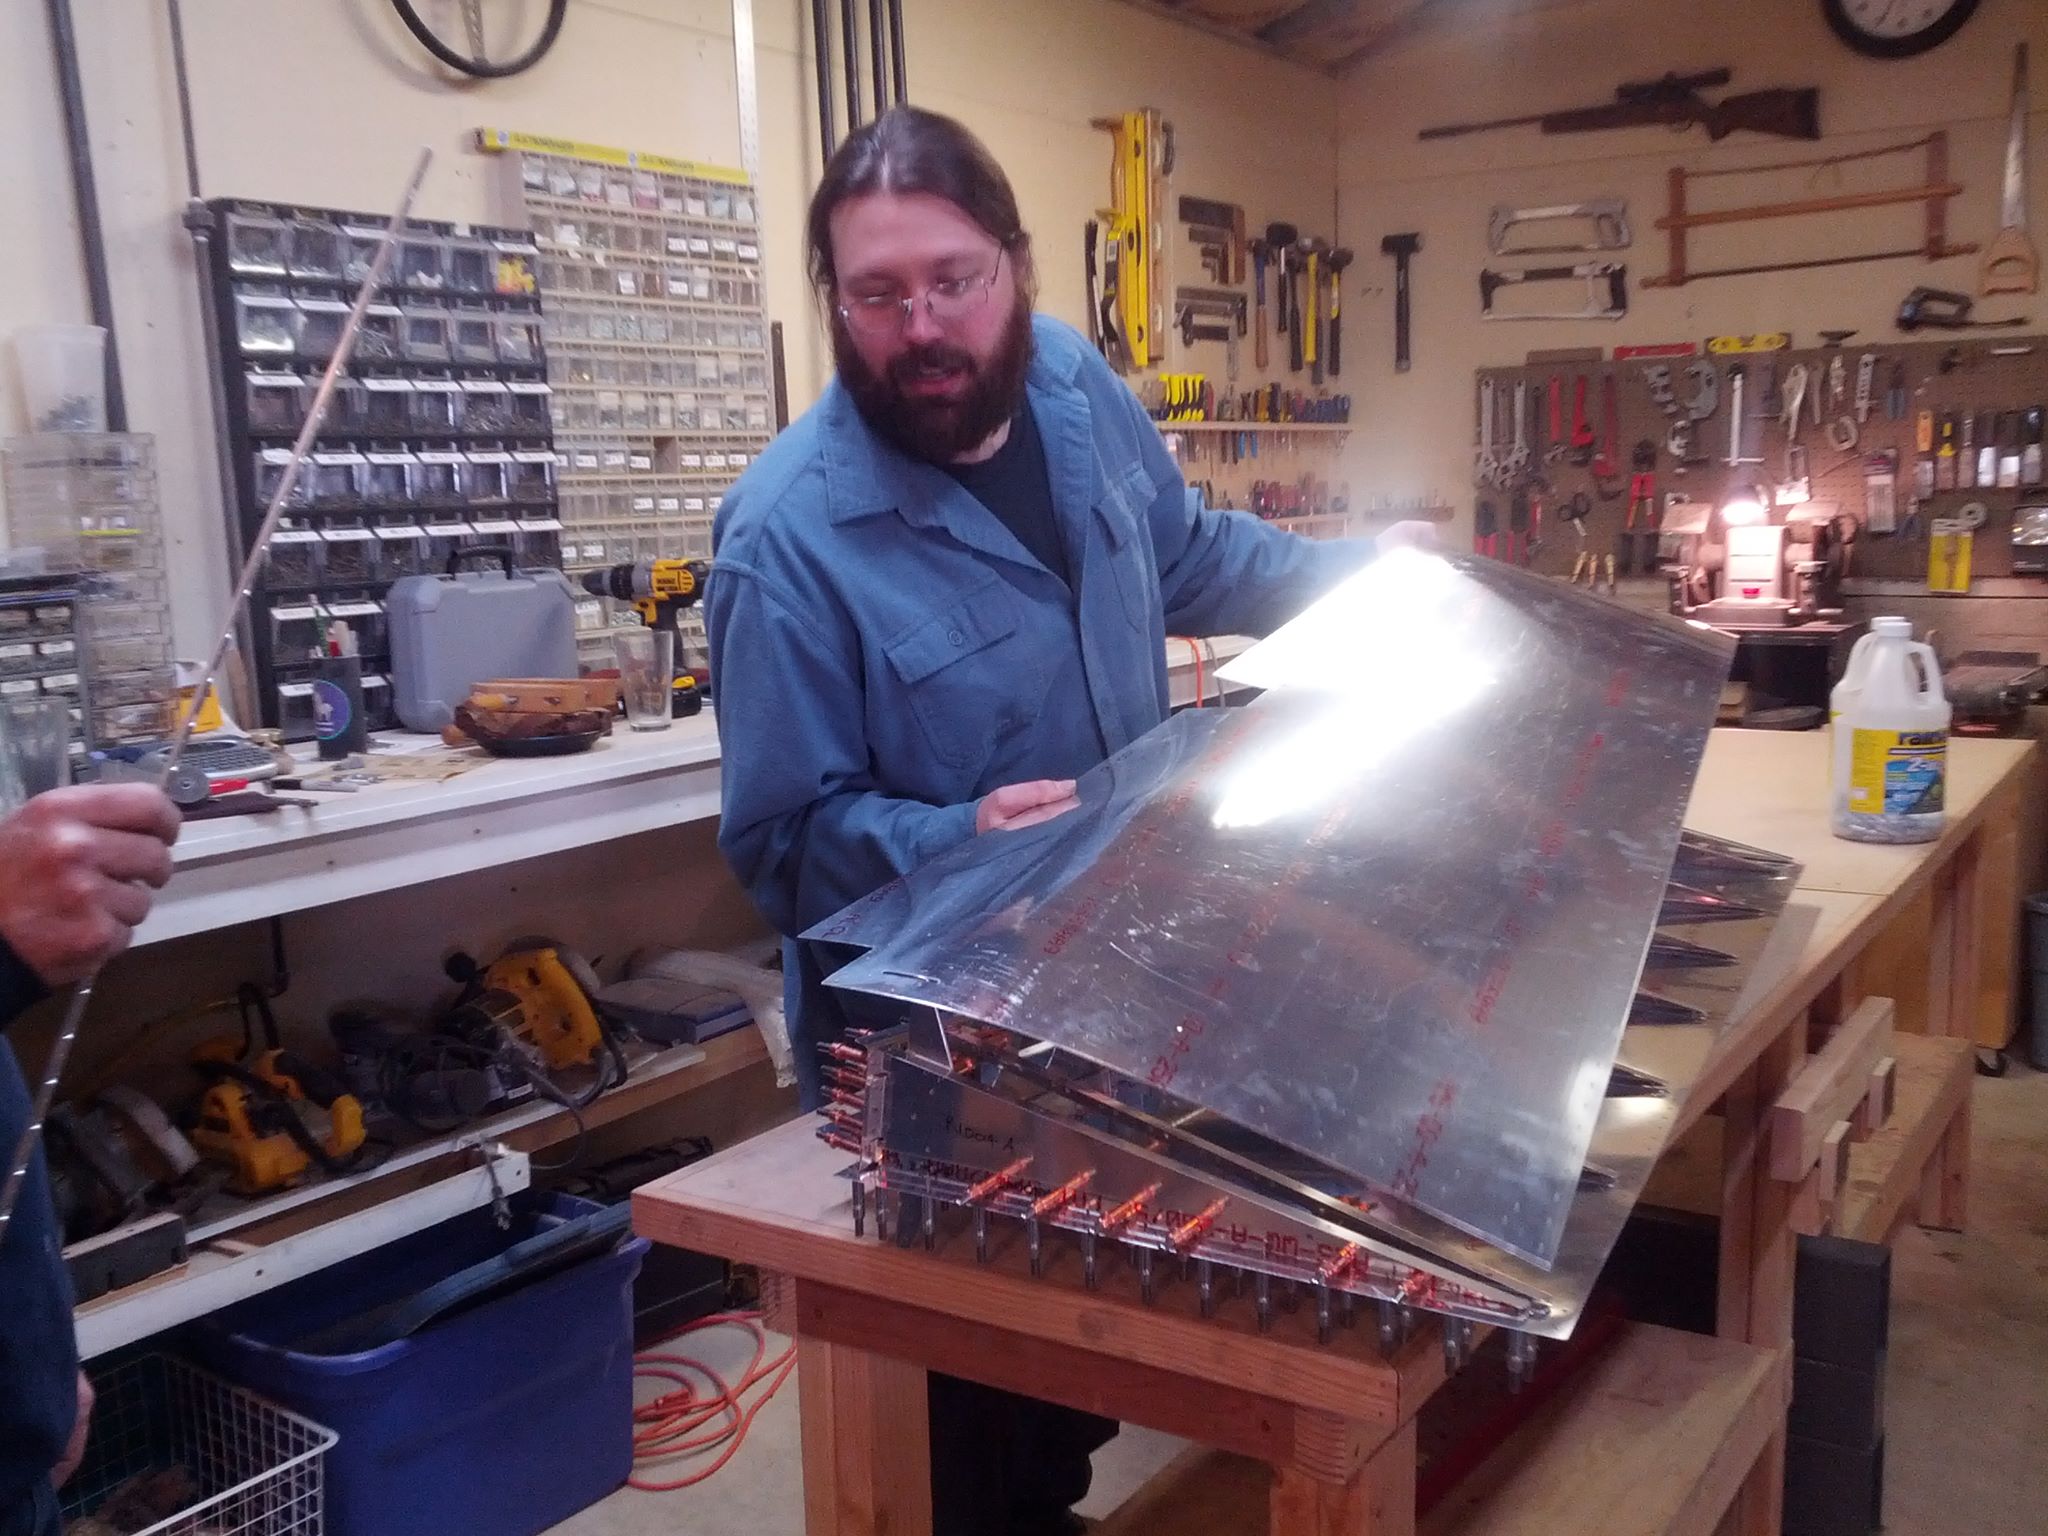
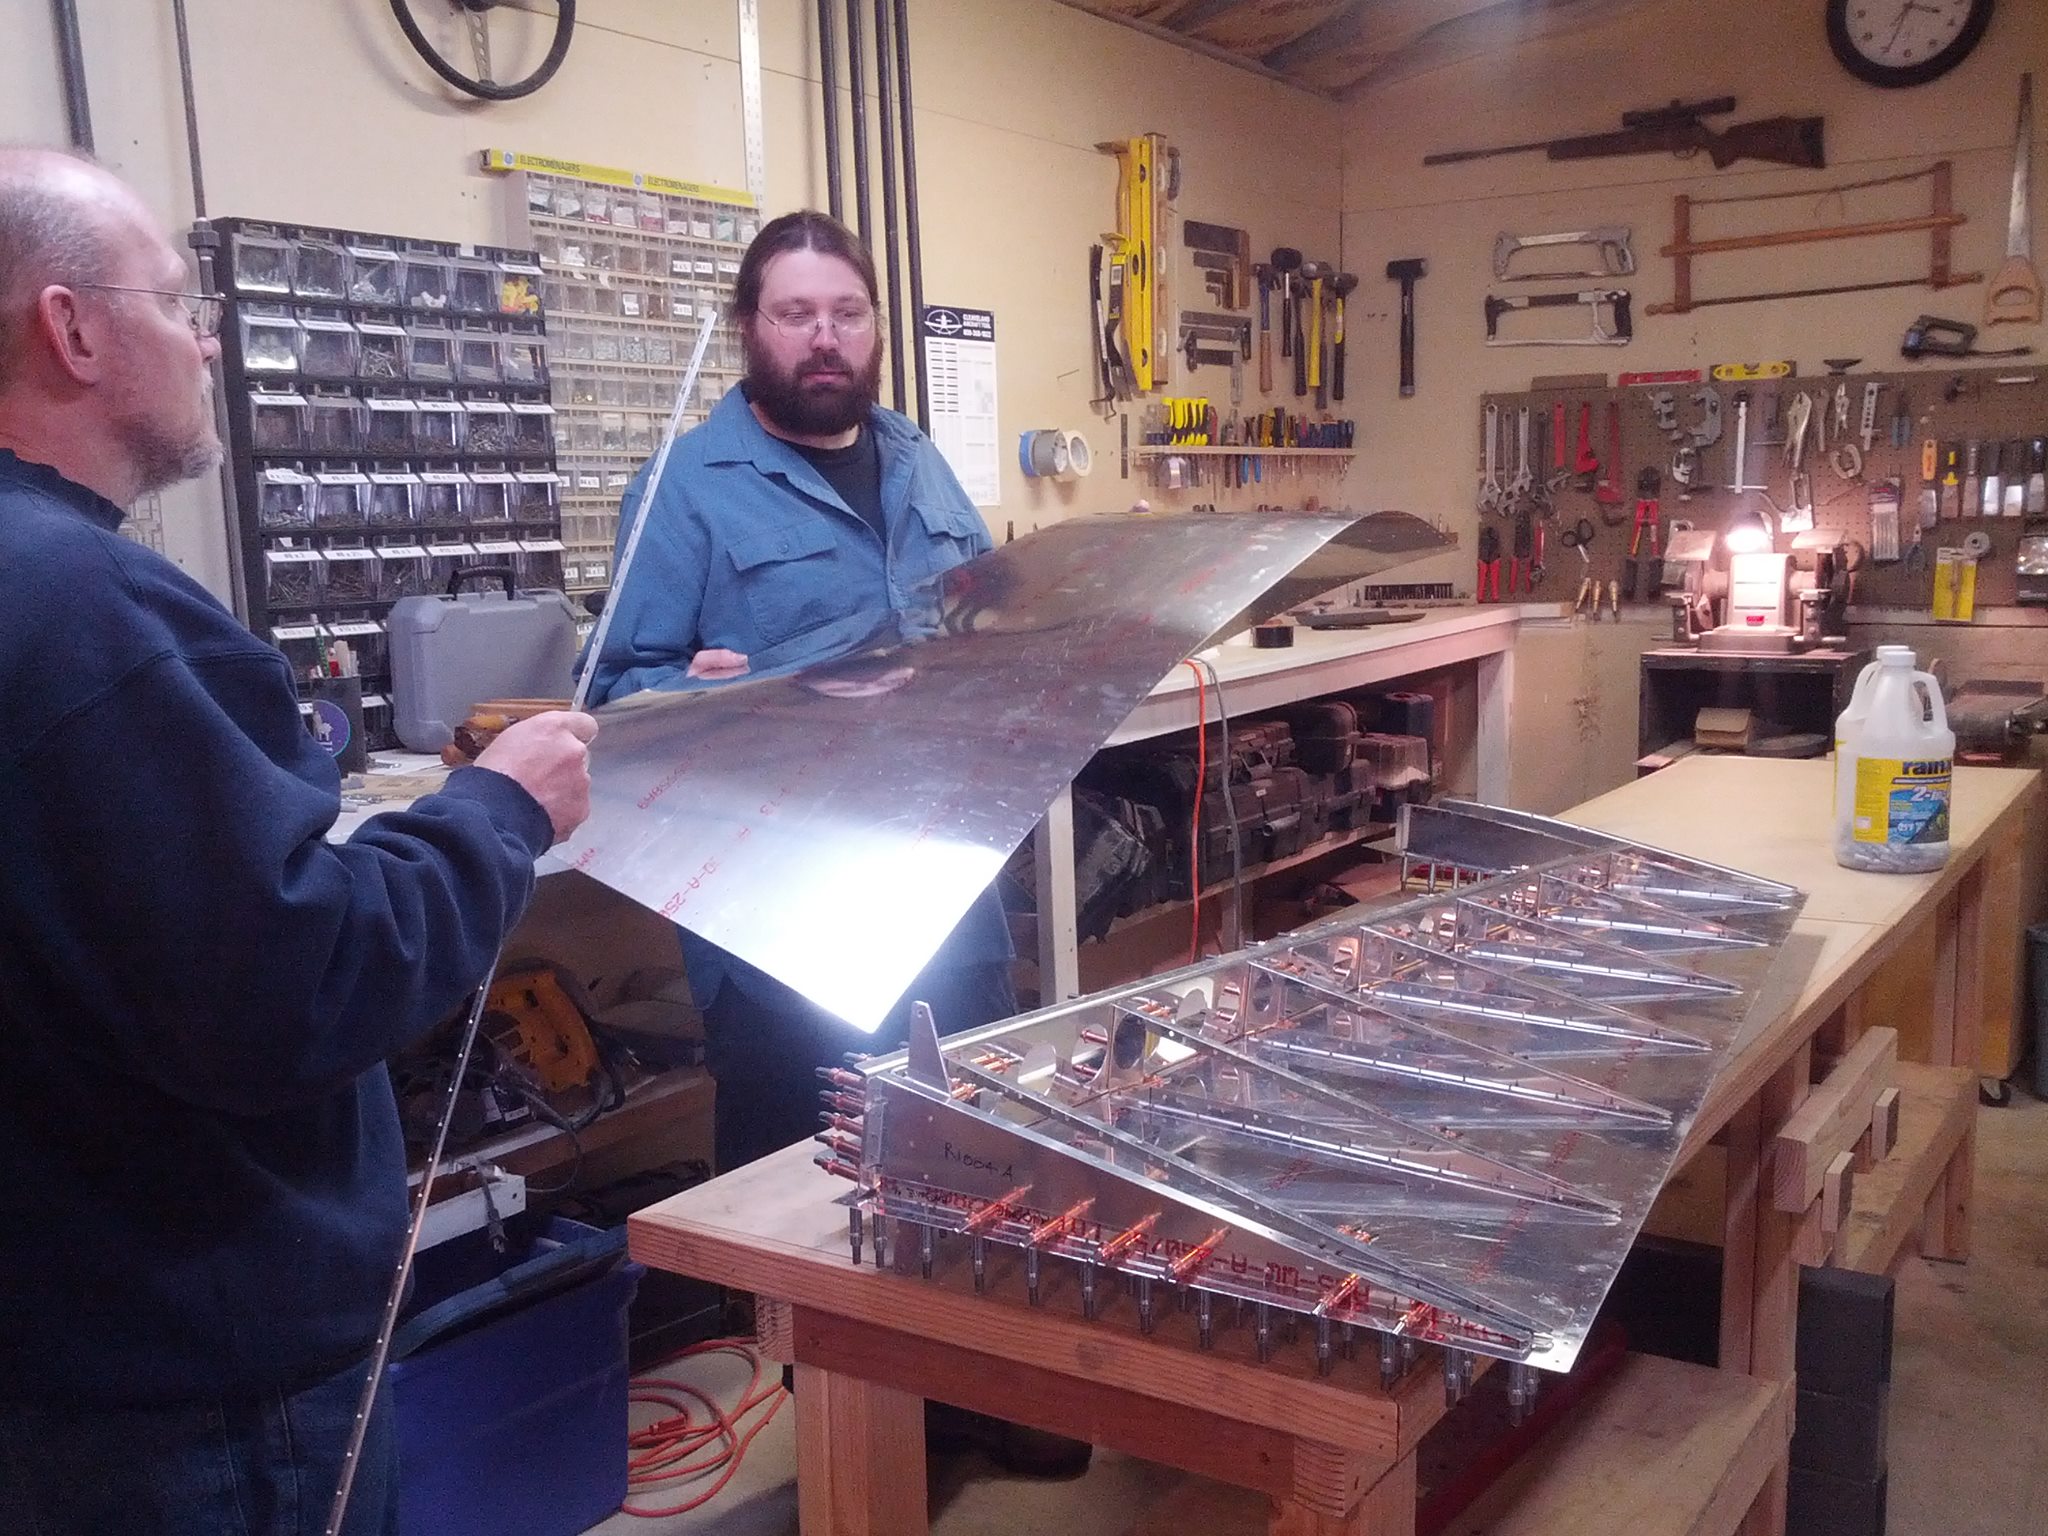
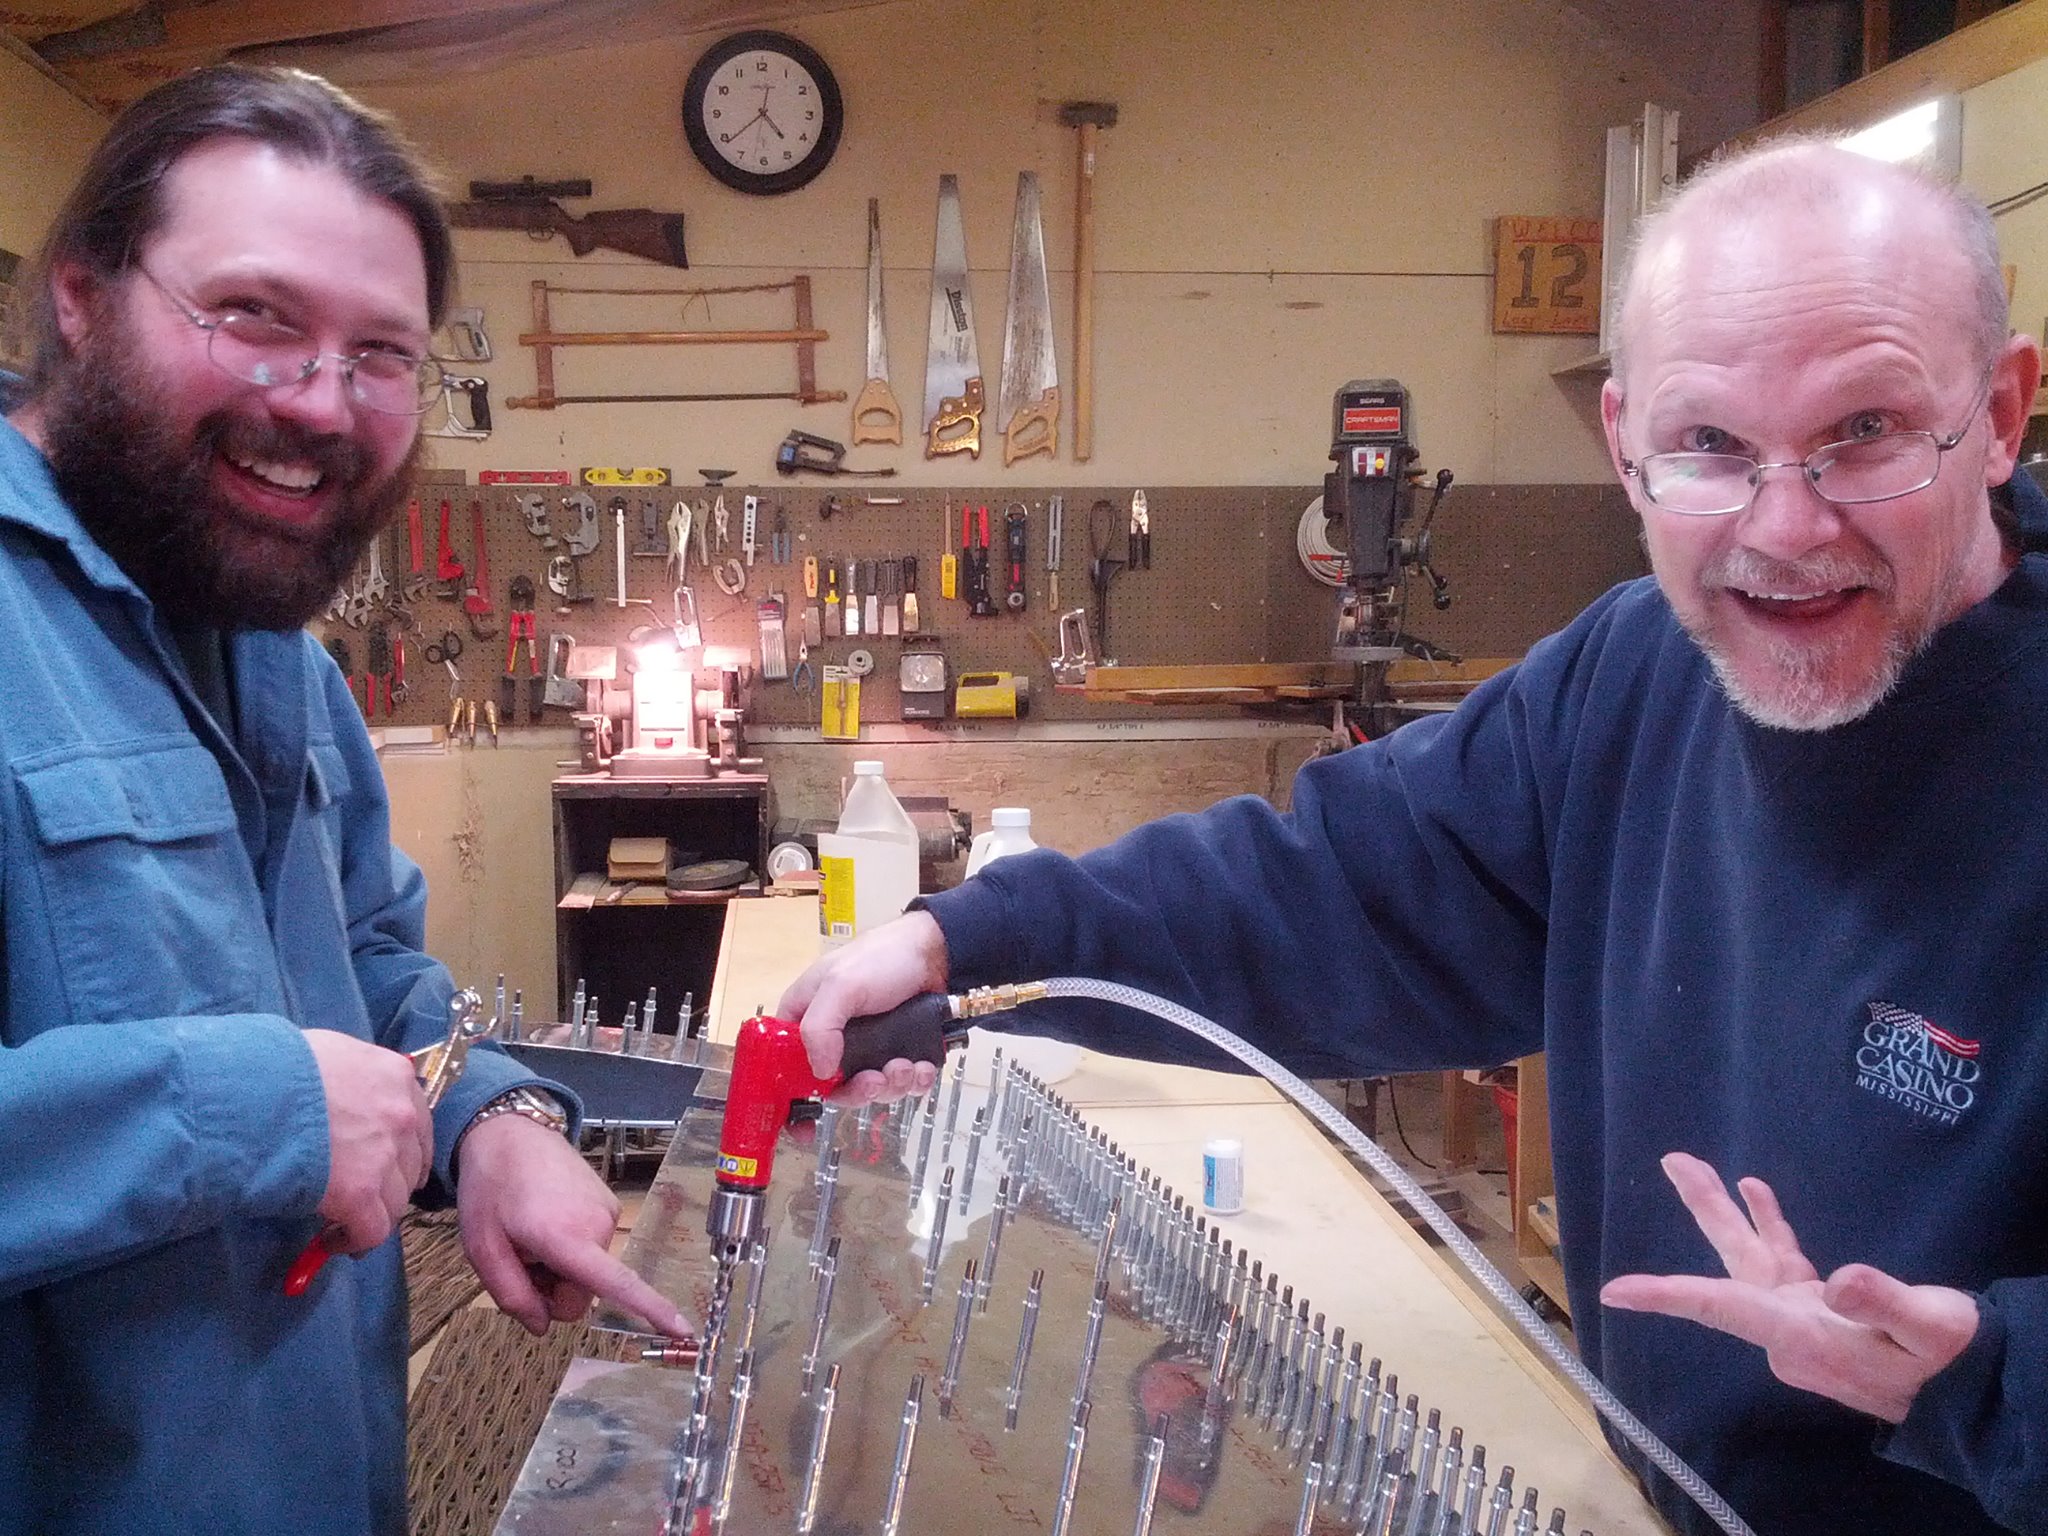
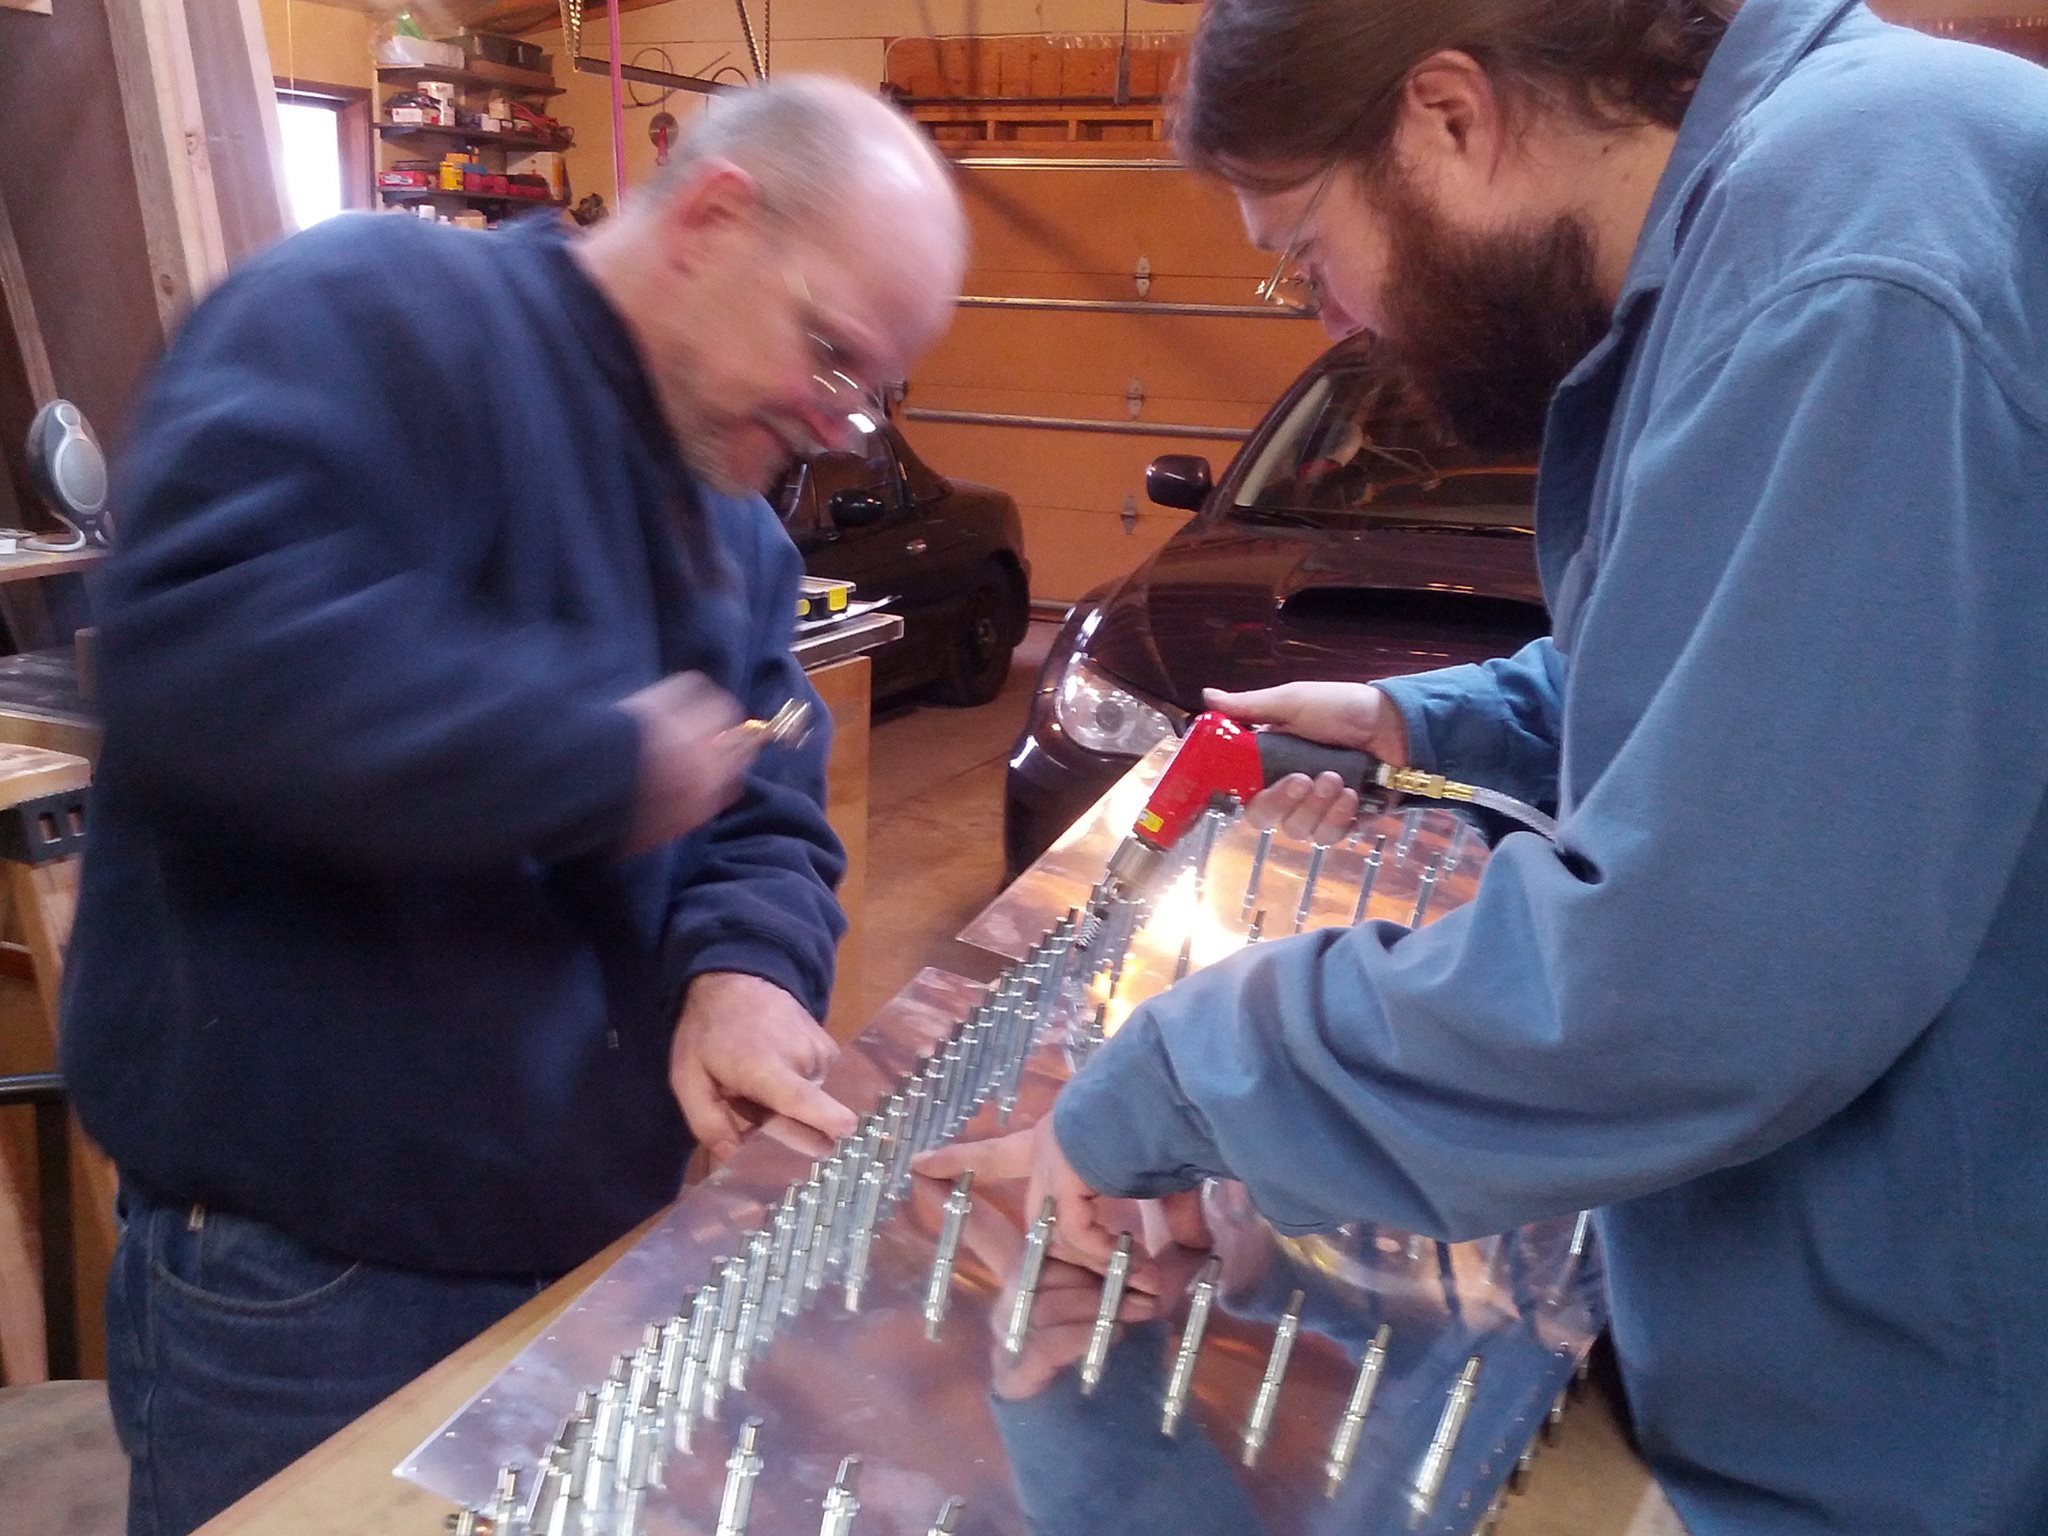
Today we got the rudder completely assembled, then completely disassembled. So right now, we have the same pile of rudder parts I started the week with, but they’ve all been match drilled now.
Randy and I spent a good hour debating and discussing the various rudder trim options. We both agree that we want rudder trim, so we’re going to go ahead and do it now. There are tons of options though, from spring bias trim, to cutting a trim tab in the rudder, to putting a tab on a hinge at the trailing edge the rudder.
I think we’re probably going to wind up with the cut-out-a-tab from the center of the rudder, add a hinge, and stick a servo in the rudder. This involves cutting an access panel, routing electrical wire in the rudder for the trim, as well a portal for the servo lever.
We also talked about the various light options. Some folks are putting lights on top of the vertical stab, but I don’t see the point. We’ll go with wing strobes and the Van’s strobe/position light at the bottom of the rudder. The combination meets the FAA requirements, and that’s the most important part about lighting. Seriously. The anti-collision effect for night flight is significant, but over-rated, I believe.
I think we’re going to route the trim servo wiring up through the bottom of the rudder, which will mean drilling a hole in the bottom-most rib and adding a grommet. I think we’ll also anchor the trim wiring inside the rudder so it doesn’t fray.


The last photo is my special AEX trailing wedge countersink jig. It’s cut at precisely the correct angle to support the wedge level so that I can countersink the holes exactly perpendicular to the surface of the wedge. Who knew there was so much woodworking involved in building an aluminum airplane?
All in all a great day’s work, even though we’re back to a bunch of rudder parts. Stuff will start to go together tomorrow, though there’s a significant limit to how far we can we get because coming soon is a step that involves waiting for proseal to set for at least 2 days.
I’ll just mention that I don’t know how anyone did this before the internet. Everytime I have a question, I just search, and one of the other 1,535 builders has asked the question before, and someone else on the internet is awesome enough to answer it. Building your own airplane in the ’70s must have been insane.
I’ll also say that I can’t believe how good building this airplane is for my soul. It doesn’t matter how foul of a mood I’m in, I almost always exit the garage in a better mood than I entered it, and just a little bit closer to owning half a completed airplane, something I never believed was in the cards for me.
Berck: 10 hours, Randy: 5 hours, Jonah: 4 hours.