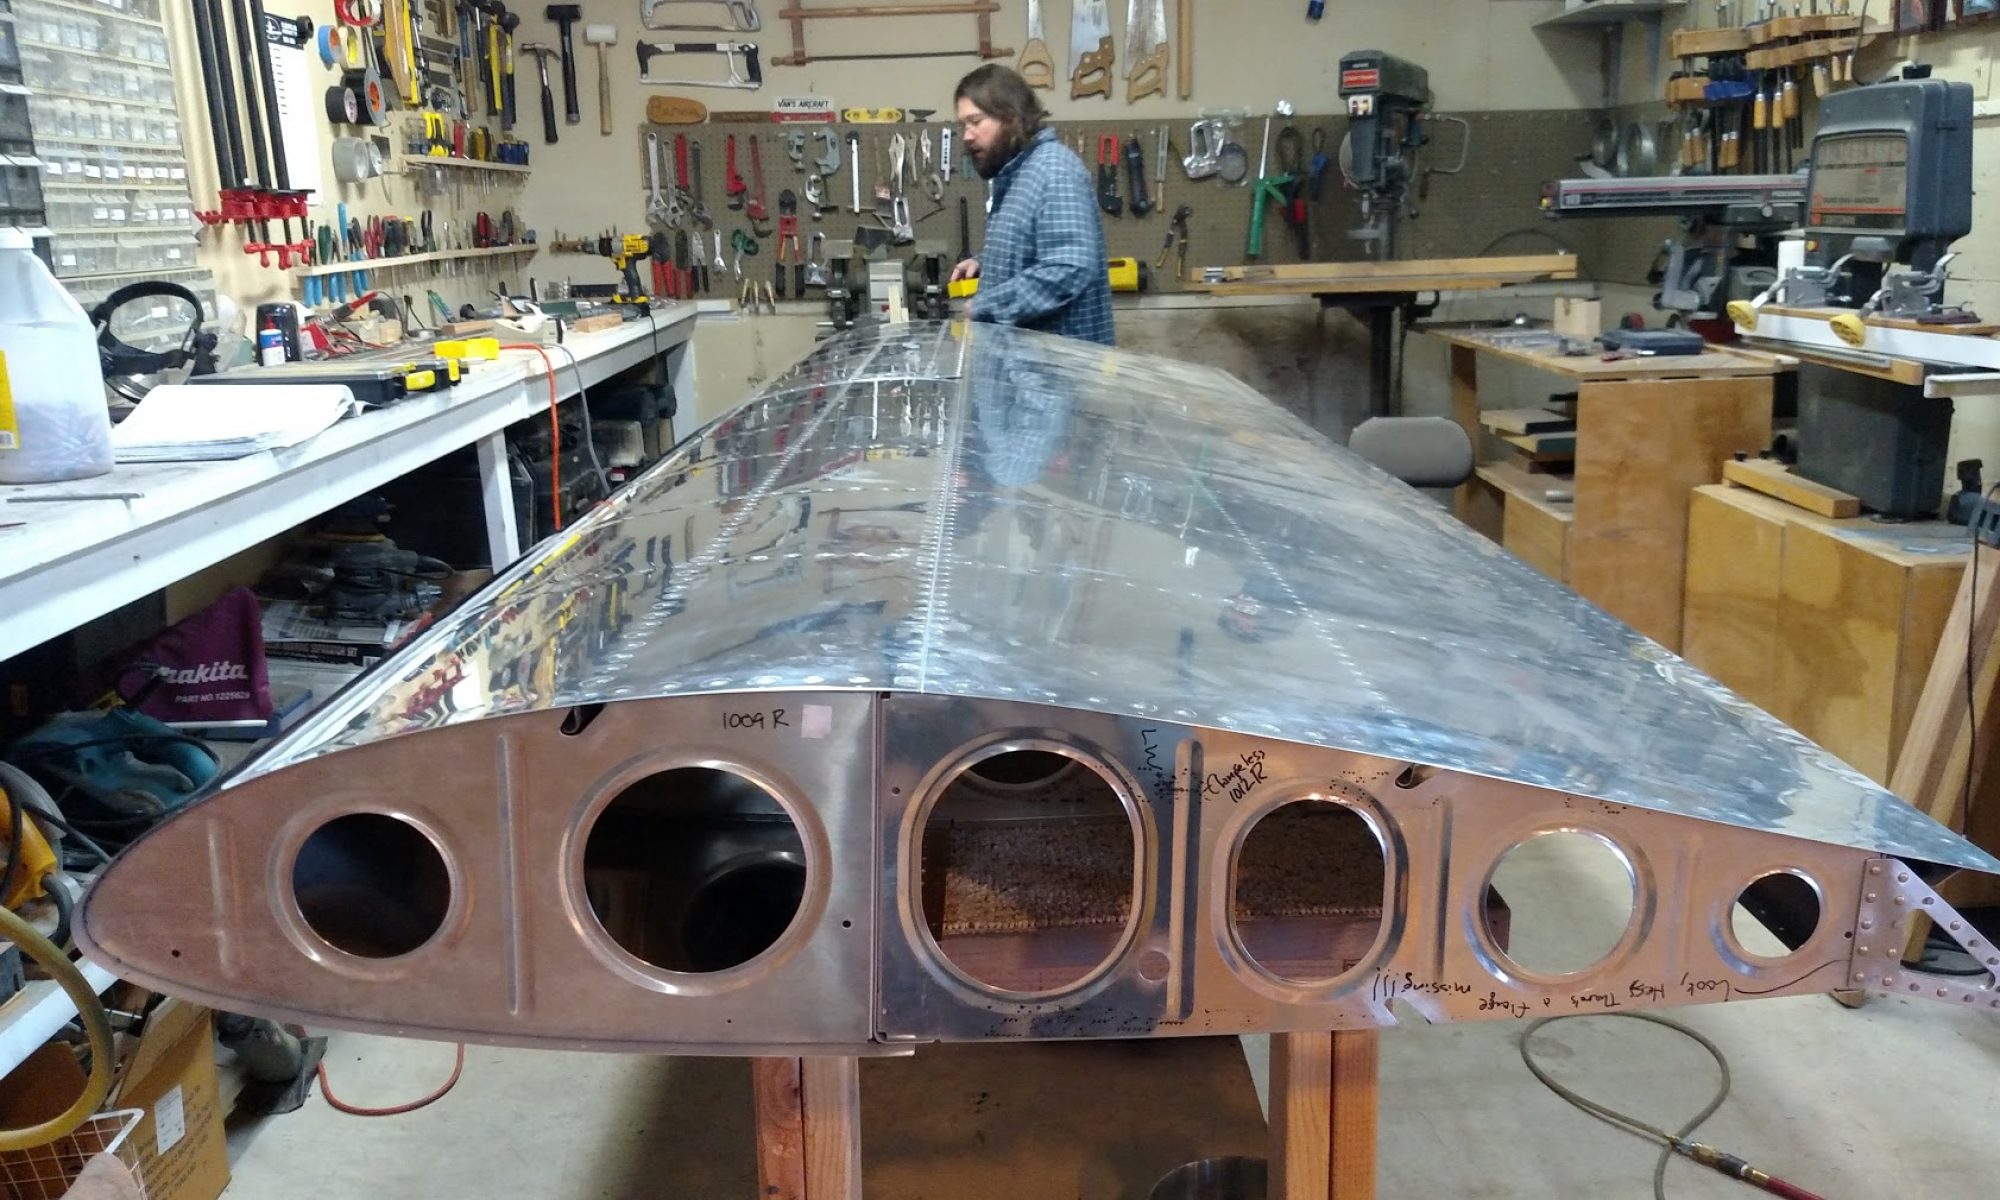
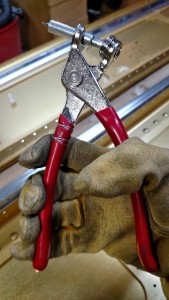
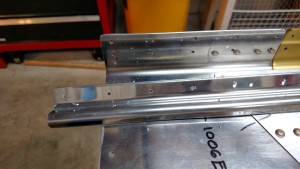
We drilled all the 3/32″ holes, and countersunk all the nutplate holes. Their depth is easy: they just needed to be flush with the spar. Tracey deburred while we drilled.
We stopped a little early because we didn’t have anything to measure how far to countersink the skin attach holes in the flanges. We were fairly paranoid about countersinking to the correct depth after reading of at least one builder who countersunk his spars too deeply and needed to replace them. We were determined that wouldn’t be us.
The plans say to drill and dimple a scrap piece of .032″ aluminum and countersink until it fits flush. The internets say doing this will get you holes that are too deep. The plans also say to refer to section 5E, which says that when countersinking holes to accept a dimple, countersink until it’s flush, then adjust the microstop countersink cage by “a few clicks deeper”. Yeah, there’s some precision.
We didn’t have any .032″ scrap aluminum. .032″ is way thicker than everything we’d been using so far, so I’m not sure why Vans figured we’d have some scrap. So I ordered the smallest piece of it from Aircraft Spruce that I could. 2′ x 2’….
Berck: 6 hours, Randy: 6 hours, Tracey: 6 hours
