Since Cleaveland has been a bit slow shipping the remainder of our tools, Jay (who has completed an RV-10, lives in Colorado Springs and is a former coworker of Randy’s) was extremely gracious and lent us some tools until Cleaveland ships ours. Including a squeezer, which was necessary to finish the remainder of our practice projects.
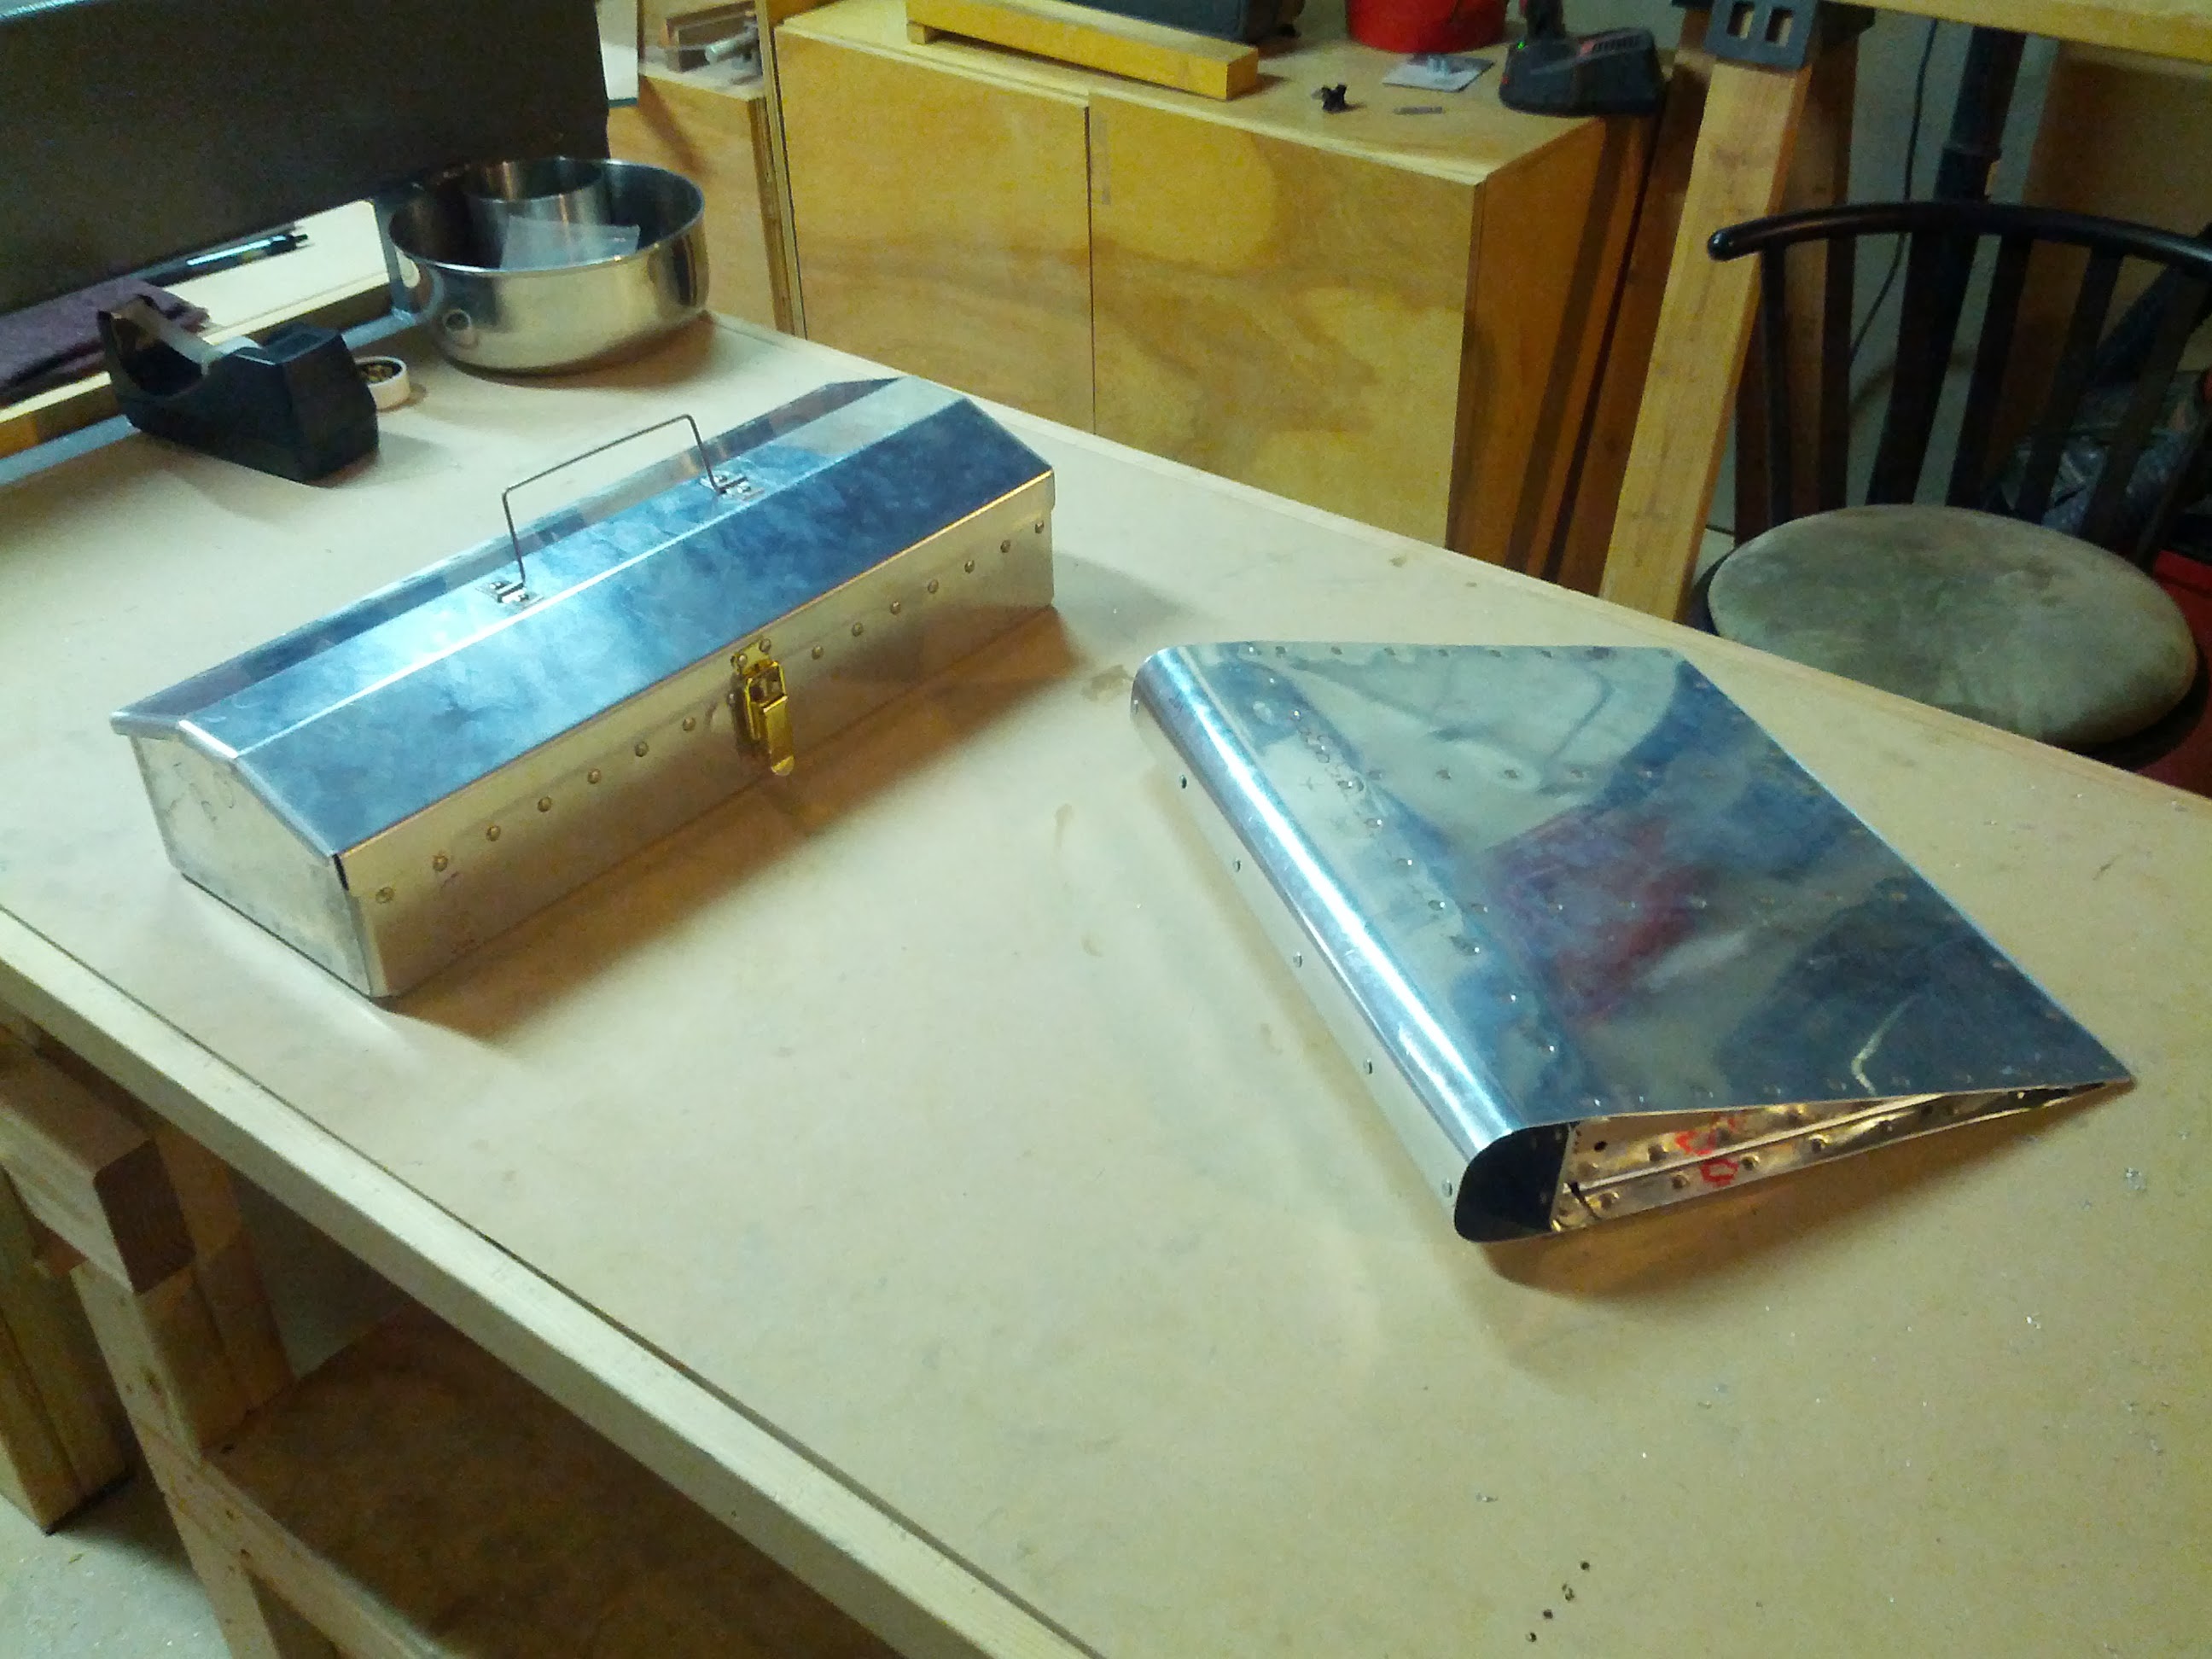
They’re not beautiful, and we made lots of mistakes. But that was the idea: make mistakes here for free, so we don’t make them on the plane. Everything except the really tight quarters riveting on the trailing edge of the airfoil was no big deal. I found this website which gives a great method for doing this that we’ll try on the airplane.
http://www.experimentalaero.com/Builders%20Tips.htm
If nothing else, we learned that riveting those last few rivets at the end are really hard, and none of the half-dozen ways we tried work very well.
We drilled out plenty of rivets (more than was really necessary, because we figured practice is good), and I even managed to drill through my finger. Ouch. That sioux air drill packs a punch, but fortunately it stops as soon as you let off the trigger.
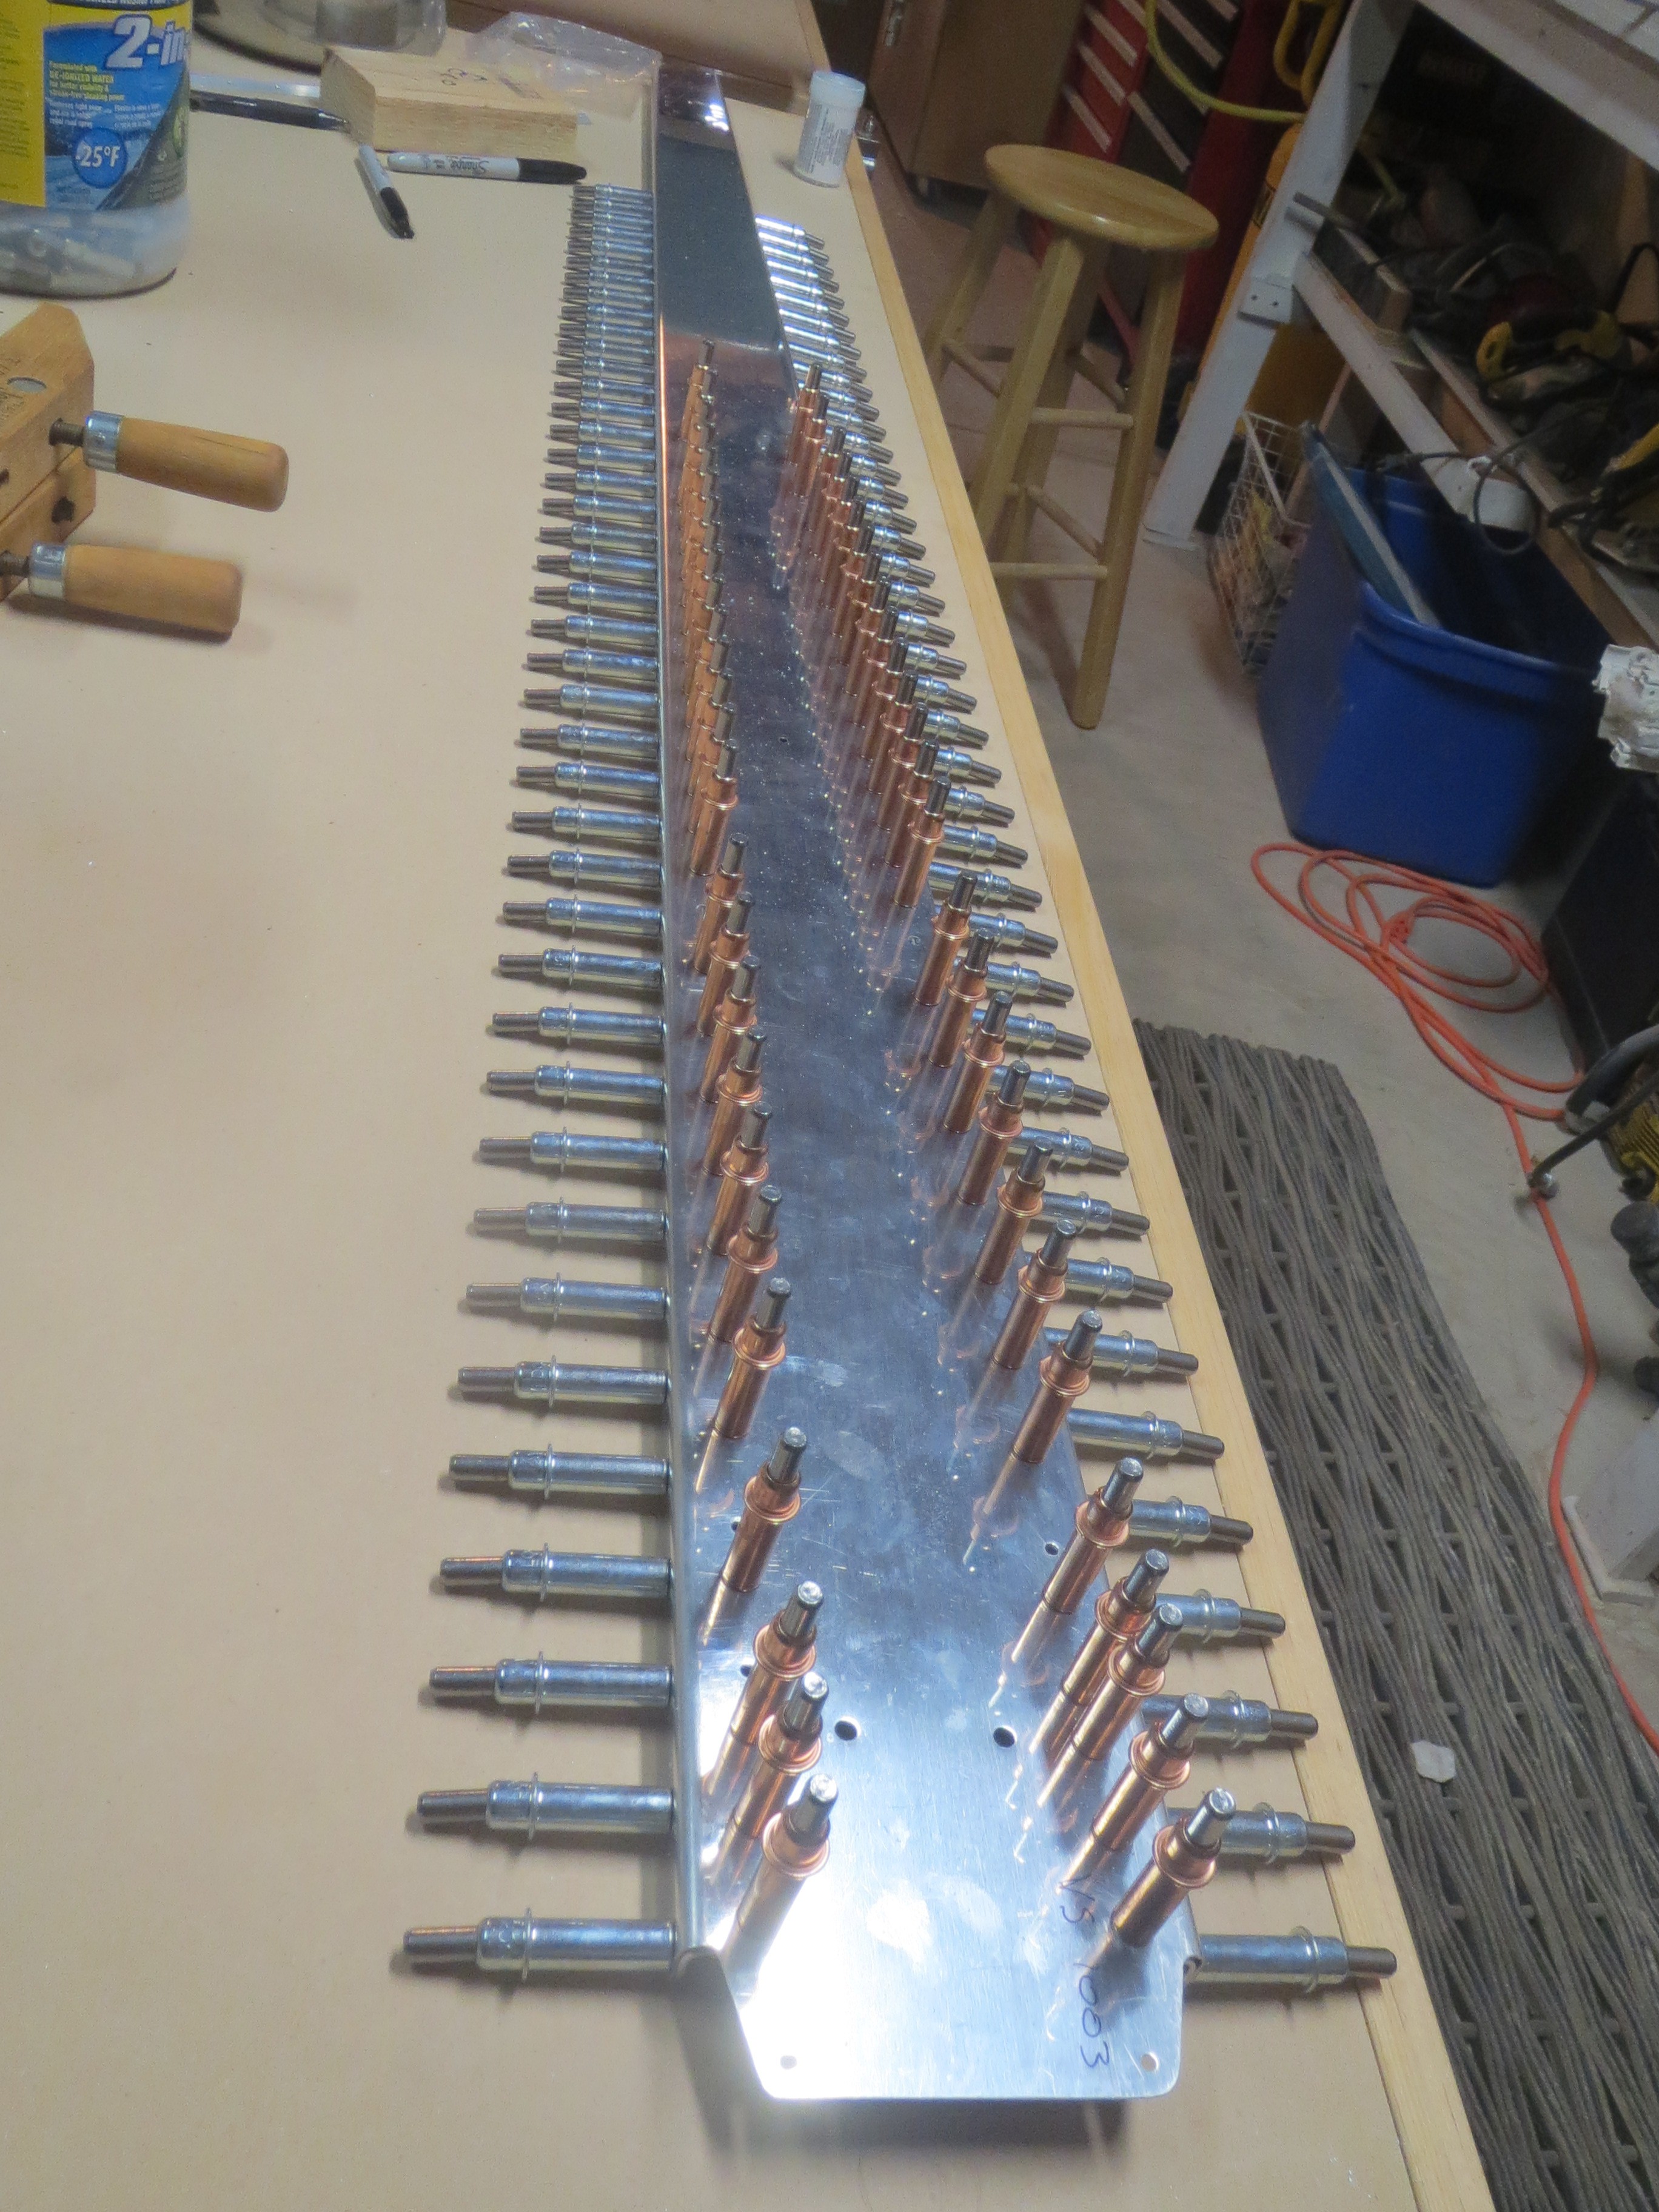
I worked a couple hours this morning, mostly deburring the VS-1008 rear spar doubler. It’s a fat chunk of aluminum, and the inside sections require a lot of attention. And, apparently, an entire 1″ scotch brite wheel.
Berck: 2 hours (actual aircraft construction… many more hours on the practice kits)