Vertical Stabilizer Complete!

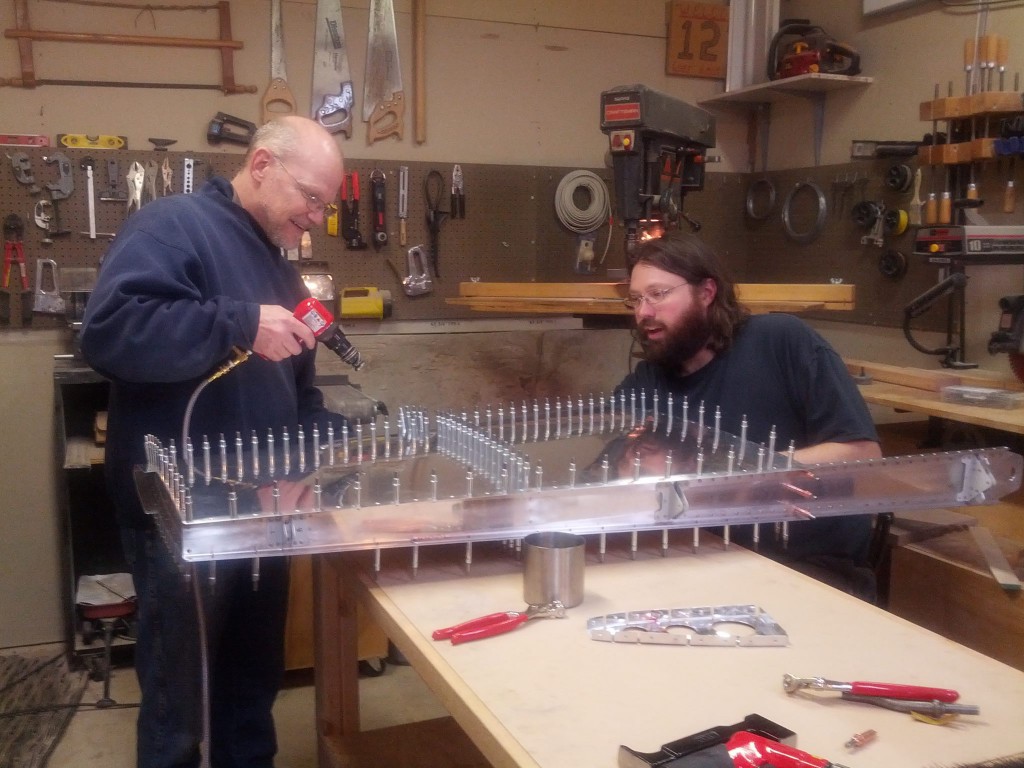
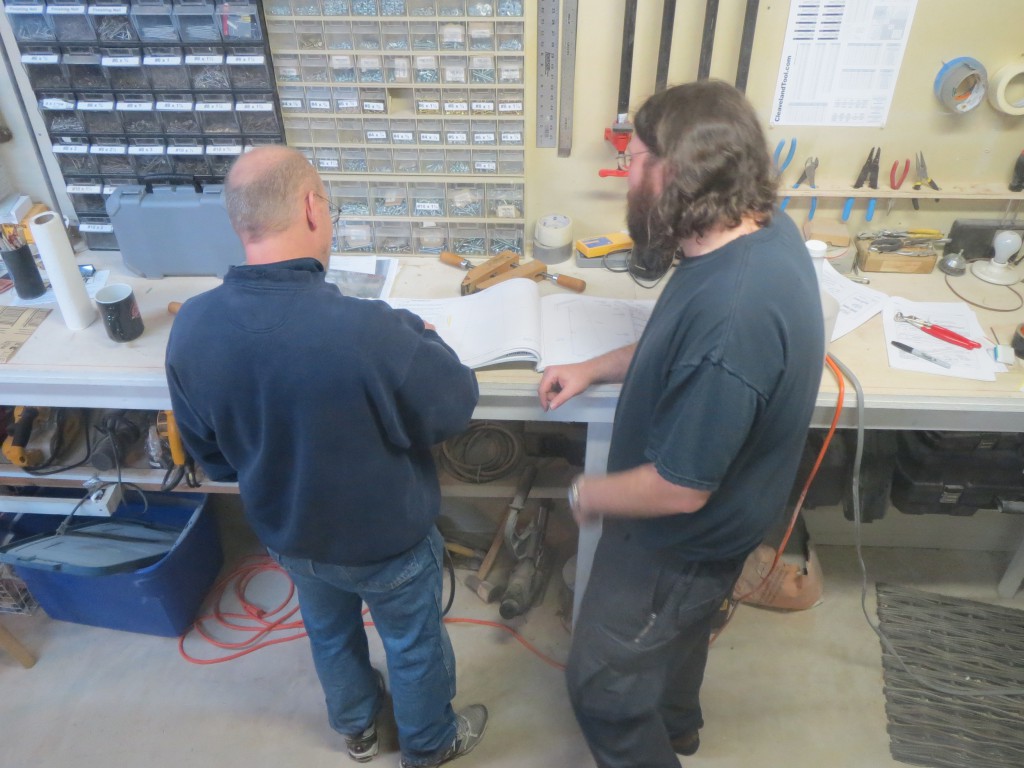
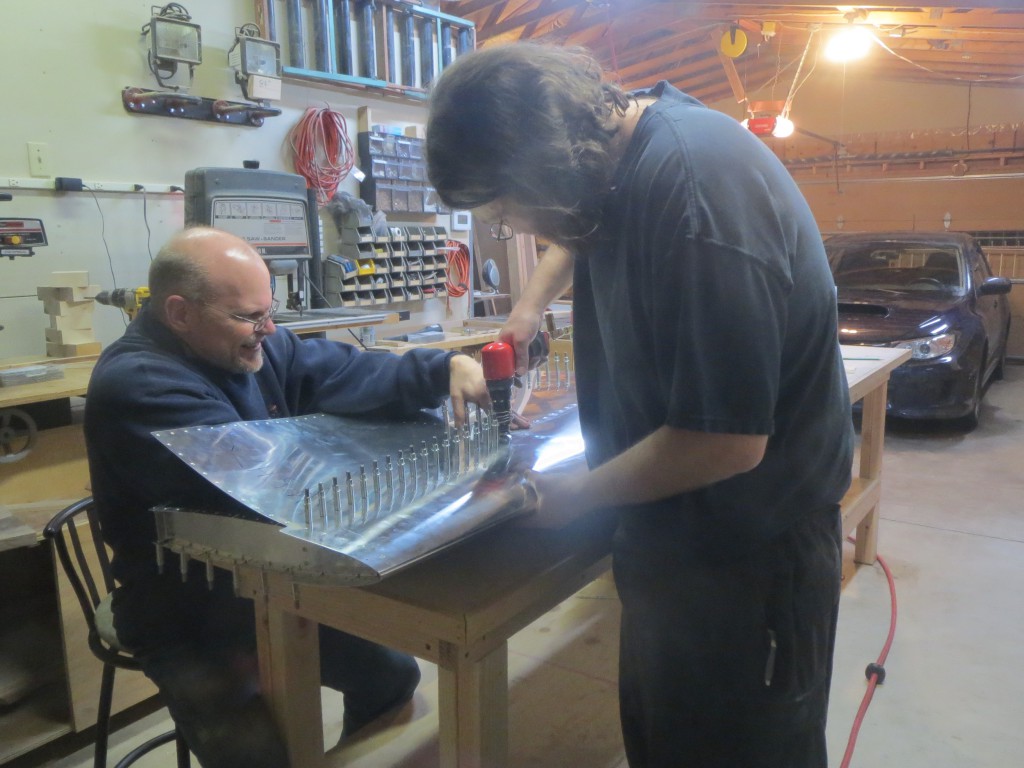
It’s a good thing Randy showed up today, because there were lots of things that were way easier with 3 people.

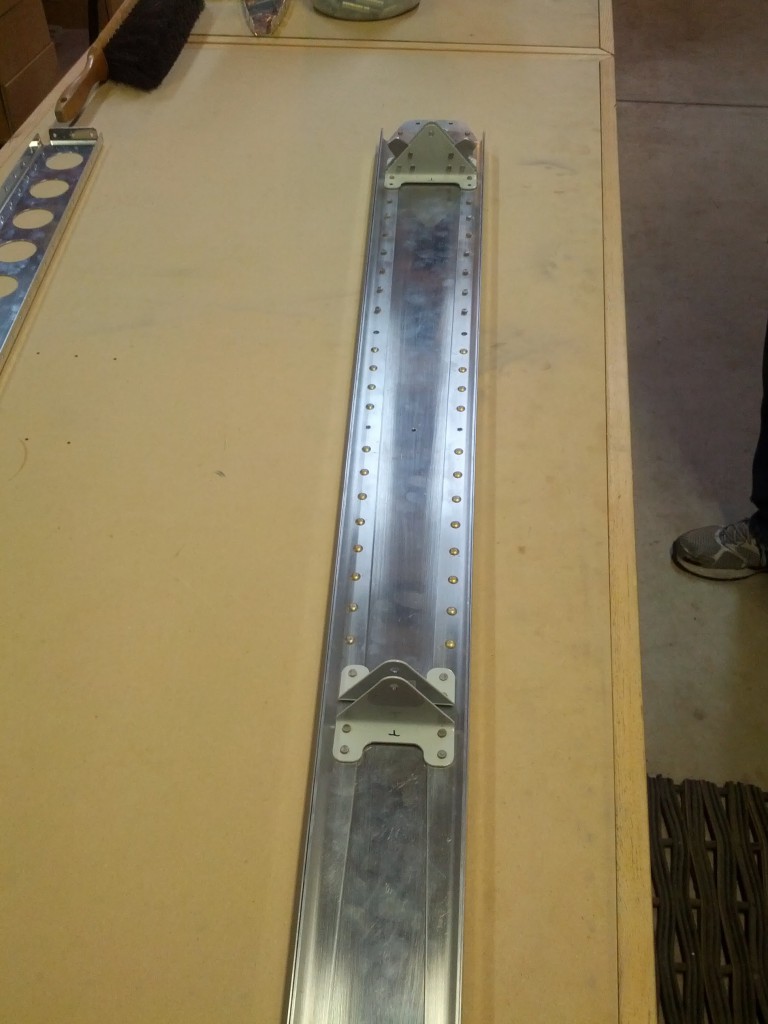
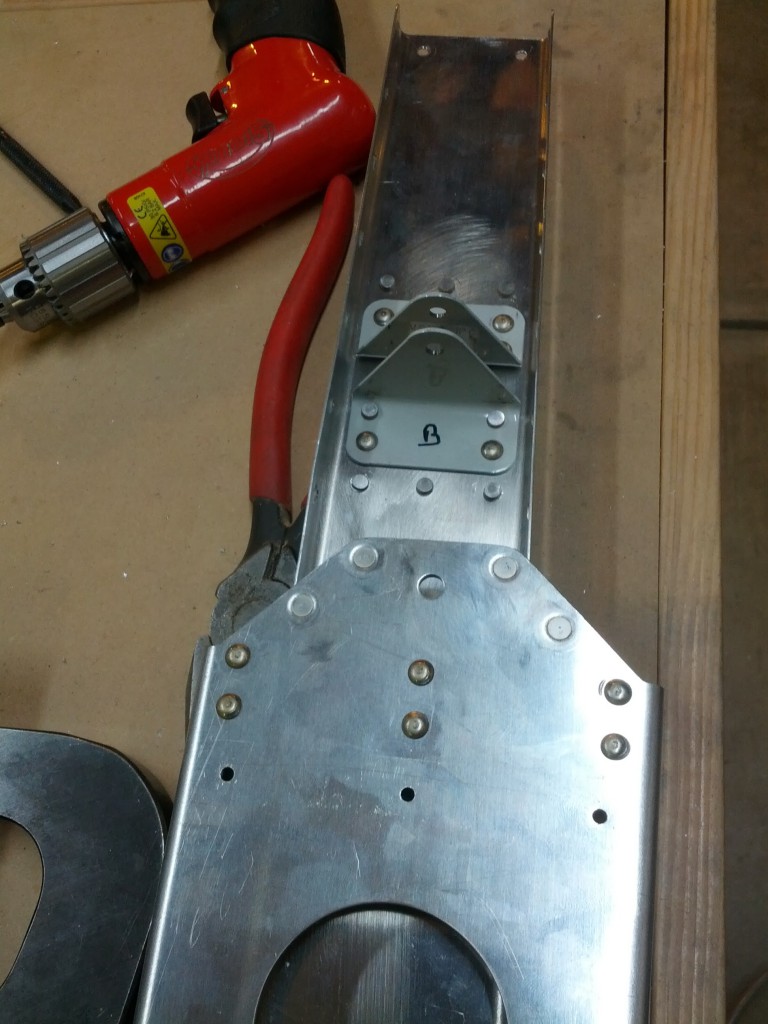
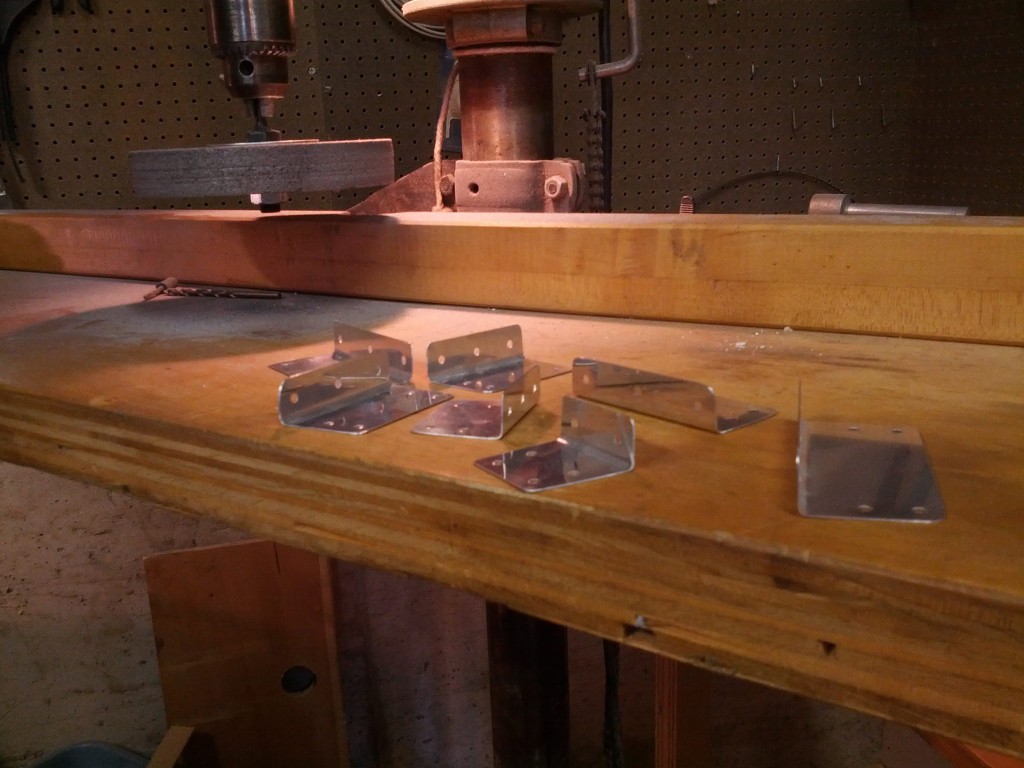
We started the day putting together the rear spar for the vertical stabilizer, with the spar caps and remaining rudder hinges.

IMG_20140308_140644

I spent much of the day shoulder deep in the stabilizer, holding a tungsten bucking bar, which after a few hours might as well have been made of white dwarf material.

1913351_10152242624904731_734548312_o

Randy tried catching rivets for awhile, but you can tell from the facial expression that he did not love it, either:IMG_2338
IMG_2329

IMG_2333

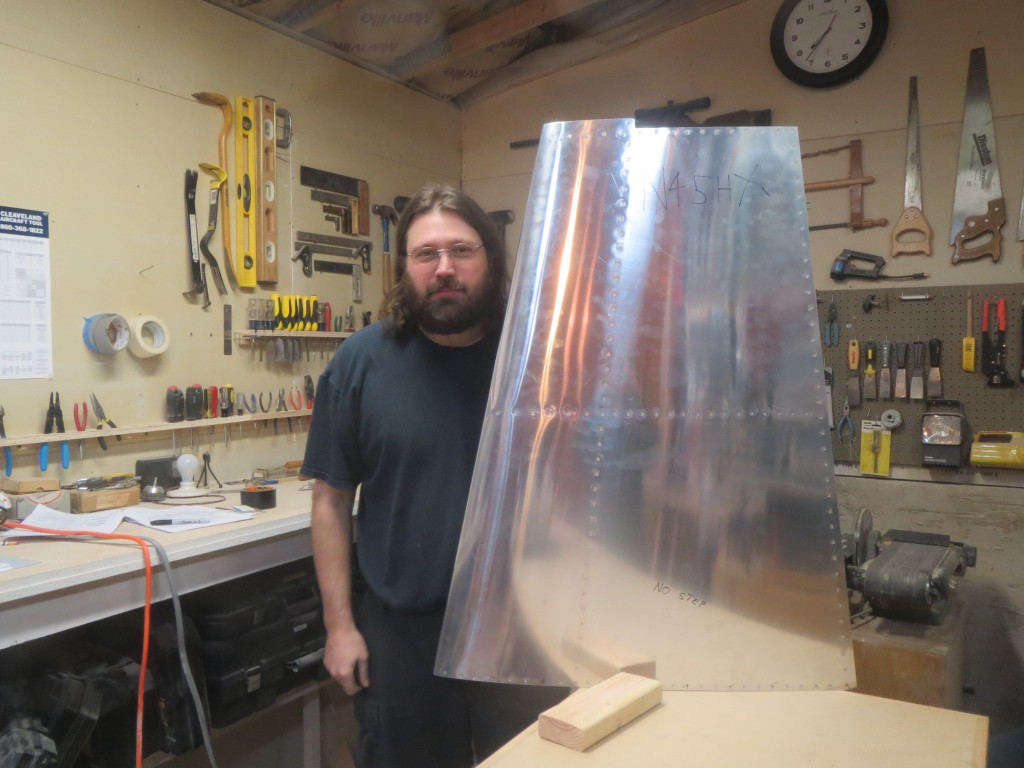
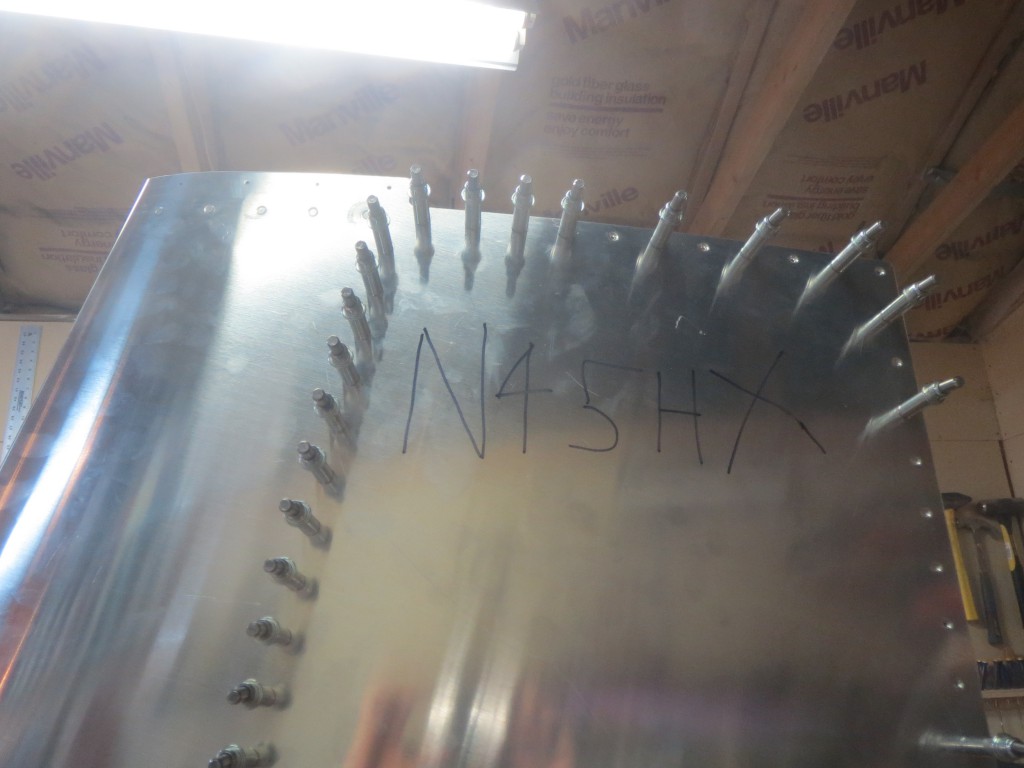
I decided that since we had both a tail and a tail number that they should be introduced.IMG_2336IMG_2341
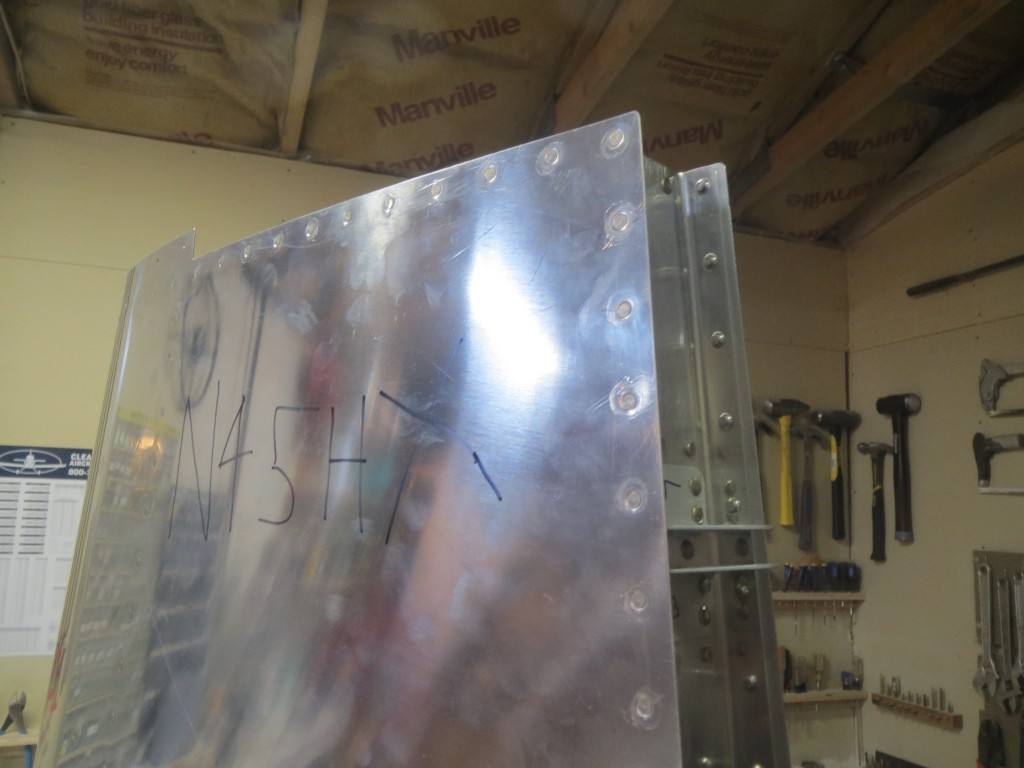
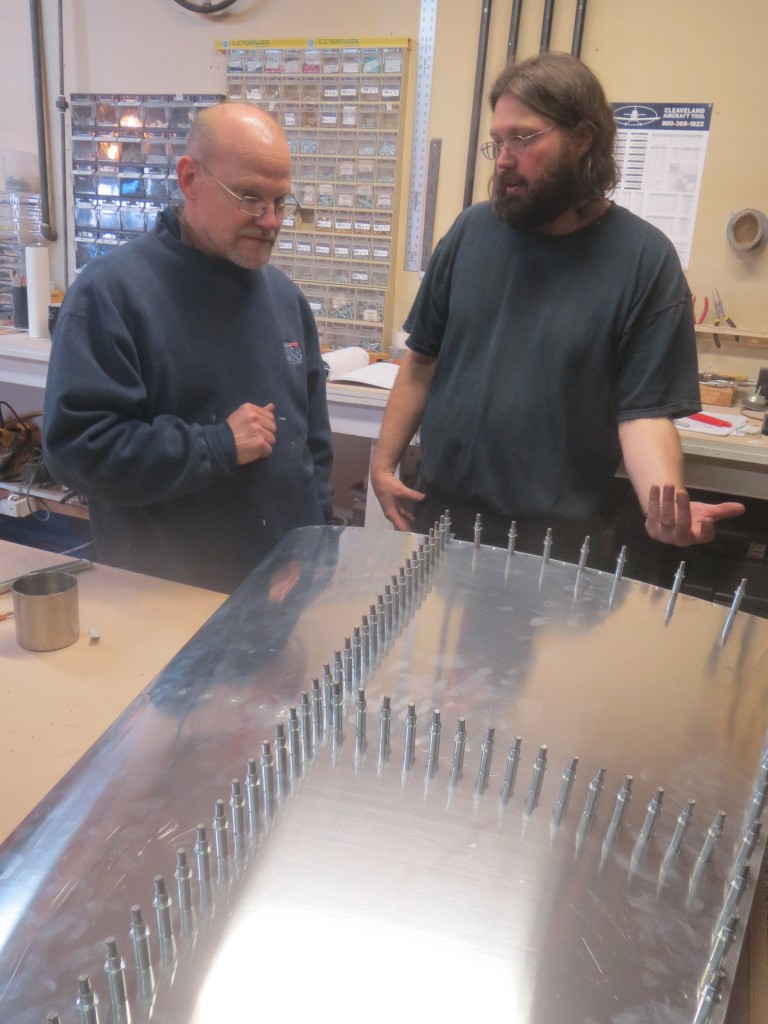
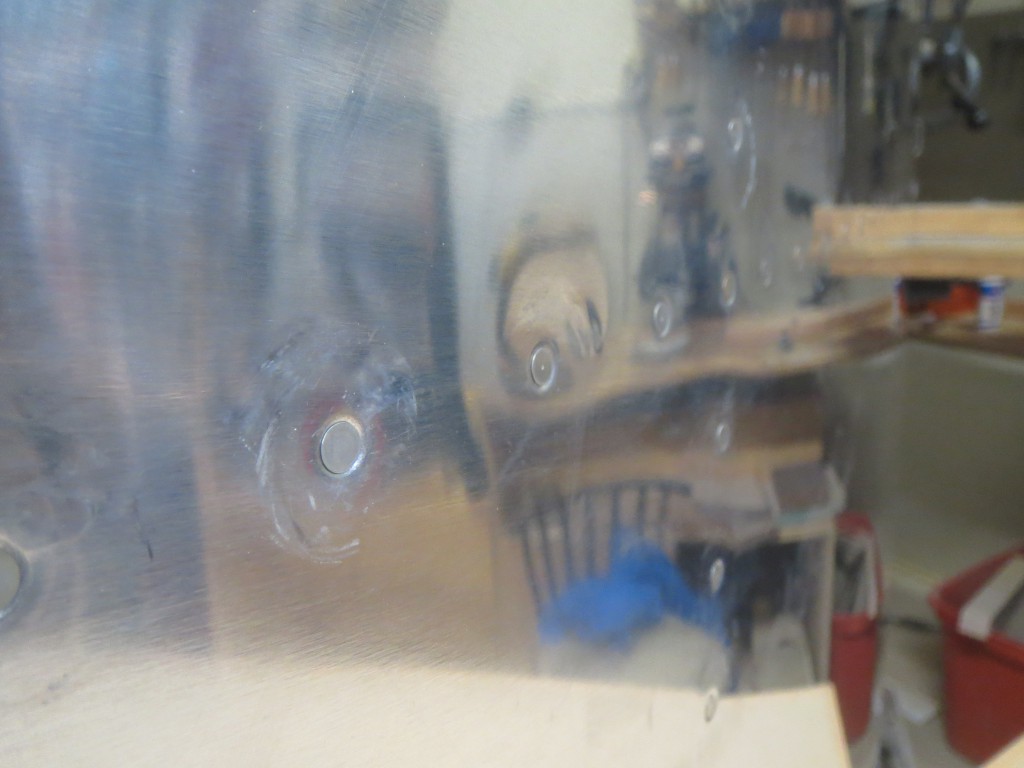
This is the worst damage we did to the skin.  Given what I’ve seen on the internet, I think we did a freakin’ awesome job.IMG_2345IMG_2346
A bunch of air molecules are going to have this view in a couple of years:IMG_2348
Next up:IMG_2347

Jonah is suspiciously absent from these photos because she took many of them. She was a ton of help with clecos (despite their blister-potential), and providing a fifth or sixth hand where it was often needed.  Not to mention the snow-shoveling.

It feels amazing to have a completed piece of an airplane sitting your garage.  Before long I’m going to go flying in something my friends and I built in my garage.  Now that’s America.

Berck: 9 hours, Randy: 8 hours, Jonah: 4 hours.
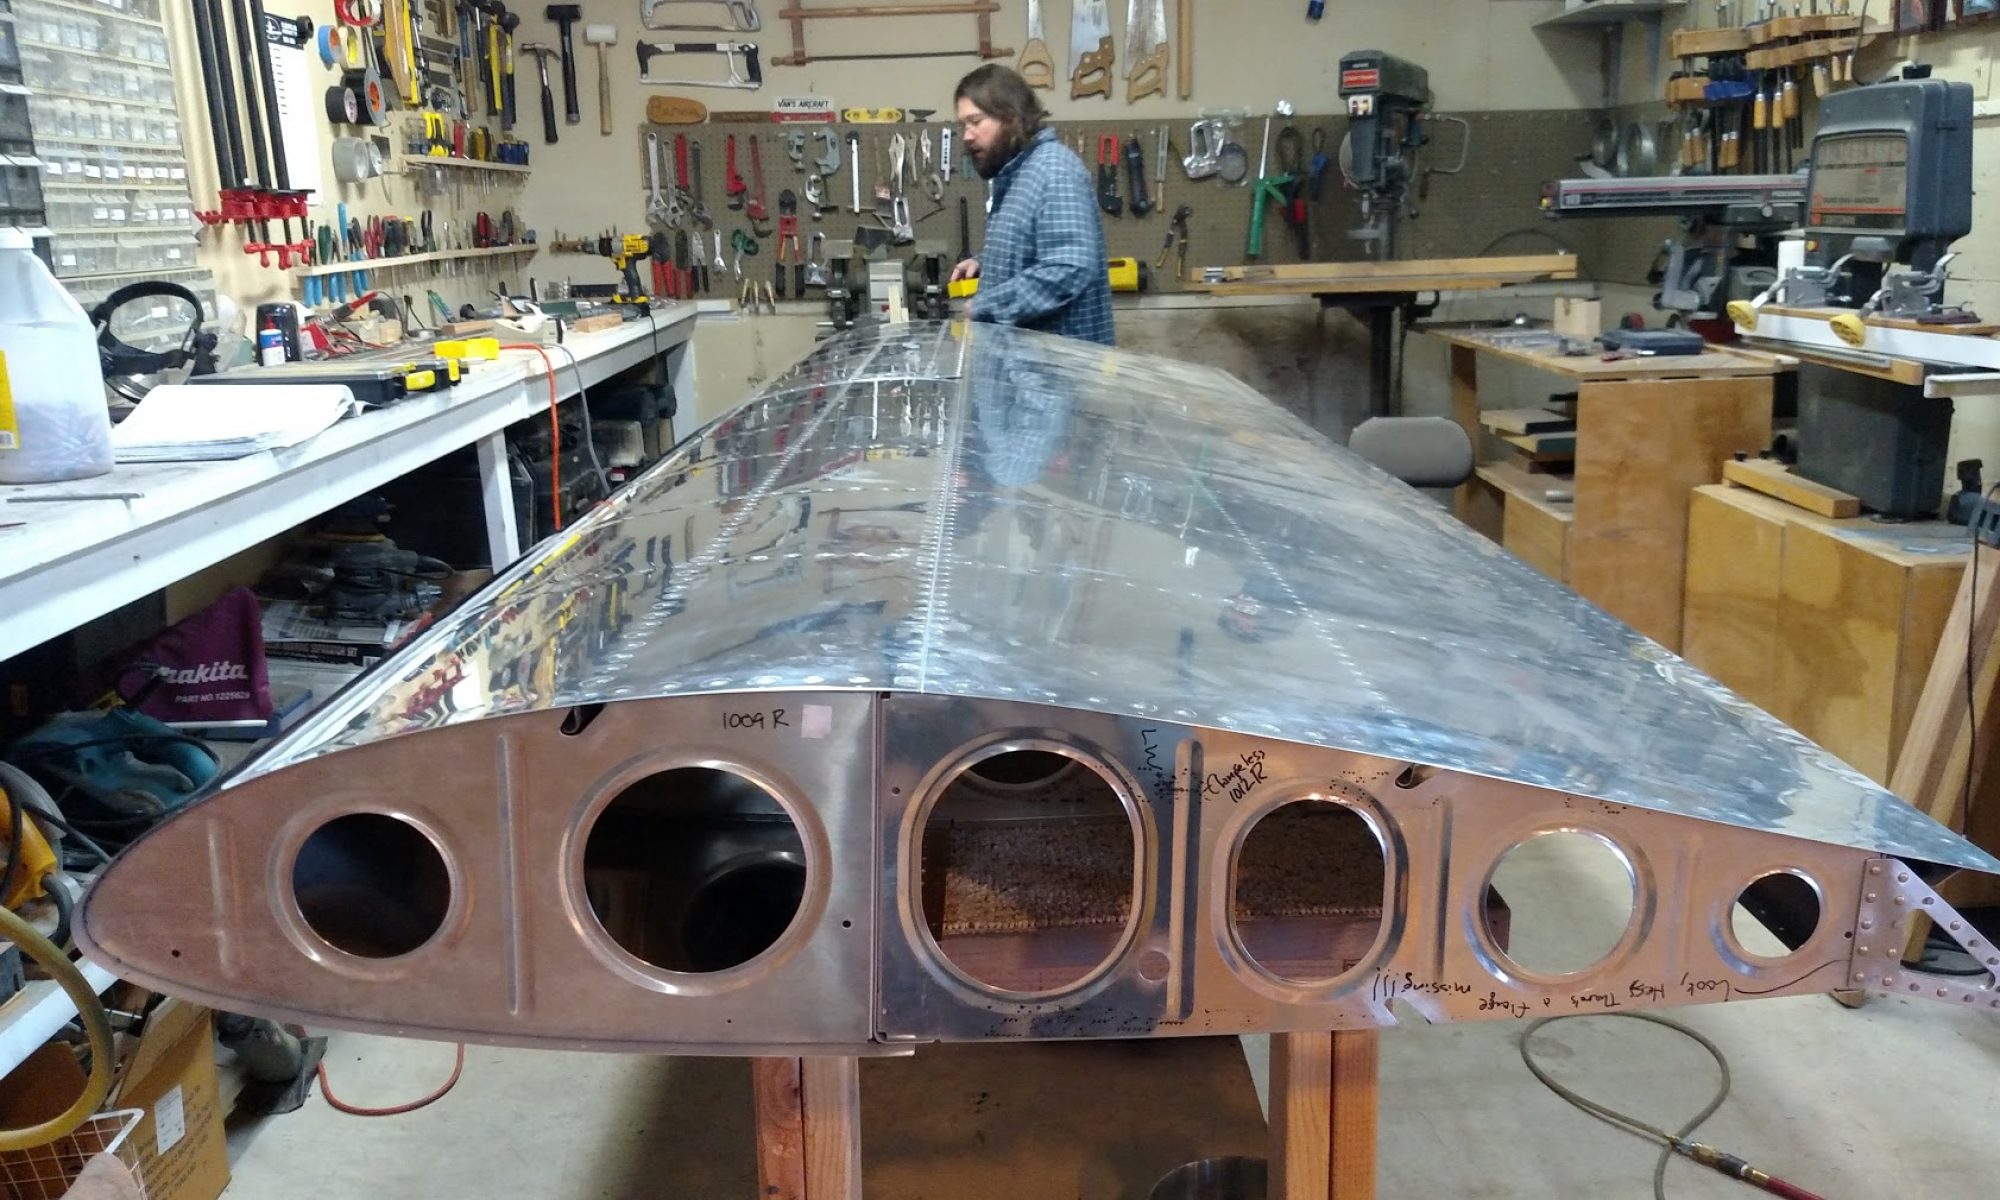
More rivets, first mistake.

I realized last night that I countersunk a hole I wasn’t supposed to.

The directions were very clear.  They said not to countersink any flange holes on the VS-1003 which correspond to holes that you marked on the skin in a previous step not to dimple.  Only, I couldn’t find any holes on the VS-1003 which corresponded to holes that I marked on the skin.  I checked several times.  I went back and read the instructions again, and checked the holes that I marked.  I read the instructions again.  None of them lined up.

It wasn’t until I was dimpling the VS-1002 front spar that I’d realized I’d gotten the two of them confused.  There are no holes on the front spar flanges that correspond to marked holes on the skin.  There *are* two holes on the rear spar.  And I countersunk them.

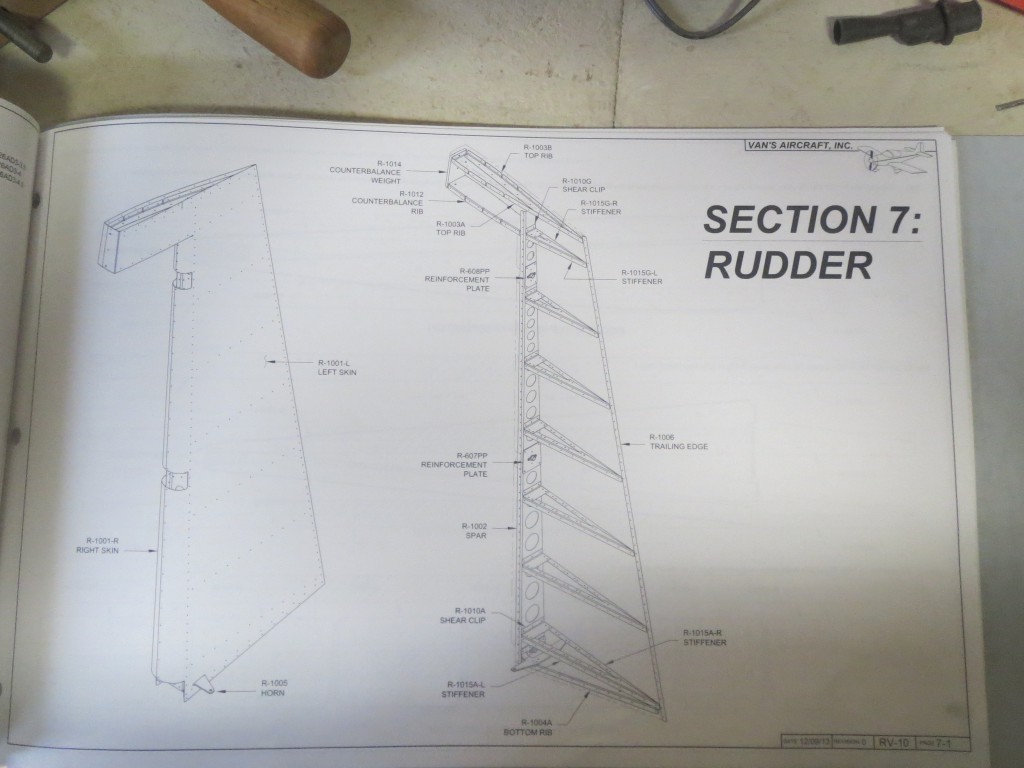
I studied the empennage fairing attachment in the plans, which is what these holes will eventually be used for.  Amusingly, it’s one of the last things we’ll probably do on the plane, using holes I accidentally countersunk.  It looked like I’d drill them out to install a nut plate behind them.  The empennage fairing is also not exactly structurally important, so I wasn’t terribly worried about it, but I wanted to know what the right thing to do was.

So, I wrote Vans an email asking what I should do about it.  This morning, they responded with an email including a diagram confirming the holes I was talking about, and said that it was no big deal because I’d be drilling them out larger later anyway.

So, whew.  I really wasn’t looking forward to buying new parts and repeating a bunch of work just because of one stupid little mistake.

Tonight, Jonah and I worked for a couple of hours.  Jonah cut, shaped and deburred some rudder bits while I riveted some backing plates.

IMG_20140306_202217 1900575_10152238862904731_1776745028_o


Berck, Jonah: 1.5 hours.